I honestly don’t know how the whole thing got started. When most people think BBQ skewers, they envision a full meal on a stick: chicken next to onions next to peppers next to more (raw) chicken. You even see this at many meat counters around town. But that’s just not the way to get the job done. Ignoring for a moment that you really don’t want your raw chicken, seafood, or beef crammed up next to your uncooked veggies, all of those ingredients have different cooking times, and it’s crazy to think they can all be cooked correctly, all jammed together, over an open flame. And since undercooked protein is never an option, it’s always the poor veggies that suffer.
But don’t fret, we’ve got you covered. There are two main rules for successful BBQ skewers. First, each ingredient gets it’s own skewer, and secondly, go big with your ingredients and cut sizes, ensuring that everything stays safely secured to their sticks during cooking. You can always cut everything smaller before serving. I found it best years ago to invest in metal skewers but if you use wooden ones, just make sure to soak them in water for several hours beforehand so they don’t burn on the grill.
With this approach to your dinner, you will want to have a slightly more involved game plan for the meal, since you will need to remove all the cooked food from the skewers before serving. So what we planned was a family-style meal of grilled shrimp and vegetables with Soy Vay Teriyaki Sauce and fresh Rau Ram (Vietnamese Coriander—more on that in a bit) over rice. Here’s what you will need to feed 2-3 people:
1 large sweet onion
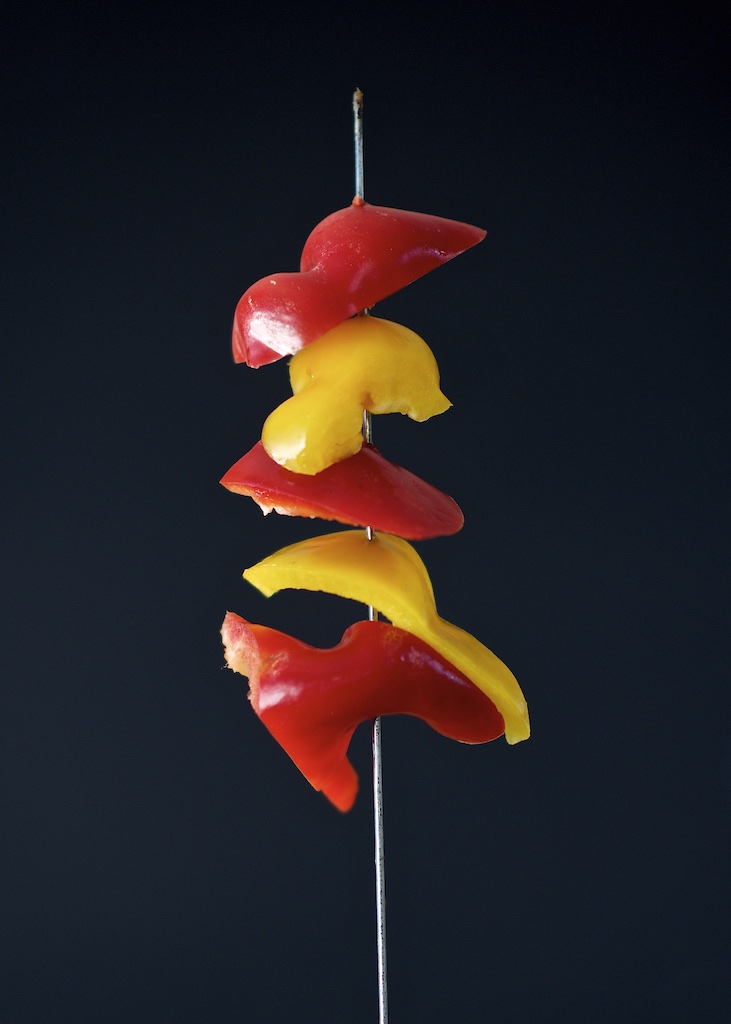
1 large red bell pepper
1 large yellow bell pepper
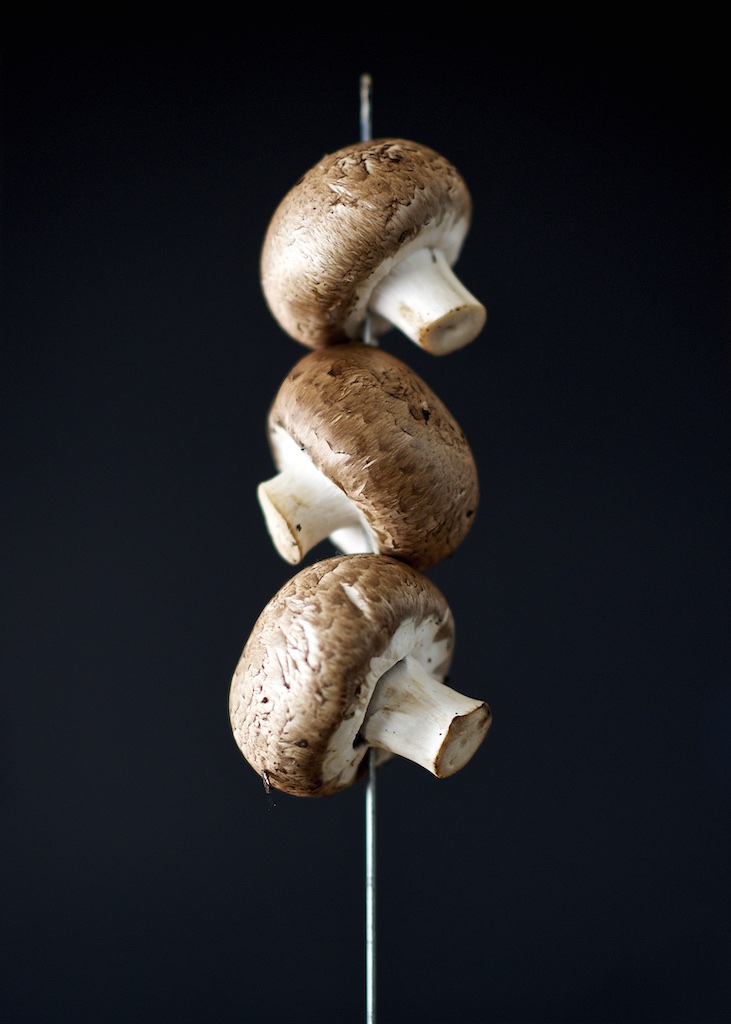
About 8 large crimini mushrooms
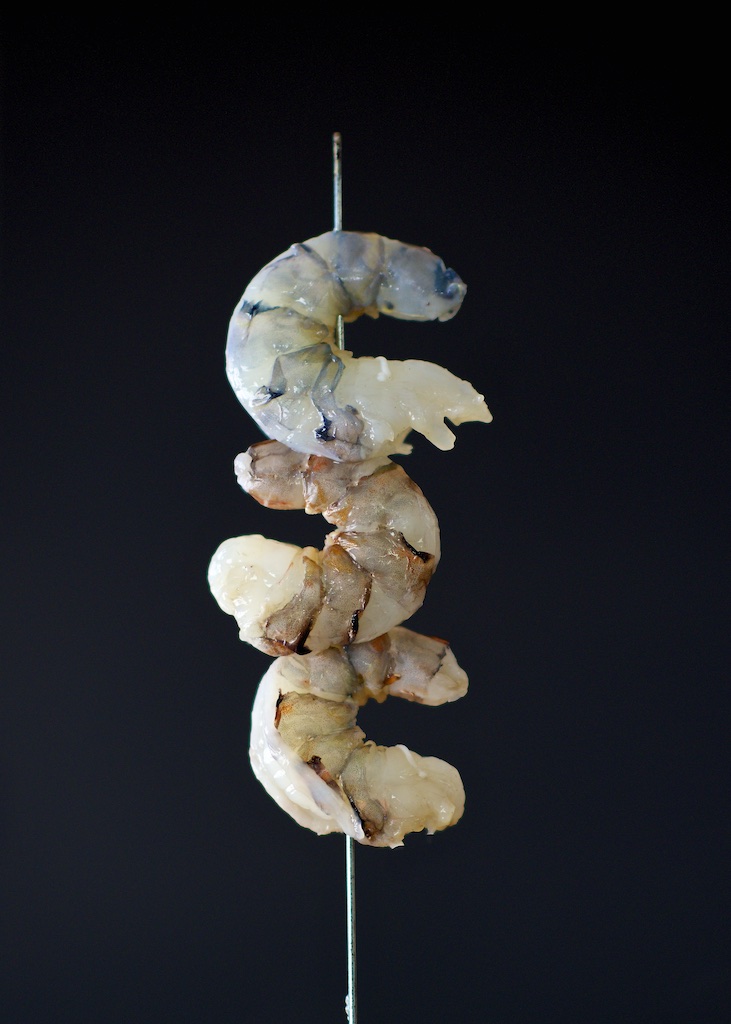
8 to 10 large Tiger Prawns
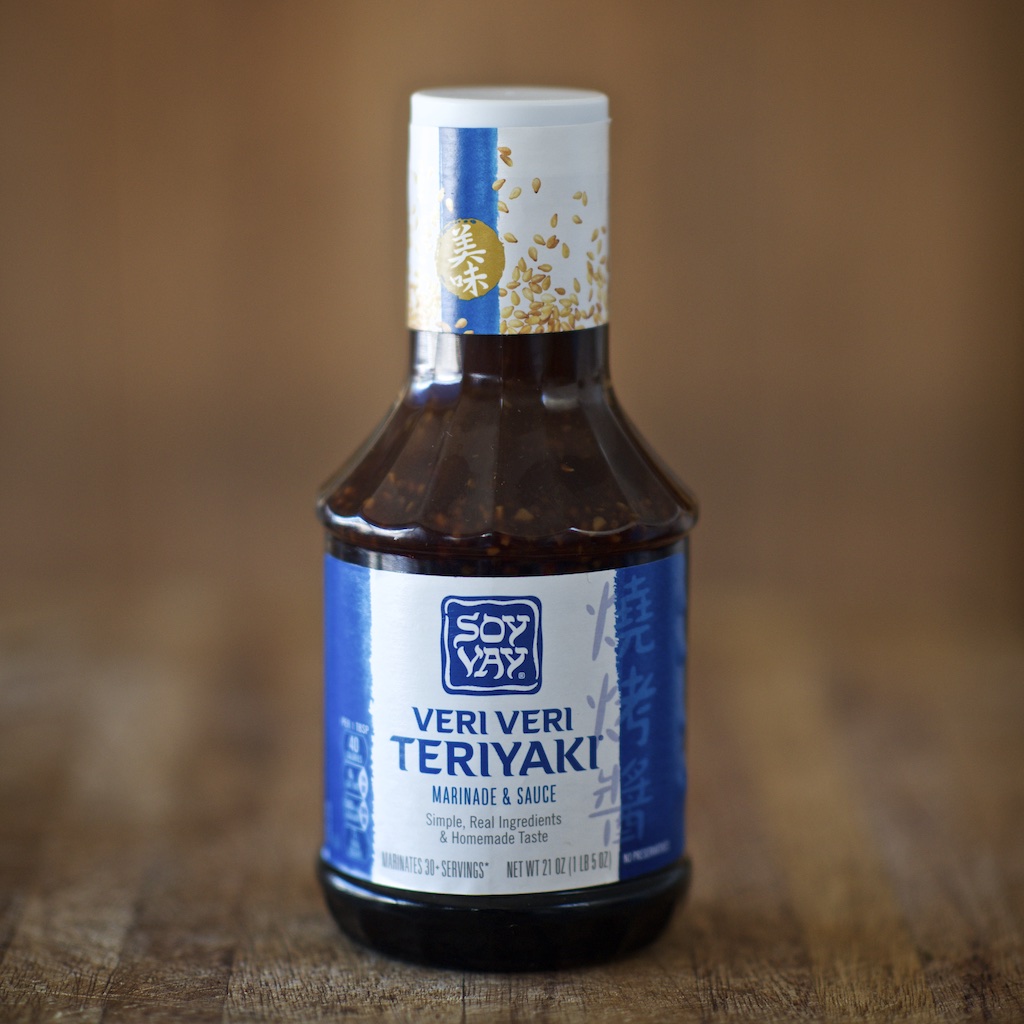
1 bottle Soy Vay Veri Veri Teriyaki Sauce
1 & 1/2 C uncooked white (or brown if you prefer) rice
1 bunch of fresh Rau Ram
Olive Oil, kosher salt and cracked black pepper
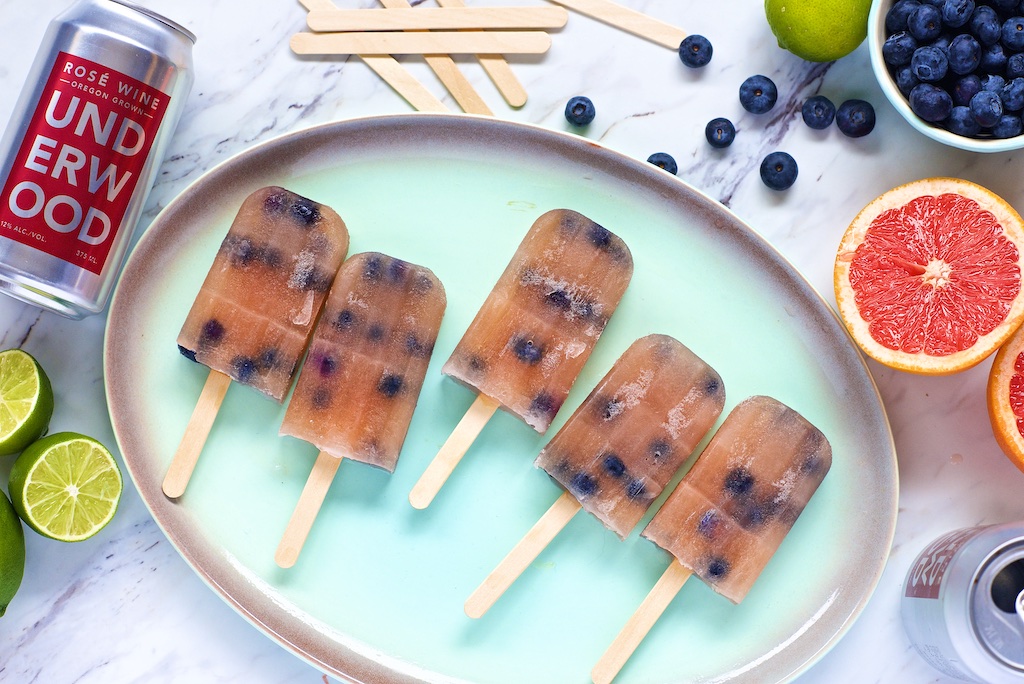
1 ice-cold bottle of Underwood Pinot Gris
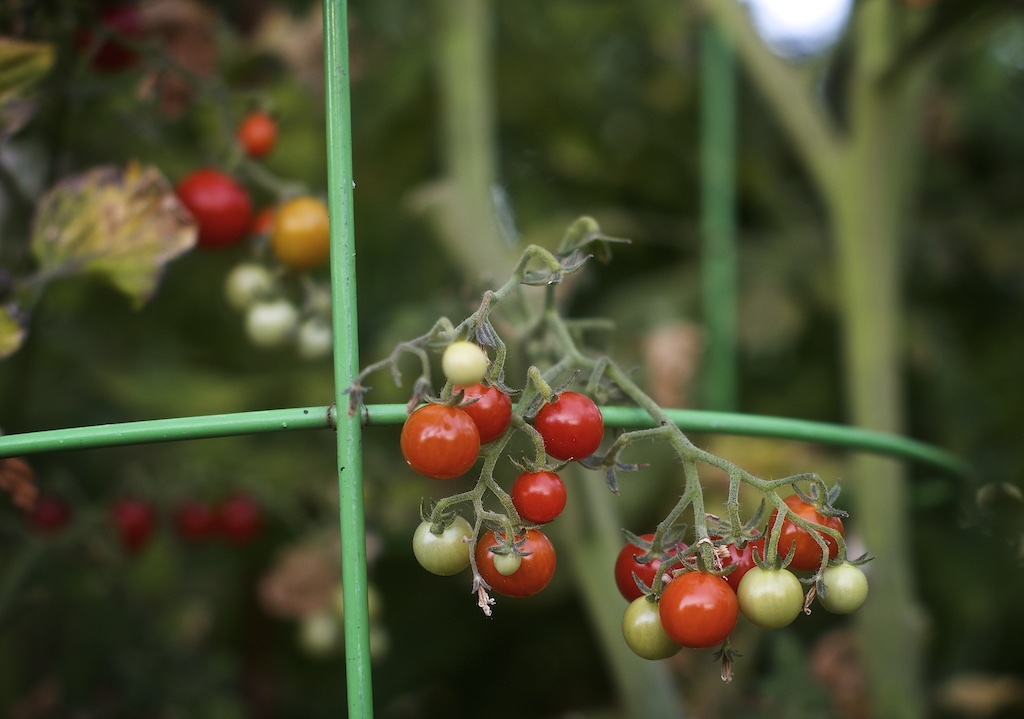
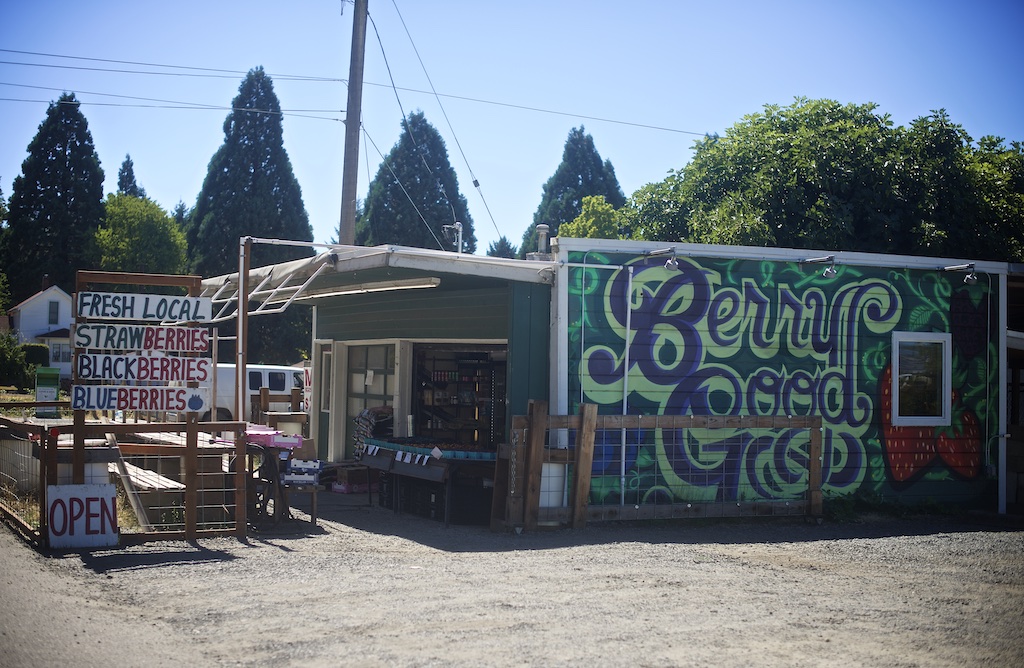
In these times of COVID, when I have a long shopping list, I will go to a big supermarket. But when I only need a few ingredients, I have been going out of my way to visit and support some of the small and often times open-air markets around Portland. Right down the street from my studio is a small produce market called Berry Good Produce (5523 SE 28th Ave). I picked up my peppers, onions, and mushrooms there. They always have a great selection of locally grown fruits and vegetables and no long checkout lines.
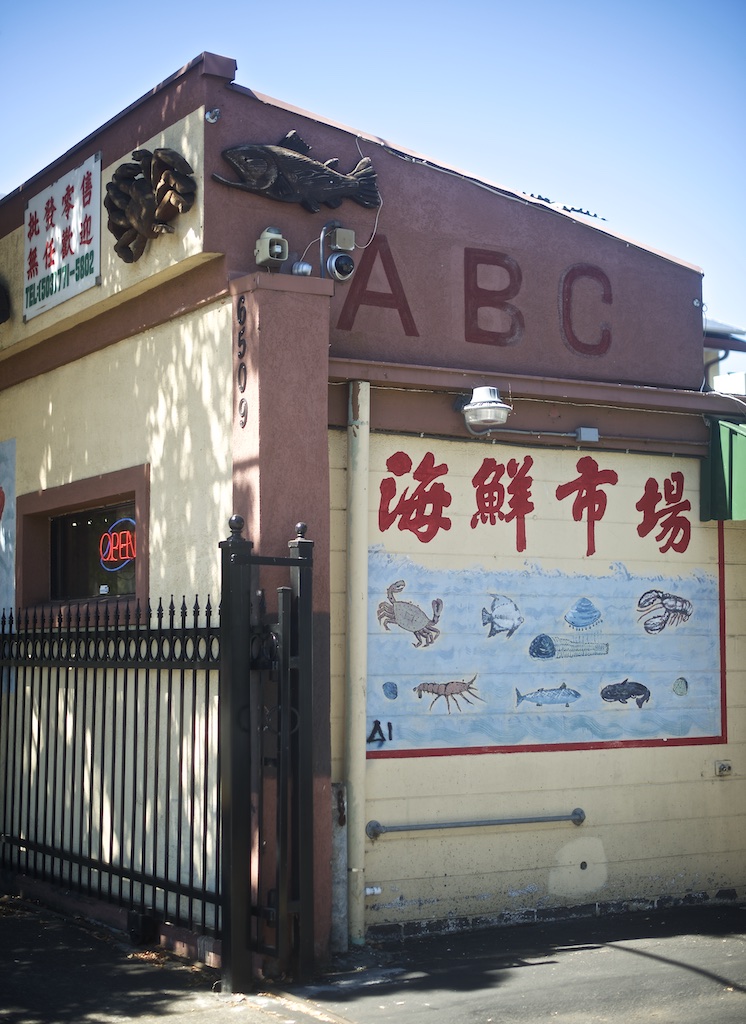
Next, I swung by ABC Seafood (6509 SE Powell Blvd). If you’ve never been, it is definitely worth checking out. For a very small shop, they have an amazing selection of locally caught seafood. It’s the only place around town to get fresh large Tiger Prawns. During Dungeness crab season, their live selection and prices are unbeatable.
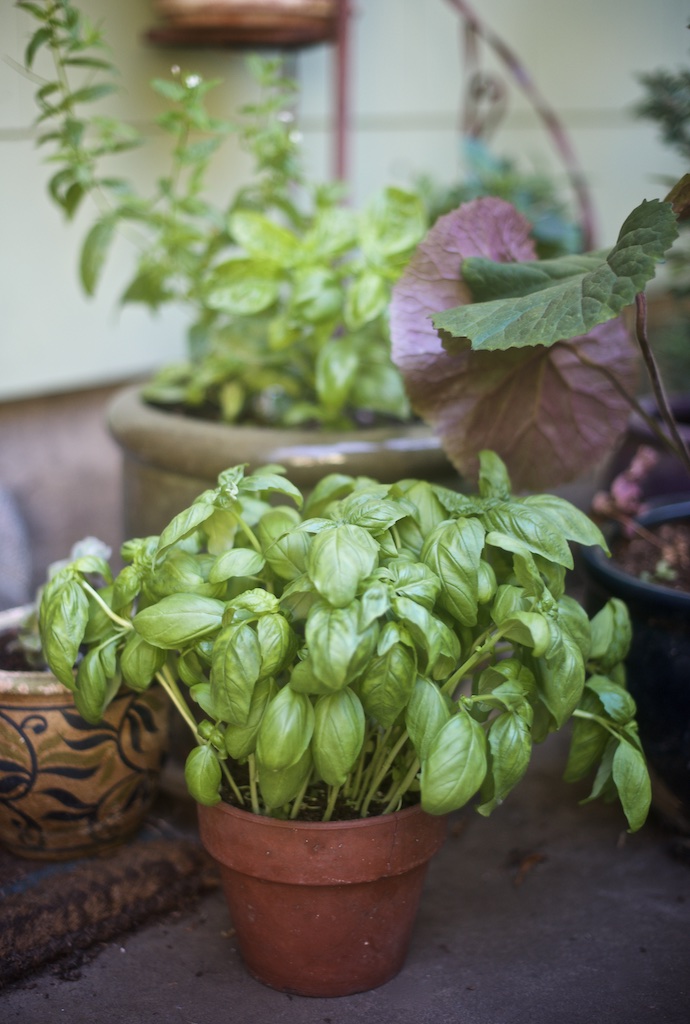
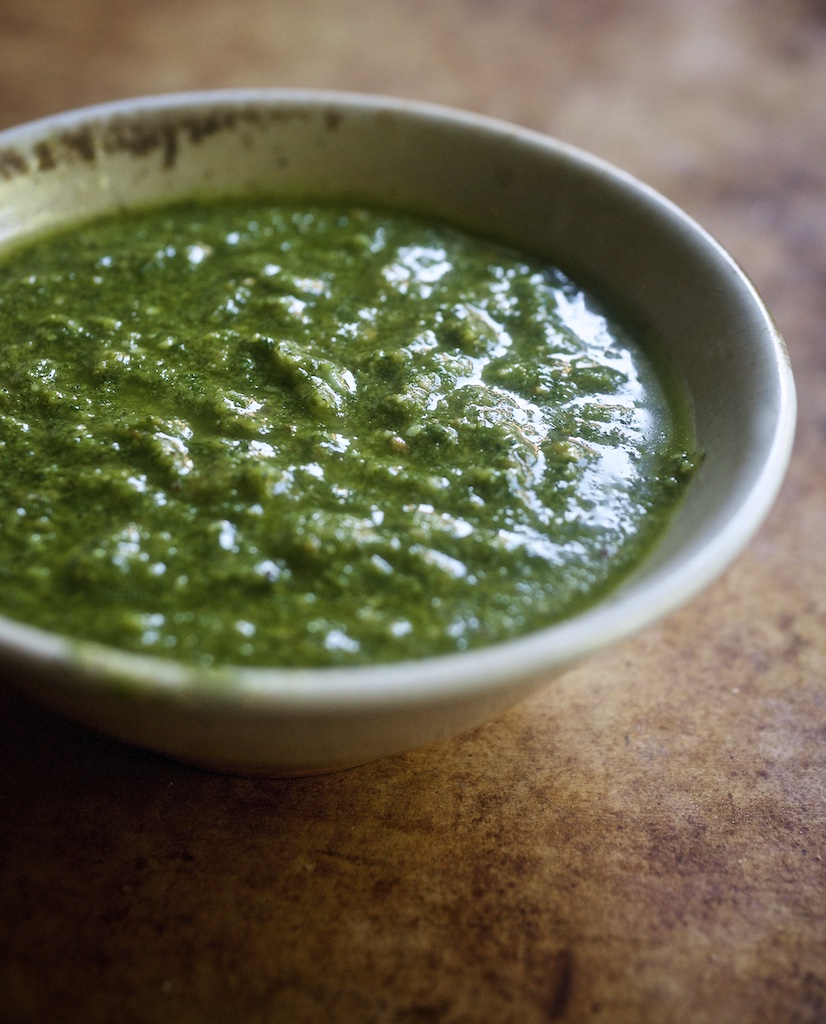
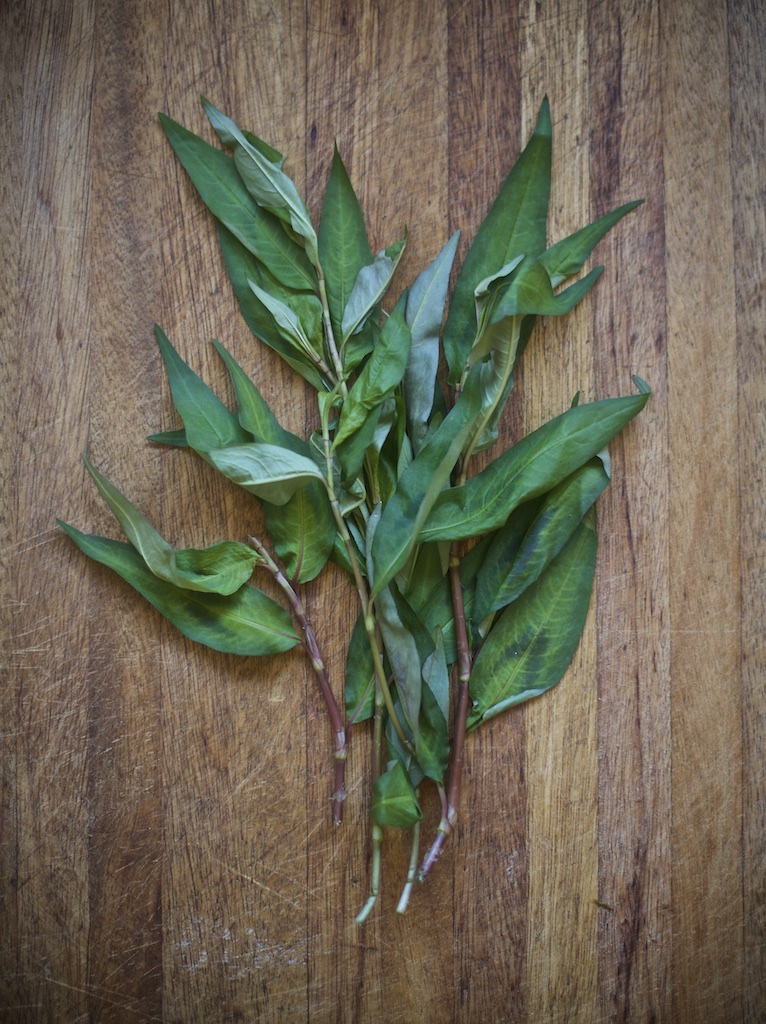
I was also able to pick up some fresh Rau Ram there. If you’ve never tried this herb, it’s wildly memorable, to say the least. It’s kind of like a cross between basil and cilantro, but also has a distinct flavor, unlike any other herb I have ever come across. Here it is pictured below. Once you try it, you will always be able to immediately identify it.
You can pick up the Soy Vay at most small supermarkets. This is a delicious and versatile product that we will be using both as a marinade for the shrimp and as a sauce on our final dish.
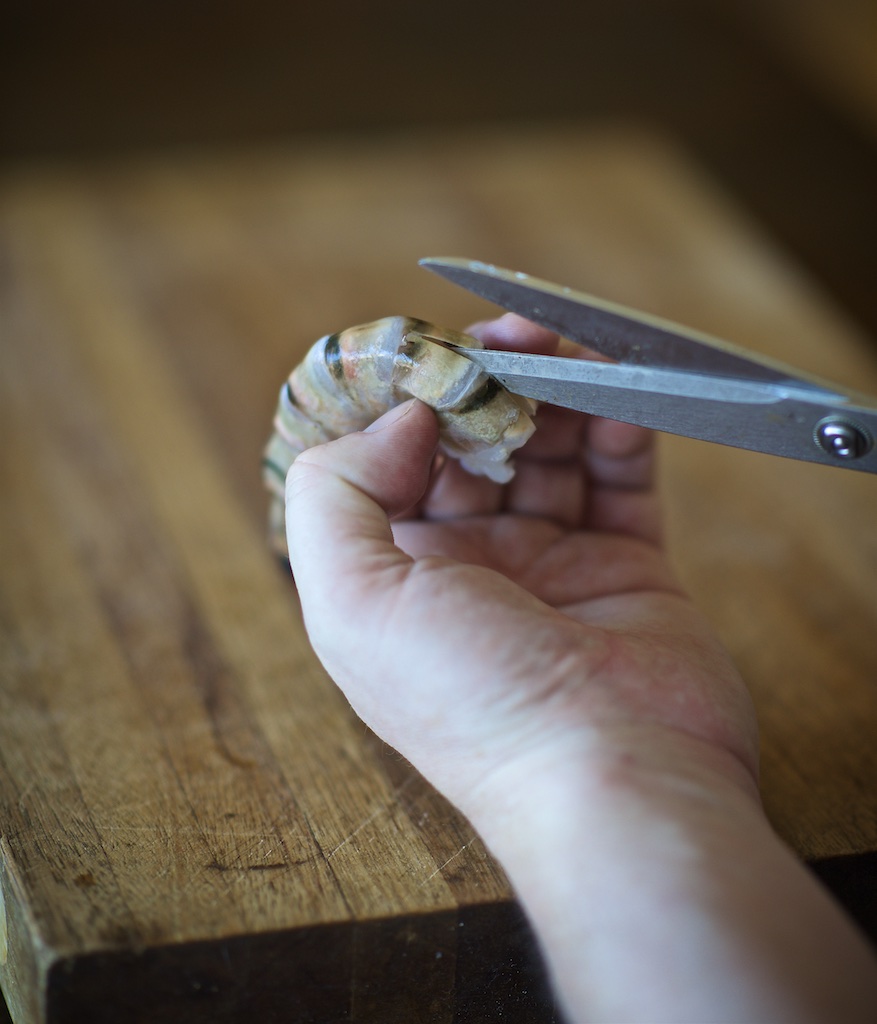
Now that our shopping is done, let’s get to prepping. Years ago, when I was cooking at Paley’s Place, a dishwasher there showed me a quick and painless way to peel and clean ‘shell on’ shrimp. With a pair of kitchen scissors, clip halfway down the top of the shrimp, just cutting slightly into the flesh, to both make peeling easier and opening up a channel to “devein” it as well. (That’s when you remove the little center intestinal track.)
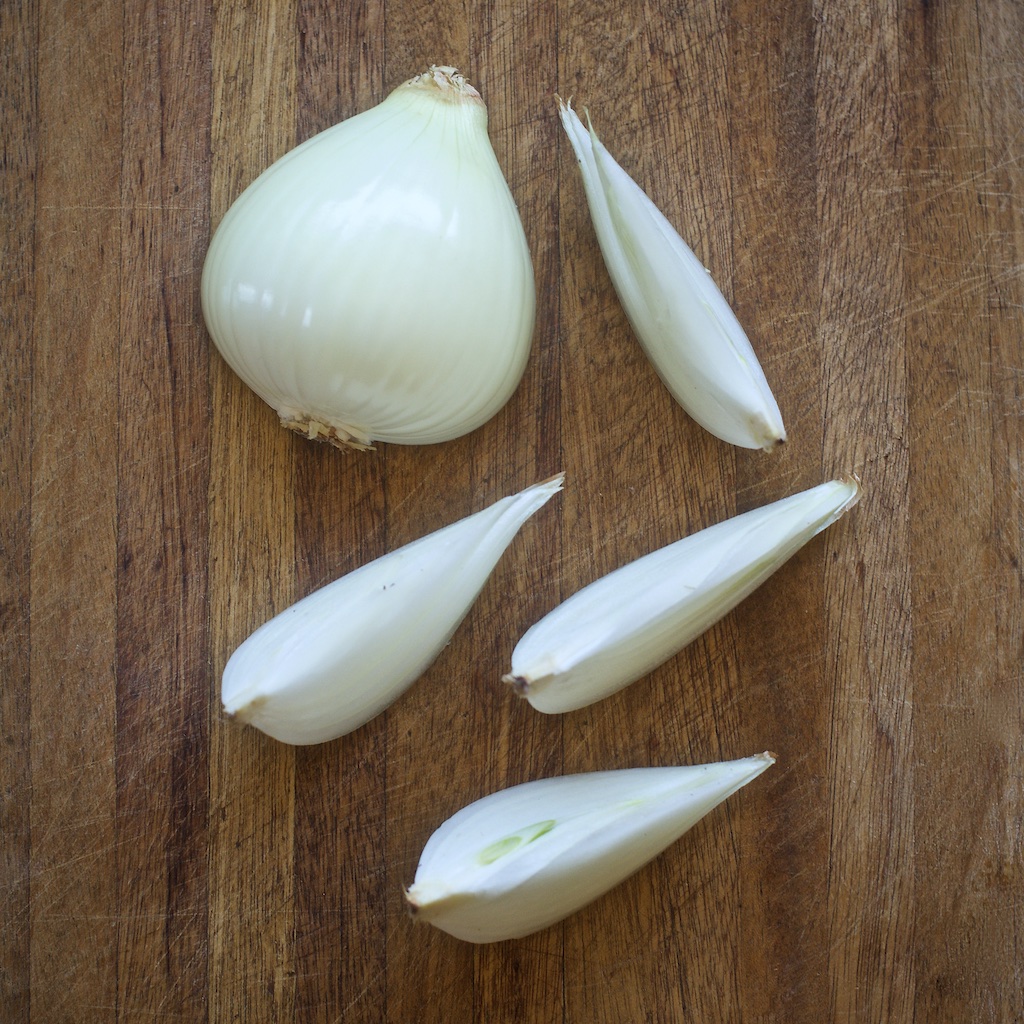
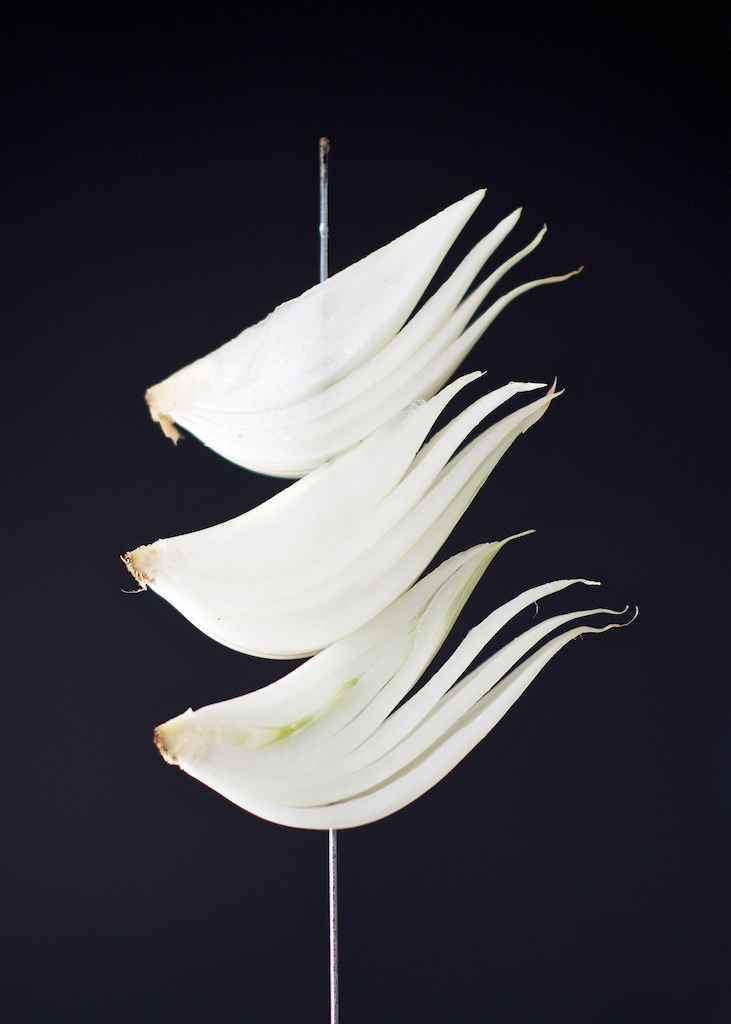
To prep out the onion, cut it in half straight through the base, peel it, and then cut each half into segments, leaving just a little bit of the stem to hold the pieces together like this:
And now we can finally get to skewering!
I try to cut the peppers into large uneven shapes to make them more secure and pick up better grill marks:
People often ask how to skewer mushrooms without having them split. Well, the first way is to get bigger mushrooms so there is more to work with, but also, if you skewer them at an angle, instead of straight through the stem, they will hold much more firmly, and also have more of the cap open to the grill surface:
Finally, I always skewer my shrimp fat side down to make sure the tip goes straight through the thickest part, rotating 45 degrees each time:
Once these are all complete, fire up your grill and start cooking your rice. Pour 3 Tbs of the marinade over the shrimp skewer and liberally oil, salt, and pepper the vegetable skewers. When the grill is good and hot, place the skewers on and tend to each as necessary, flipping and removing each when cooked through.

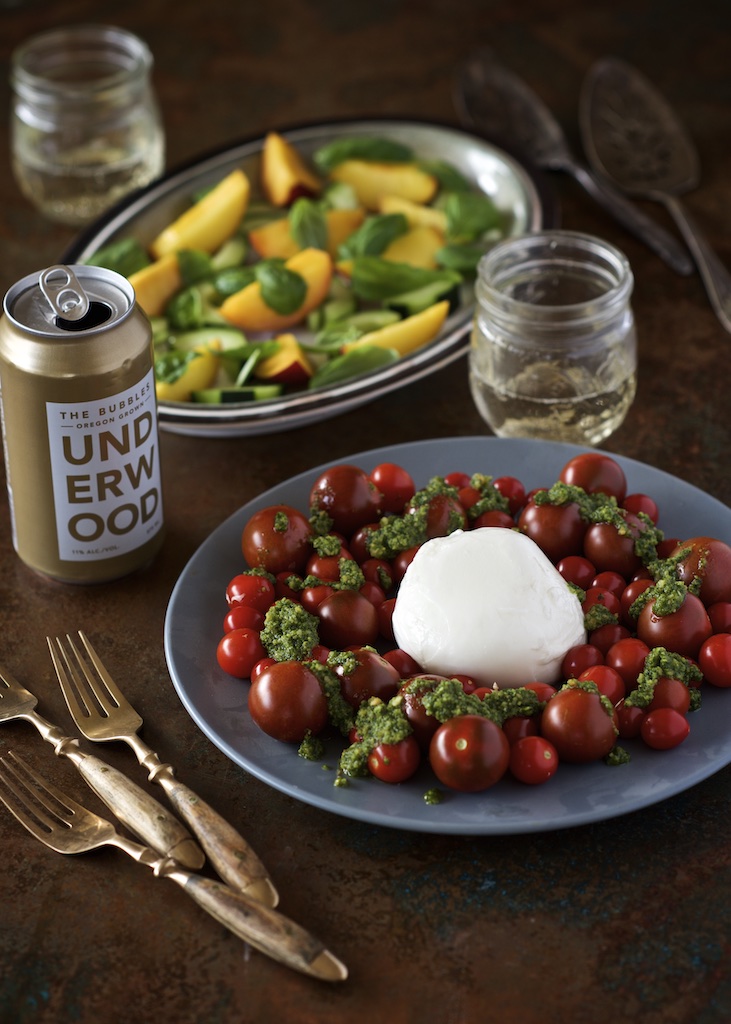
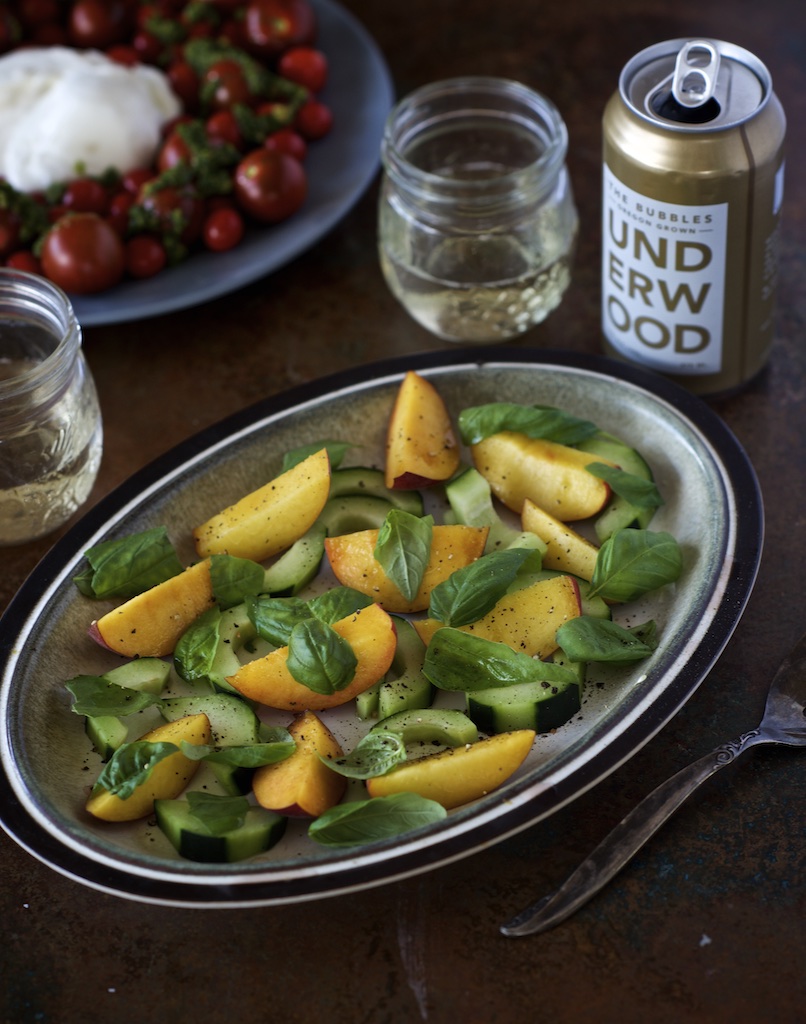
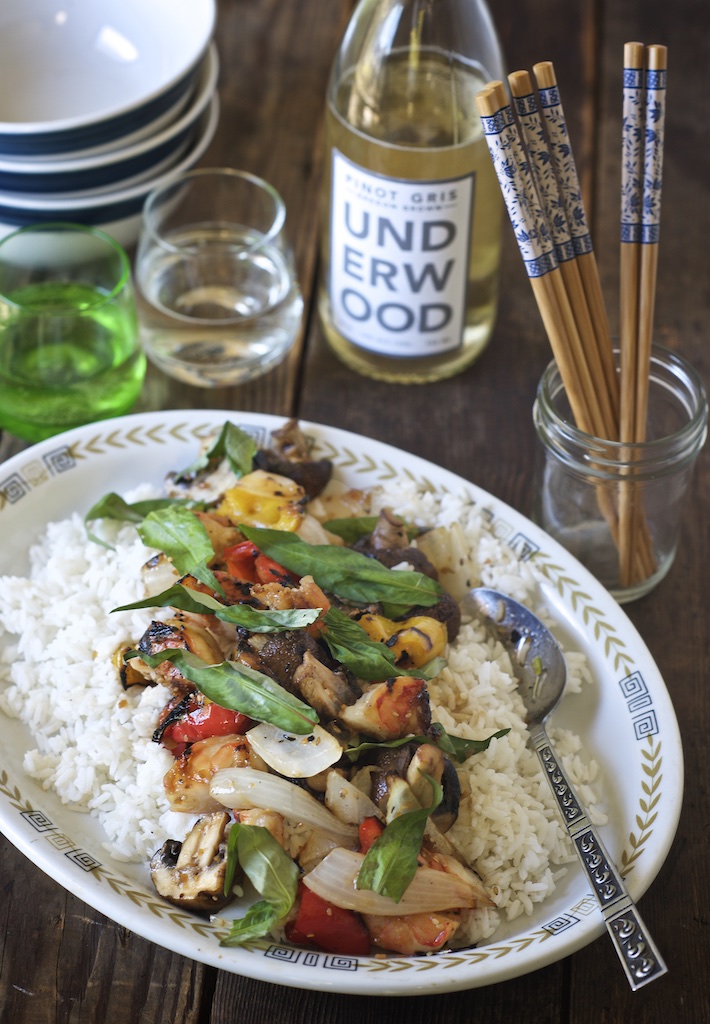
Allow the skewers to cool slightly and then remove the shrimp and veggies. You can leave everything whole or cut into smaller pieces at this point. Put everything into a bowl and mix in another 1/4 C of the Soy Vay. Spread your cooked rice on a platter and spoon the shrimp and veggies over the top. Garish with the fresh Rau Ram leaves.
Get out the chopsticks, crack open your ice-cold bottle of Underwood Pinot Gris and you are in business!
Bon Appétit, please stay safe out there and keep those
#pinkiesdown.
Happy Labor Day Everybody!
********
Photography, Text, and Recipe by David L. Reamer. (@dlreamer)