In many ways, 2019 was a challenging year. (I think you know what I mean…) Well, we can’t control everything, but what we can do is look inward and start the new year with some healthy routines to keep the mind and body feeling great. The time for New Year’s resolutions is here again.
I can honestly say that just a few years ago I had never even heard of kombucha, but now it is a huge part of my diet and life. For the uninitiated, kombucha is simply a deliciously funky beverage made by fermenting sugar and tea with a SCOBY (Symbiotic Culture of Bacteria and Yeast). This process creates living probiotic bacteria that are wonderful for digestion and all around general health.
When I looked into making kombucha at home, I couldn’t believe how easy and inexpensive it was. I did several test runs and came up with a recipe that is delicious and consistent, but I encourage you to adjust the ingredients as you see fit for a sweeter, more sour or less carbonated finished product.
The first step in making kombucha is to make a healthy SCOBY. This will become the soul and backbone of your kombucha. (I named mine Scoby-Wan Kanobi.) This process is similar to the actual making of kombucha but must be done first. Here’s what you will need:
MAKING A STRONG SCOBY
A One Gallon Glass Jar
Cheesecloth or Paper Coffee Filters
4 C store bought unflavored kombucha*
2 T tea*
1/2 C regular granulated white sugar
1 Quart tap water
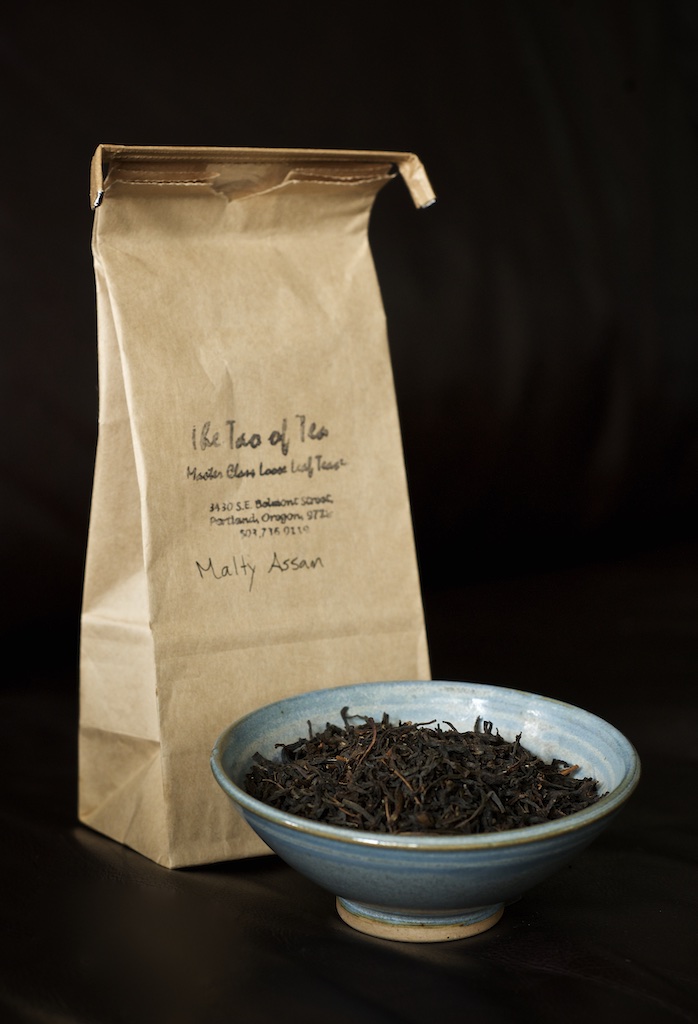
*For this, I recommend two local shops right across the street from each other on SE Belmont Street. First head over to the Soma Kombucha Taproom to pick up your unflavored kombucha. Feel free to bring your own Mason Jars. Then head across the street to The Tao of Tea to pick up the loose tea you need. I experimented with many teas but found the Malty Assan always seemed to work the best.
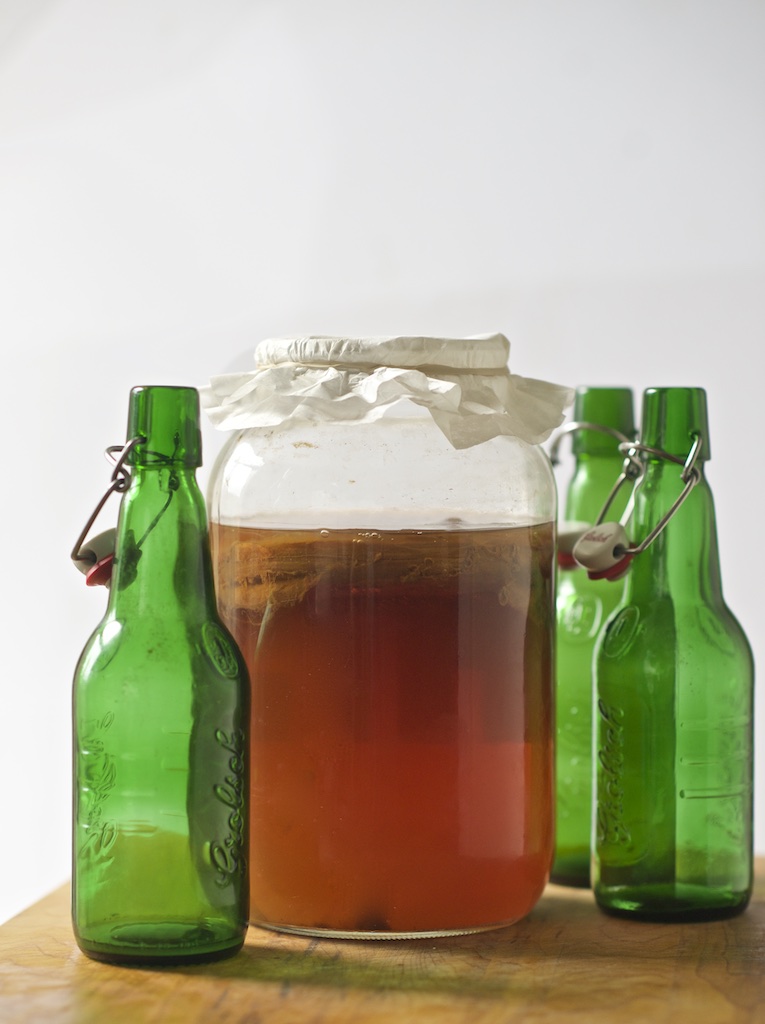
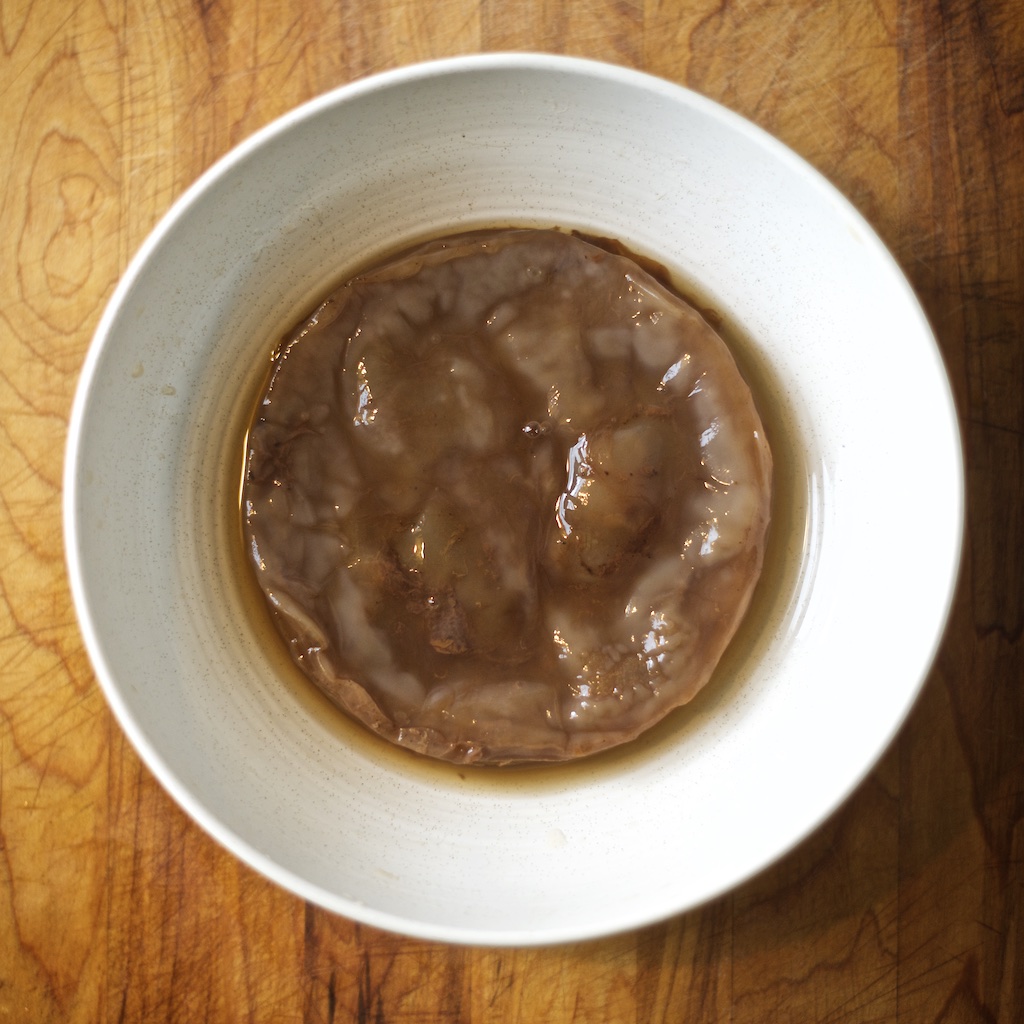
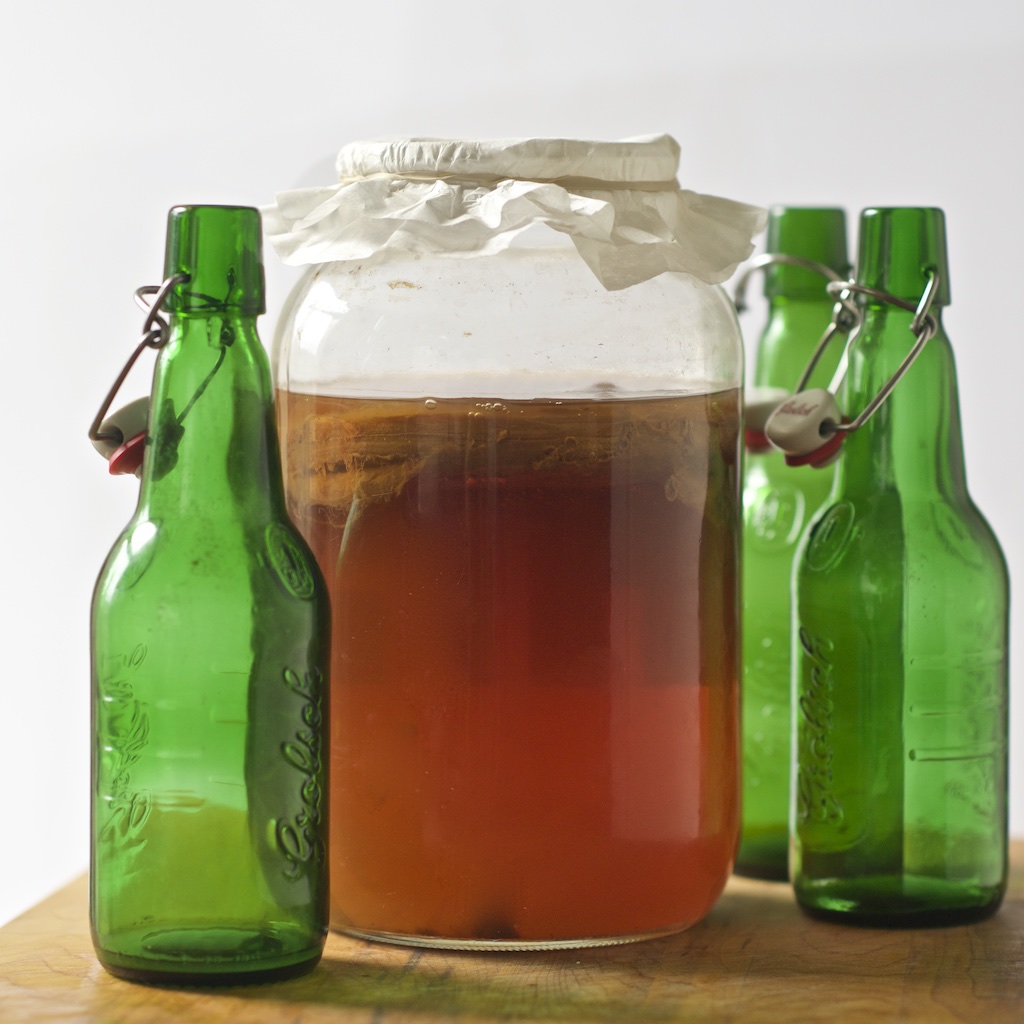
Place the water, tea, and sugar in a large pot. Bring the water to a boil. Stir to dissolve all the sugar. Turn off the heat and let the tea steep for 15 minutes. Strain the liquid into the gallon jar. When cooled to room temperature, add the unflavored kombucha and cover with the cheesecloth or coffee filter- secured with a rubber band. Wait about 3-4 weeks and you should have a fully formed Scoby. I’m not gonna lie. Scobies are pretty gross, but they are firm and resilient to handling.
It is said they have a tendency to mold- at which point you would need to throw it away and start over- but I have been making kombucha for a year and have yet to encounter any mold. If you are worried, there are many visual examples you can find online.
Believe it or not, this is what a fully formed healthy Scoby looks like:
Now that you have your Scoby, it’s time to make the Kombucha. It’s a very similar process using all the same ingredients, just with different proportions. In general, this first batch is too acidic to drink, but keep 2 C of the liquid for making your kombucha. (You will do this every time you set up a new batch.)
HOMEMADE KOMBUCHA RECIPE
12 C water
1 and 1/4 C granulated white sugar
1/4 C loose tea leaves
2 C of the liquid from your Scoby process
Just like before, place the water, tea, and sugar in a large pot. Bring the water to a boil. Stir to dissolve all the sugar. Turn off the heat and let the tea steep for 15 minutes. Strain the liquid into the gallon jar. When cooled to room temperature, add the unflavored kombucha and the Scoby and cover with the cheesecloth or coffee filter- secured with a rubber band.
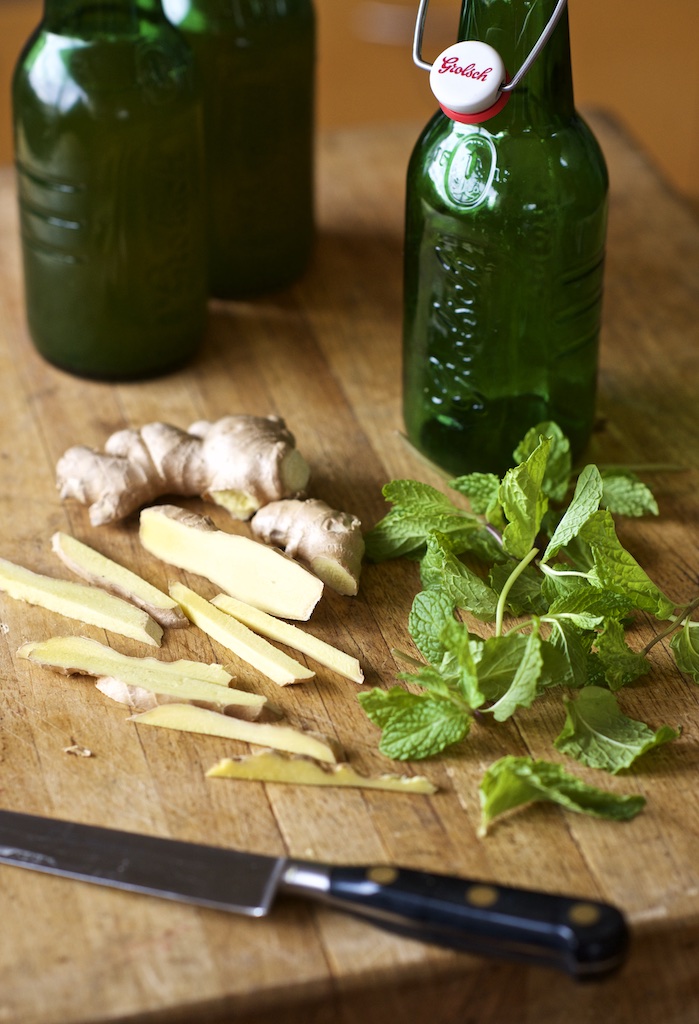
You can keep your kombucha at any temperature but remember that the colder it is, the longer the process takes. You can let the kombucha ferment anywhere from 1 week to a month. Since I keep mine at a colder temperature, I usually wait the full month before doing the second fermentation. This is done to add a specific flavor to the kombucha. There are myriad flavor choices for this step and I encourage you to try a few. For this project, I chose ginger and mint as my flavors.
*VERY IMPORTANT SIDE NOTE
When your kombucha is ready, you must put it into sealable bottles for the second flavoring fermentation. I STRONGLY recommend getting 6-8 Grolsch Beers. Drink the beers (duh!) and then use those bottles. I have had several bottles explode from the pressure built up during the second fermentation, but I have NEVER had a Grolsch bottle fail me.
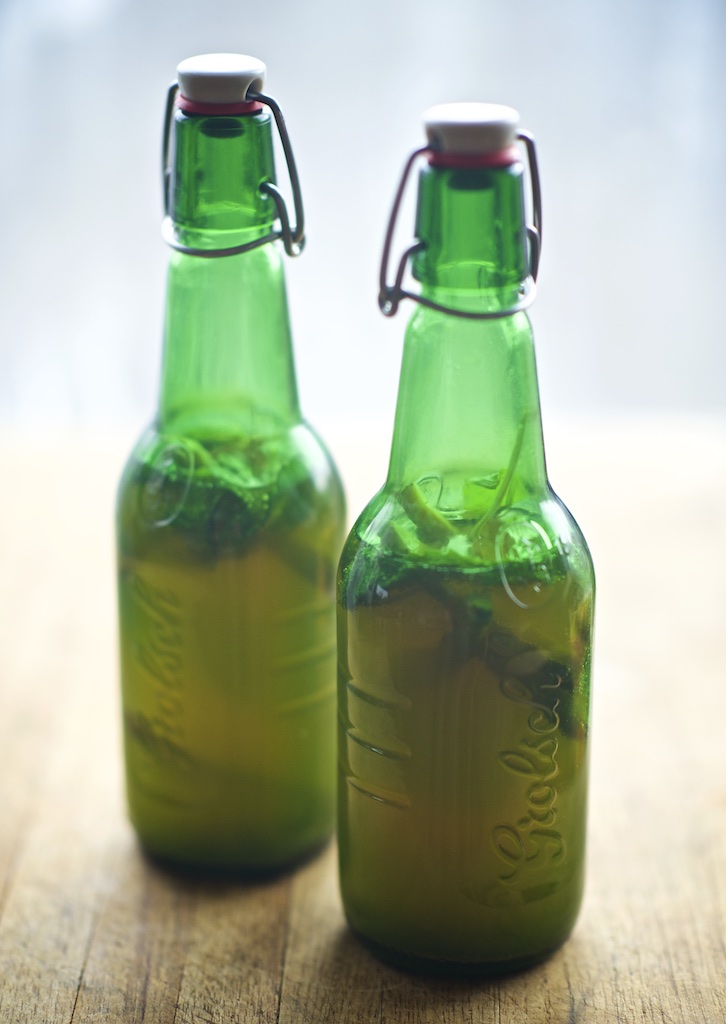
Whatever flavor you choose, pour your kombucha evenly among the bottles, leaving some room for the extra ingredients. Add the juice, ginger, herbs, etc. and then allow these to sit for about a week before drinking. It is perfectly acceptable to open the bottles every 2-3 days to let a little pressure off. This will not detract from the final effervescence.
One gallon usually makes about 6 Grolsch bottles worth.
I know that this was a practice in healthy starts, but let’s face it, we are a wine company, so we couldn’t end the post without coming up with a simple cocktail to show off your new creation. So here for your drinking pleasure, I present:
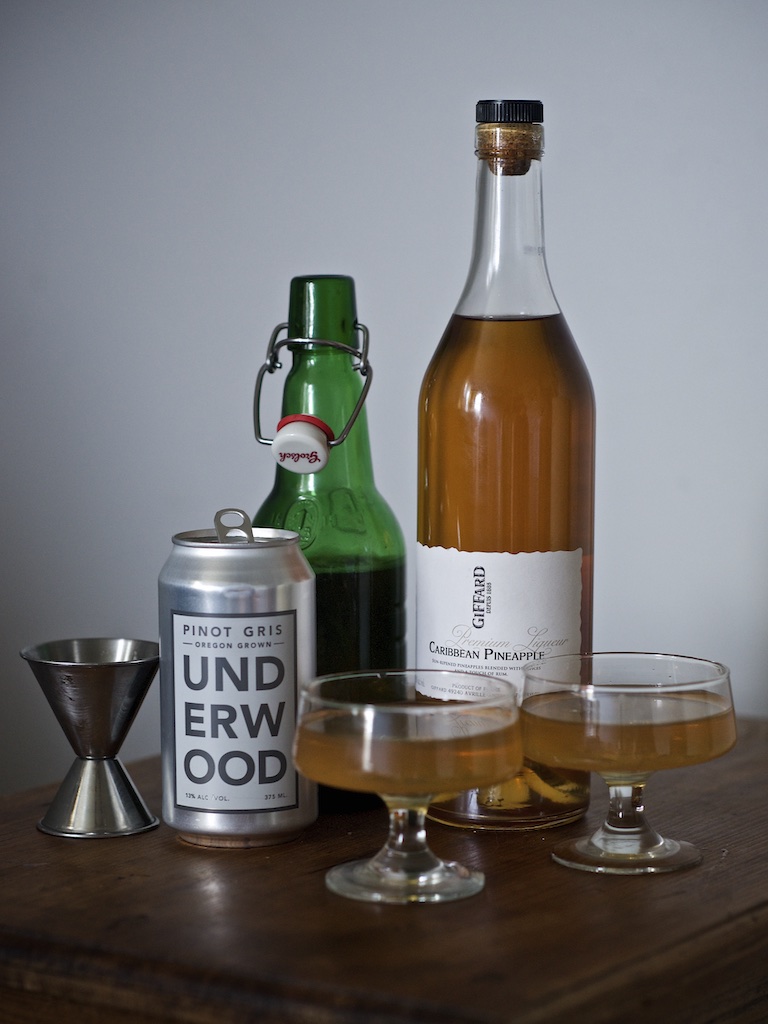
AFTERPARTY AT THE CO-OP
2 oz ginger mint kombucha
1.5 oz Underwood Pinot Gris
.5 oz Giffard Caribbean Pineapple Liqueur
Measure all ingredients into a shaker, fill with ice, shake heavily and strain into a glass. Enjoy!
I hope this post will inspire you to try your own kombucha. It’s cheap, easy and fun for the whole family.
Happy New Year and keep those #pinkiesdown.
Photography, Text and Recipes by David L. Reamer. (@dlreamer)