I know how intimidating and overwhelming it can feel to get started with backpacking. There are so many questions that need answering. What gear do I need? How will I stay safe? How will I know where to go?
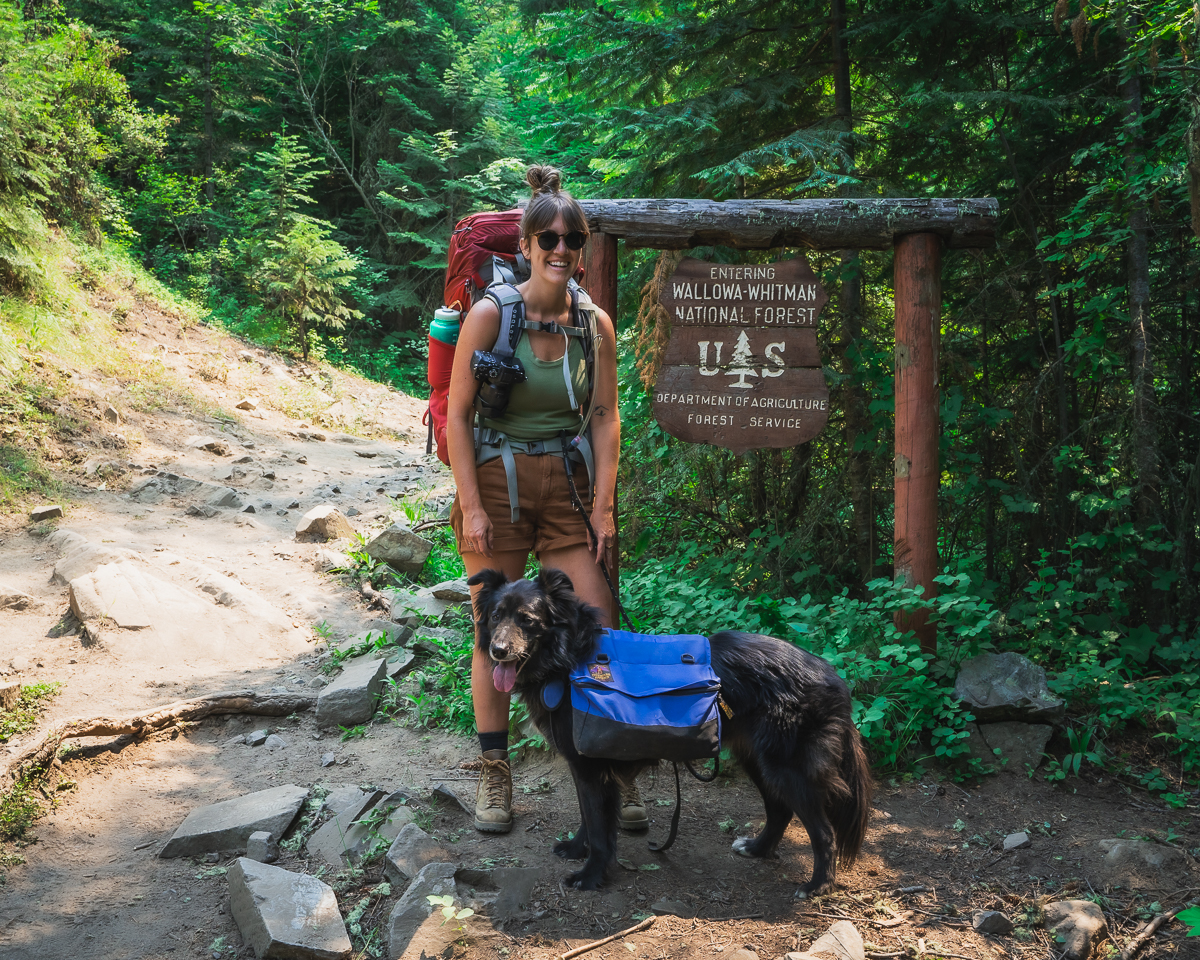
When I first began backpacking, I dove headfirst into the longest hike of my life; the Oregon section of the PCT. I backpacked for 30 days using ill-fitting, heavy gear, paper maps, and a whole lot of extra stuff I didn’t need. My feet hurt throughout the entire trek, red, sore, and covered in blisters. But I made it and all that anguish was worth it!
I’ve learned a lot over the 6 years since that hike. I’ve been able to swap out some of my gear for more practical items and successfully spent countless nights under the stars in the mountains, in the desert, and on the coast. My objective with this post is to share some of the lessons I’ve learned from my adventures. Hopefully, it will give you the confidence to branch out beyond car camping.
Before I get started, I want to clarify that this is what I’ve found works for me. Everyone is going to feel differently when they enter the backcountry, so make sure to do plenty of your own research and trial and error to figure out what you’re most comfortable with.
So if this sounds exciting to you, but you aren’t sure how to get started, I’m here to help! Here are some ways to work up to backpacking:
• Start with longer hikes! Tackle a long-distance trail and bring a heavier backpack with plenty of supplies, including extra food and water (we call this training weight). Do all the research you’ll need beforehand to complete the hike safely. You’ll feel a sense of accomplishment while training your body to carry a heavier load. It will also help familiarize you with the experience of spending several hours immersed in nature before trying it out overnight.
• If you have no experience backpacking, I recommend going with knowledgeable friends the first few times. There’s only so much you can glean from the internet. Learning directly from those who have experience will be so helpful when questions arise. And they’ll be there to back you up if you forgot to pack a crucial piece of gear. Don’t have friends who want to backpack with you? Try a local club, MeetUp.com, or reach out to like-minded folks on social media.
• Before you invest in your own backpacking gear, try borrowing from a friend or renting from an outdoor store. This will help you narrow down what kind of gear you like best and will ensure that you’re well equipped with knowledge and experience when you do finally purchase the items you need. There’s also plenty of used gear shops out there for those with a tighter budget. REI has a whole used gear section on their website. This is the perfect way to get started while simultaneously keeping used gear out of our landfills.
The most important step you can take to prepare for your first backpacking experience is to do a lot of research. Knowledge is so empowering and the more you have, the more comfortable you will feel in the backcountry.
One creative option is to take an online or in-person class on backpacking. For example, REI teaches many outdoor skills classes, including topics in navigation, survival basics, women’s wilderness skills, and First Aid. They also have local backpacking trips in many cities across the US for those who’d prefer to learn from experts on multi-day trips. This is also a great option if you’re looking for new like-minded friends to go backpacking with.
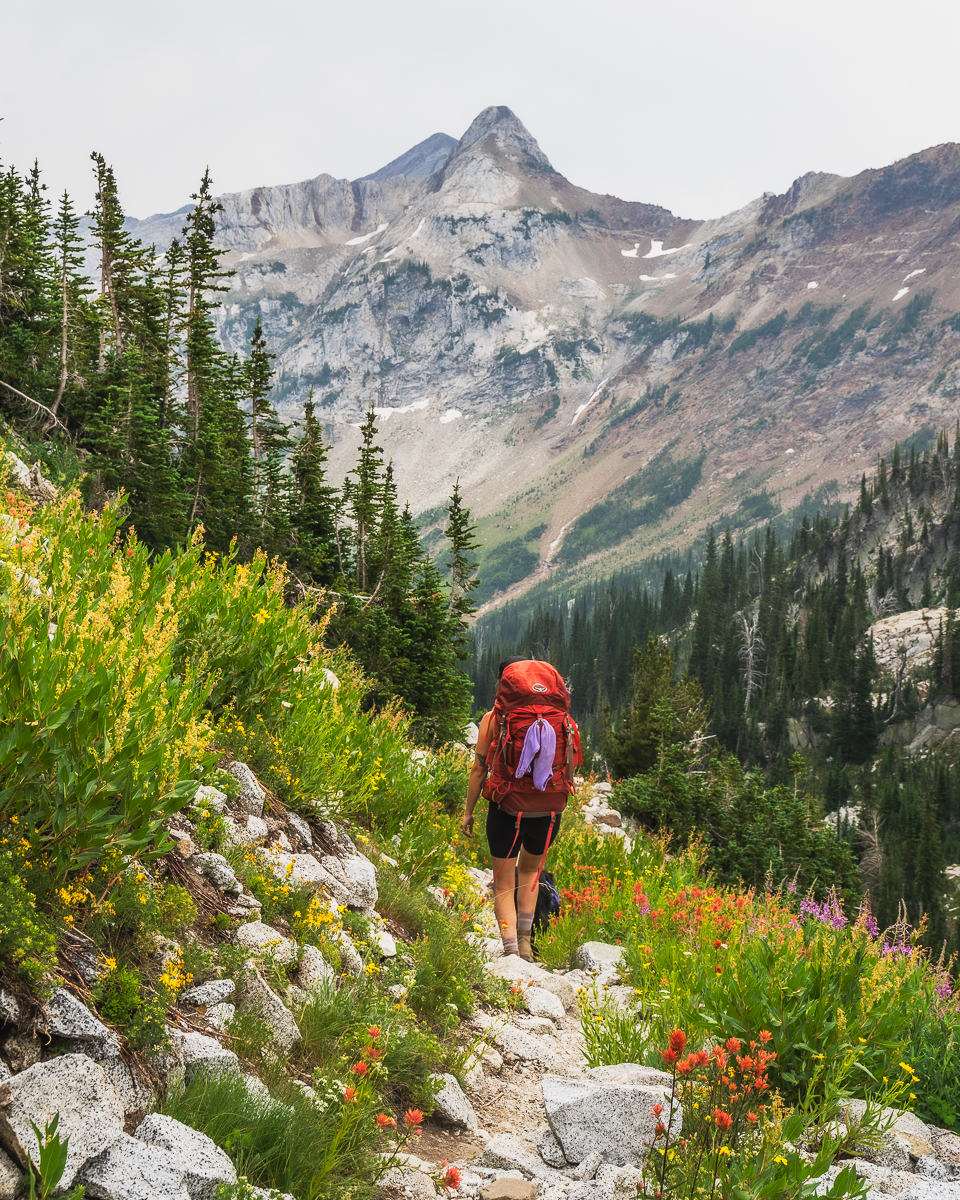
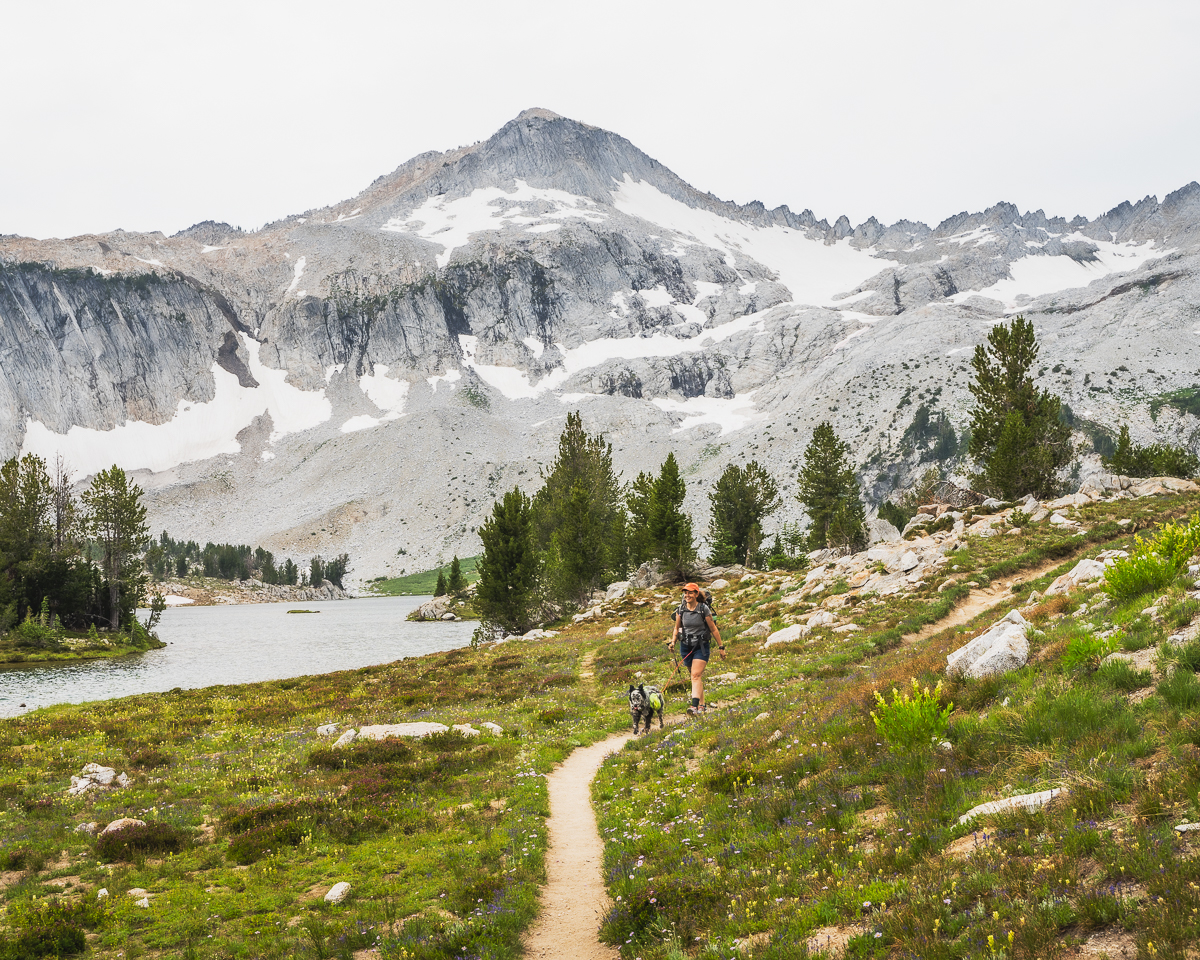
When choosing a location for your first trip, start with a fairly easy, low mileage trail and only stay out one night. That way you won’t be far from your car if you forget a crucial piece of gear. Starting easy and working your way up to longer and more difficult treks is perfectly normal. And there are plenty of short trails with beautiful views! It may just mean a little less solitude.
If you’re not sure how to find trails near you, I suggest using the AllTrails app downloaded directly to your phone. There’s both an unpaid and paid version. There are benefits to the paid version, like the ability to download maps that you can follow while you hike, but the free version works great as well and you can still often view the maps offline. This app will help you figure out what trail will suit you best. It lists the length and elevation gain of each trail. Plus, people write helpful reviews on trail conditions and campsite locations.
Once you decide on a trail, google the nearest ranger station and give them a call before you depart. They might have more recent information about trail closures, permits, wildfire restrictions, and conditions that you won’t find on the internet.
Start your hike early in the morning. Getting an early start will allow you to take your time getting to your destination and will most likely give you the chance at the first pick of the best campsites. That way you’ll have the rest of the day to play and enjoy the gorgeous views.
Safety in the Backcountry
Have you heard of the 10 essentials? Carrying these items with you every time you step into the backcountry is so important, even on short day hikes. And knowing how to use them will be incredibly valuable if you ever get yourself into a bind. They could save your life.
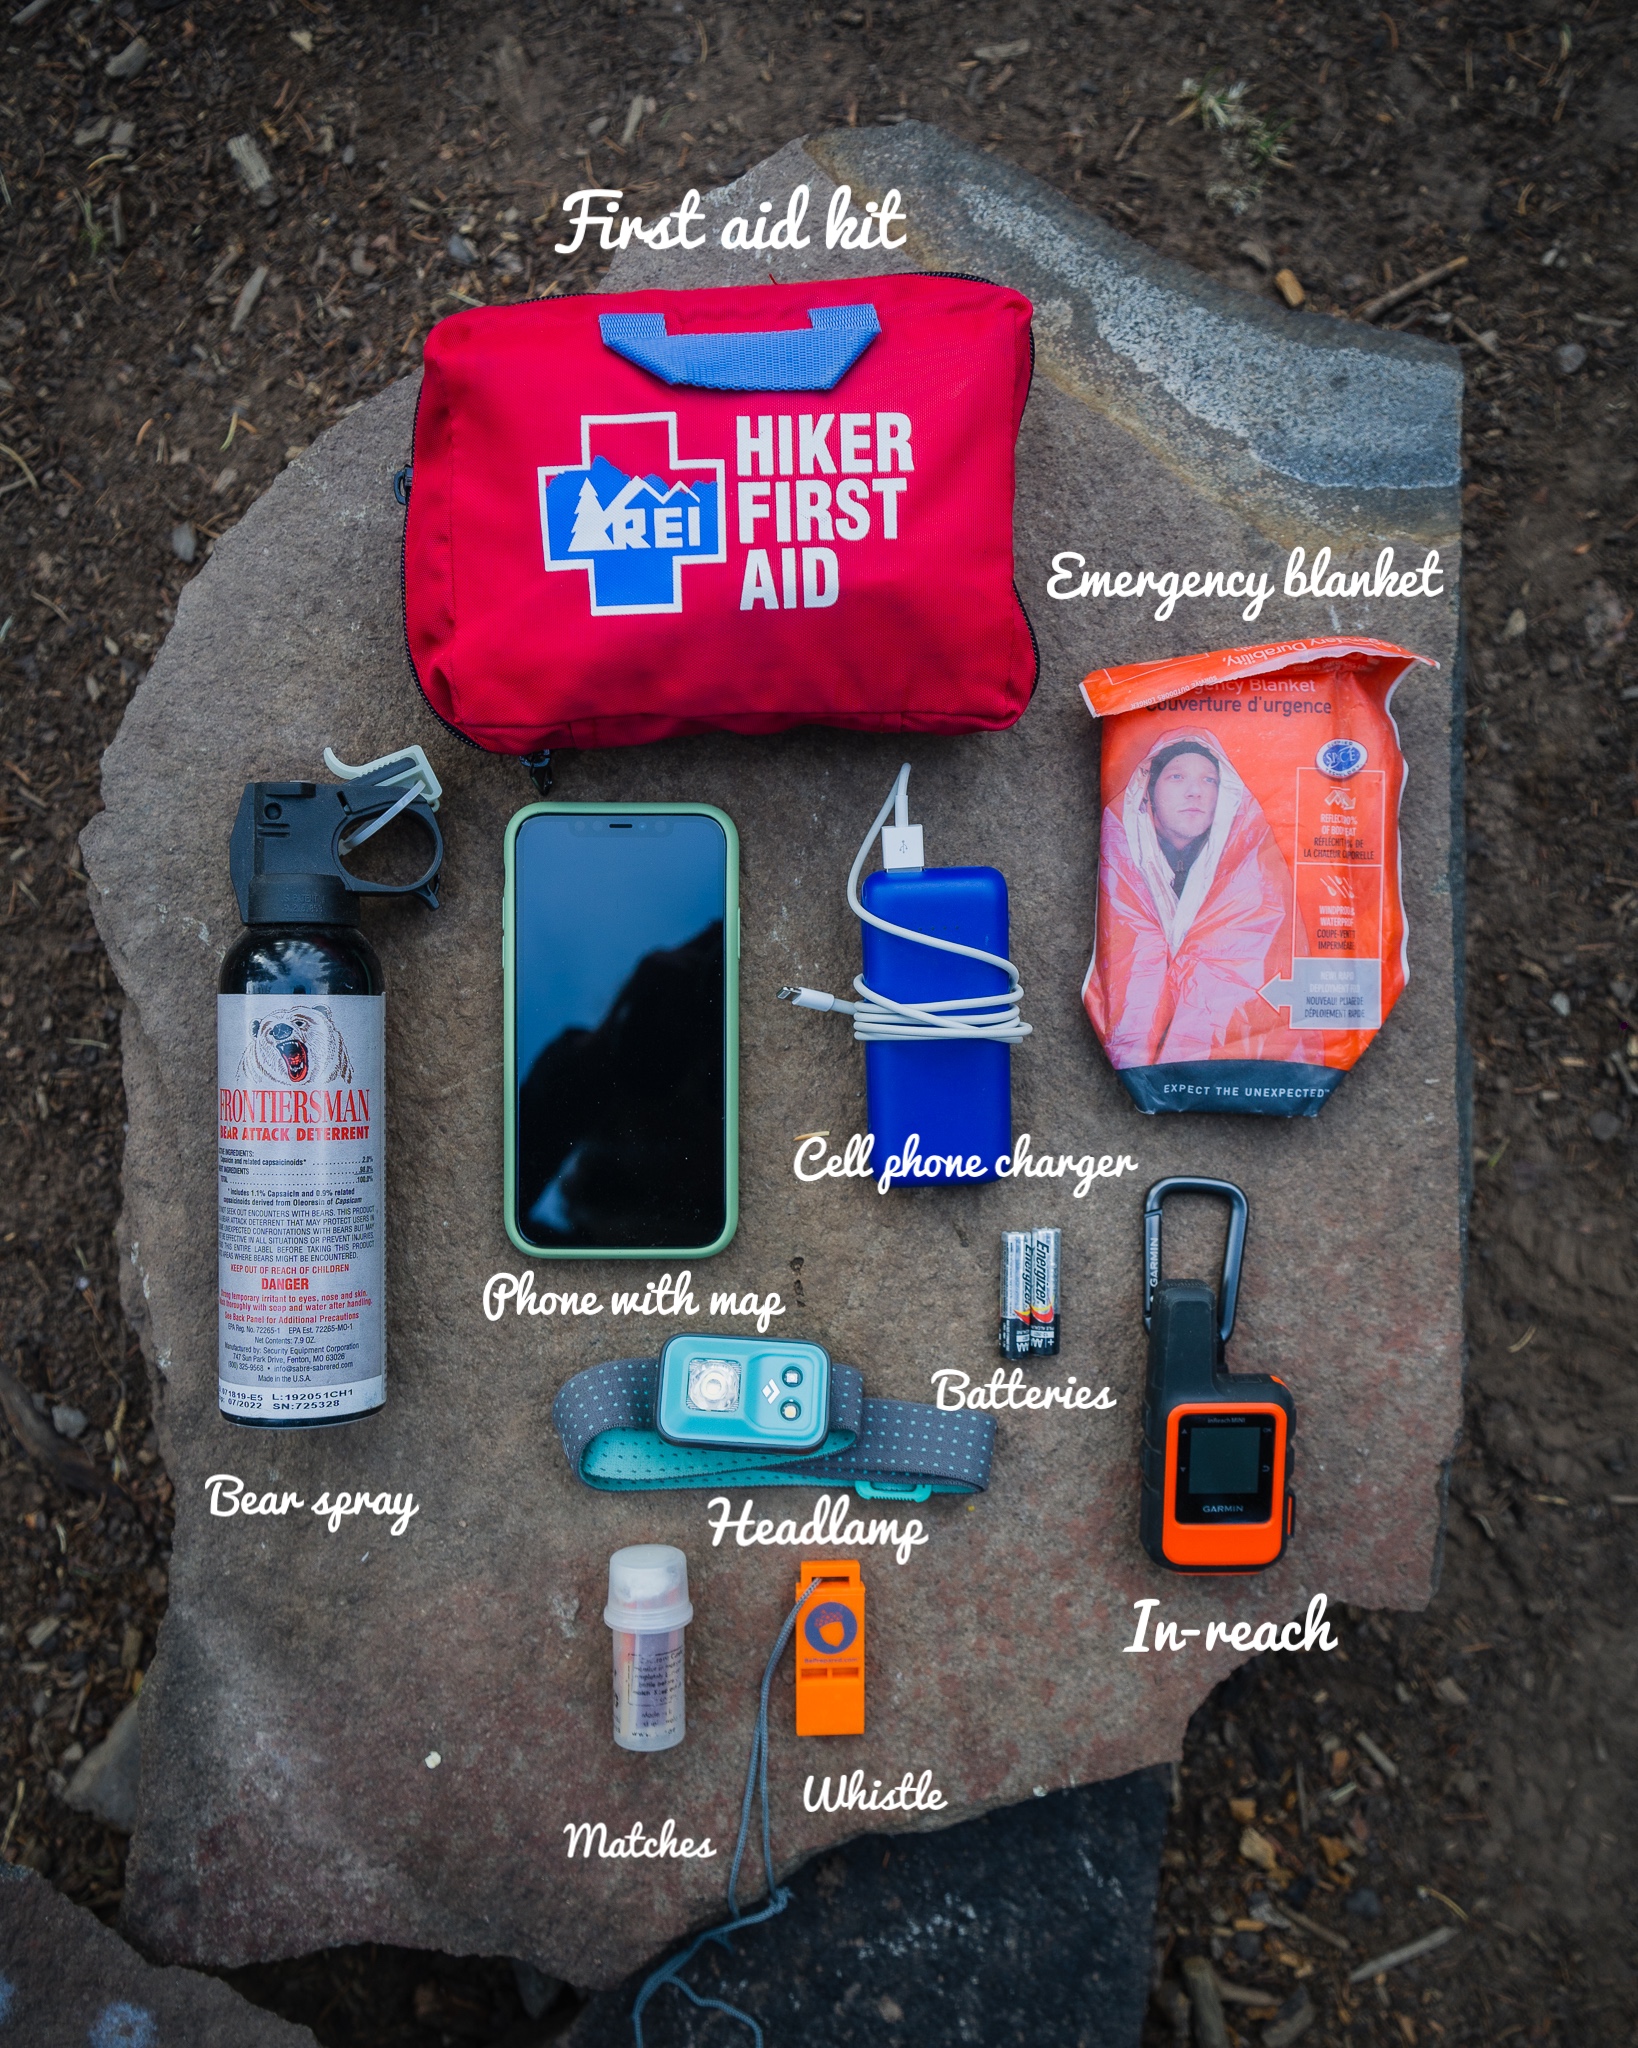
The Ten Essentials:
• Navigation: map, compass, altimeter, GPS device, personal locator beacon (PLB), or satellite messenger.
• Headlamp and extra batteries
• Sun Protection: sunglasses, sun-protective clothes, and sunscreen
• First Aid: including band-aids, ointment, and insect repellent
• Knife: and gear repair kit
• Fire: matches, lighter, tinder, and/or stove
• Shelter: carried at all times (even as simple as an emergency bivy)
• Extra Food
• Extra Water
• Extra Clothing
Having a whistle could save your life if you accidentally slip, fall, or are rendered immobile in any way. Many backpacks have them attached to the shoulder straps, but you can also purchase one separately. Experts advise keeping it around your neck, in case you’re separated from your pack. 3 loud blasts, each lasting about 3 seconds, is the universal call for help.
I always carry an extra iPhone battery charger with me. Smartphones aren’t only good for taking amazing photos and videos of your travels, they double as navigation, map storage, and potential call for rescue. The last thing you want is for your phone to die on the trail when you need it most.
Always be sure to tell someone where you’re going and when you plan to be back. Supply them with the phone number for the nearest Ranger Station and let them know at what point they should be worried enough to call.
As stated earlier, always be sure to know what your selected trail conditions will be like and check the weather forecast before you go. Knowing what to expect, in terms of weather, will give you the information you need when you’re packing for your trip. But it’s also important to “expect the unexpected.” So even if the forecast isn’t predicting rain, I’ll stuff a raincoat into my pack just in case the weather turns. This can happen frequently in the mountains, so it’s best to be prepared.
What to Pack
Having the right gear for your trip is essential, but don’t get too hung up on the fancy stuff! Expensive gear can be a huge barrier for a lot of people. But there’s absolutely nothing wrong with borrowing from friends, finding used gear, or starting with the less expensive, but probably slightly heavier stuff. When I started, everything I brought with me was used. Over several years, I slowly replaced the vintage items with more lightweight ones. It’s ok to start wherever you are. The most important part is knowing how to use what you have.
It’s really helpful to have a physical list and cross items off as you go. That way, you won’t get stuck without a crucial piece of gear when you’re miles away from town.
REI has this super helpful and comprehensive backpacking checklist that you can download and print out at home.
In order to determine what you need to pack, however, you’ll have to consider several factors, including how far you’re going, what kind of weather you’re expecting, how long you’ll be out for, and what kind of terrain you’ll be crossing.
Here are some items I deem essential:
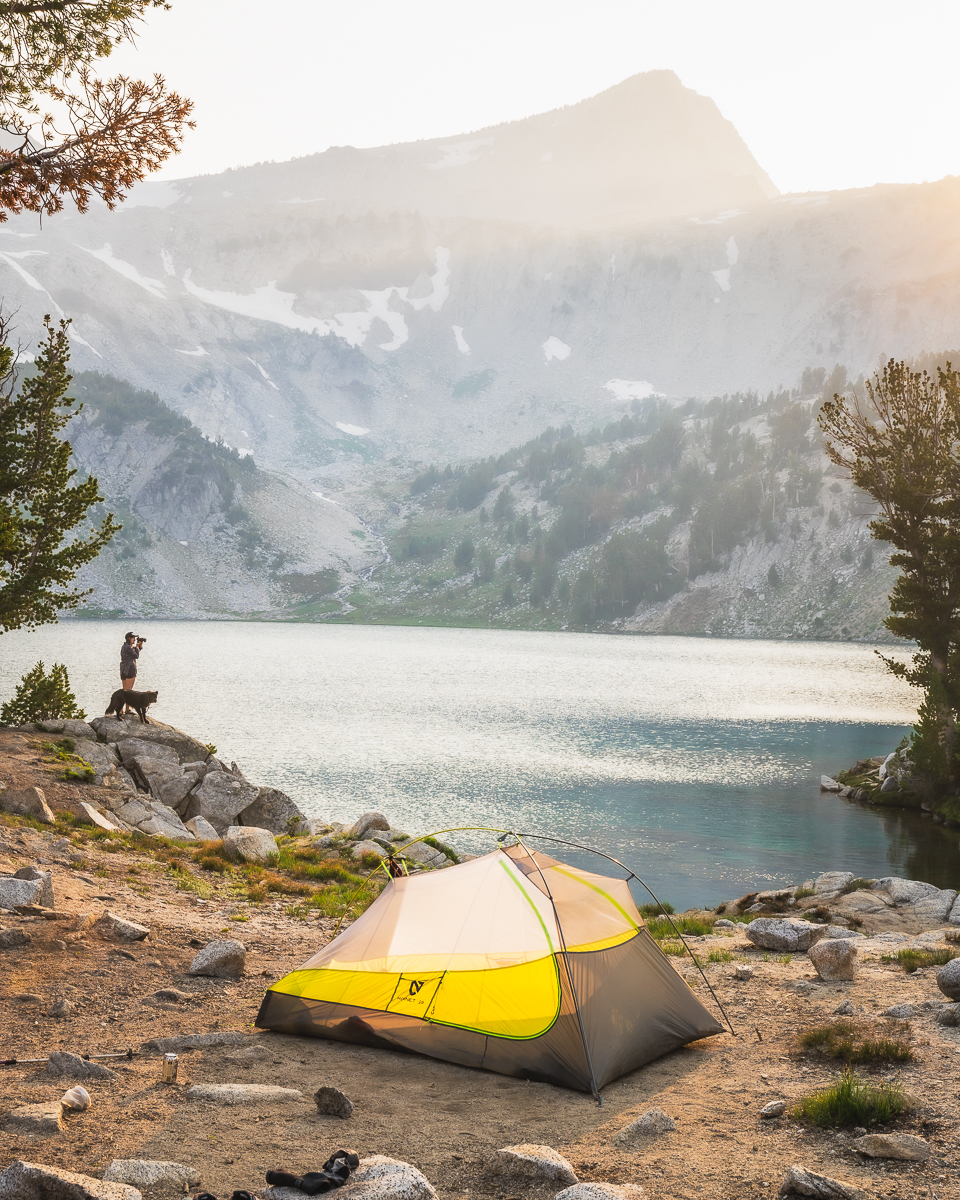
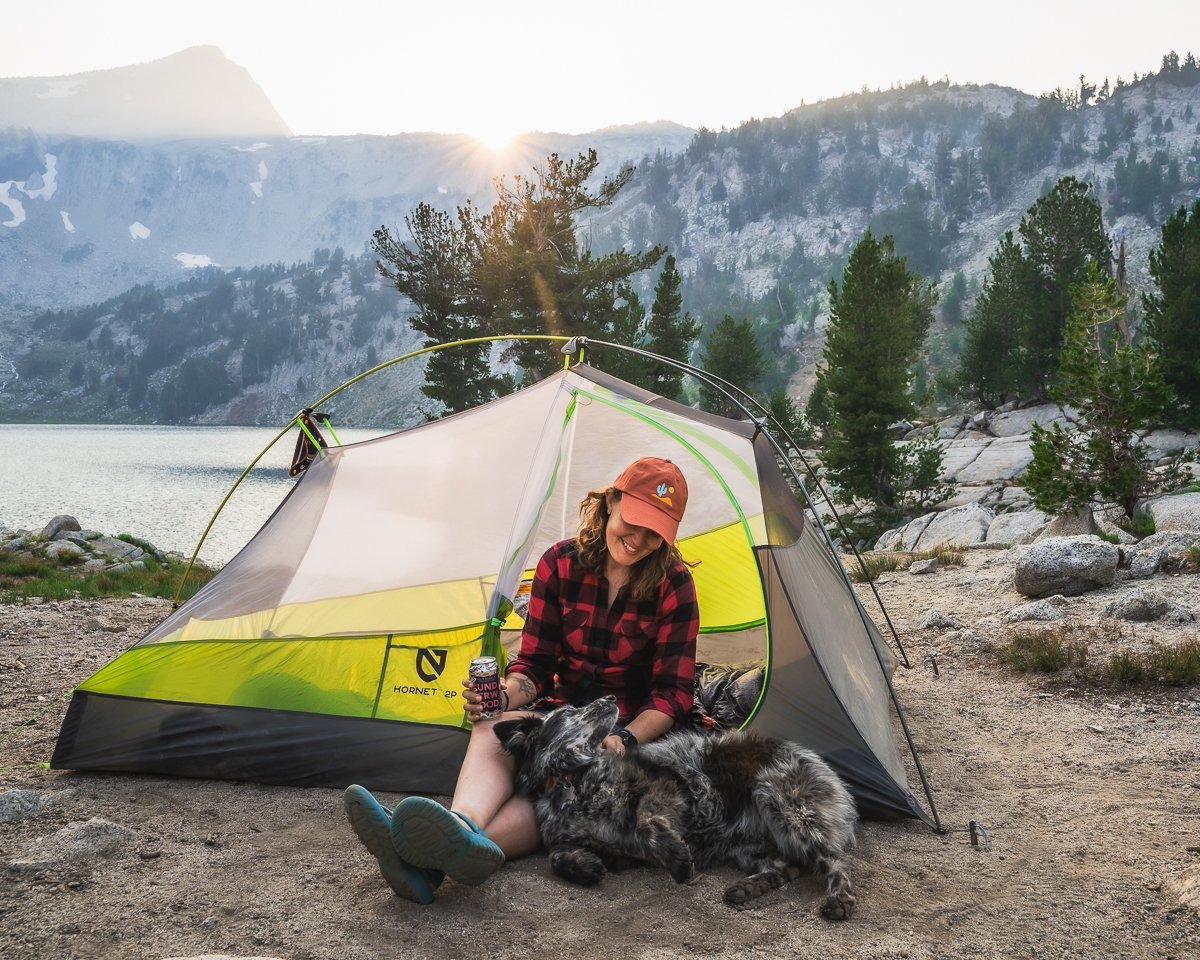
A One-Person Tent (unless sharing with a friend):
I recommend using a one-person tent to keep your pack weight down. However, if you have a dog or you prefer something roomier, you might want to consider a two-person tent. I use a Nemo Hornet 1 Tent, because it feels spacious enough for me and my pup, it’s easy to set up, and it packs down small.
Stove:
A stove is a great item to share with a friend to keep weight down. But you can also bring your own. I have the MSR Reactor Stove because it performs well in snowy conditions. But this might be overkill for the casual summer backpacker. There are several lightweight, less expensive options to choose from as well. Jetboils are a popular option amongst backpackers.
PLB’s and Satellite Messengers:
My Garmin InReach Mini is my most valued piece of gear. It gives me an added sense of security whenever I’m outside of cell range. I often use it to text my parents my location when I arrive at camp. Just knowing that someone else has my exact location gives me that extra peace of mind. I also love that I can check the updated weather forecast whenever I need to.
However, these devices can be quite pricey. If you don’t have the funds to invest in an emergency device right now, don’t let that keep you from going. Just make sure someone knows where you’re heading.
First Aid:
It’s important to always hike with some form of first aid. Even on short day hikes, I carry a handful of these items. You can buy a readymade kit or build your own. I’ve been using the same first aid kit for a few years now, and I simply replace the items as I use them.
The items you bring will largely be dependent on where you’re going and what time of year it is. You’ll want bug repellent in the mountains during summer, for example. I always like to stash away some extra ibuprofen as well, to soothe my sore muscles at night.
Self-Protection:
I bring SABRE Frontiersman Bear Spray with me on my solo hiking and backpacking trips. This is my preferred method of self-protection. Keep it somewhere easily accessible and know how to use it before you go.
Another option would be to carry a more standard pepper spray, like SABRE RED Tactical Pepper Gel. If you aren’t hiking through bear country, a spray of this strength would be perfectly suitable.
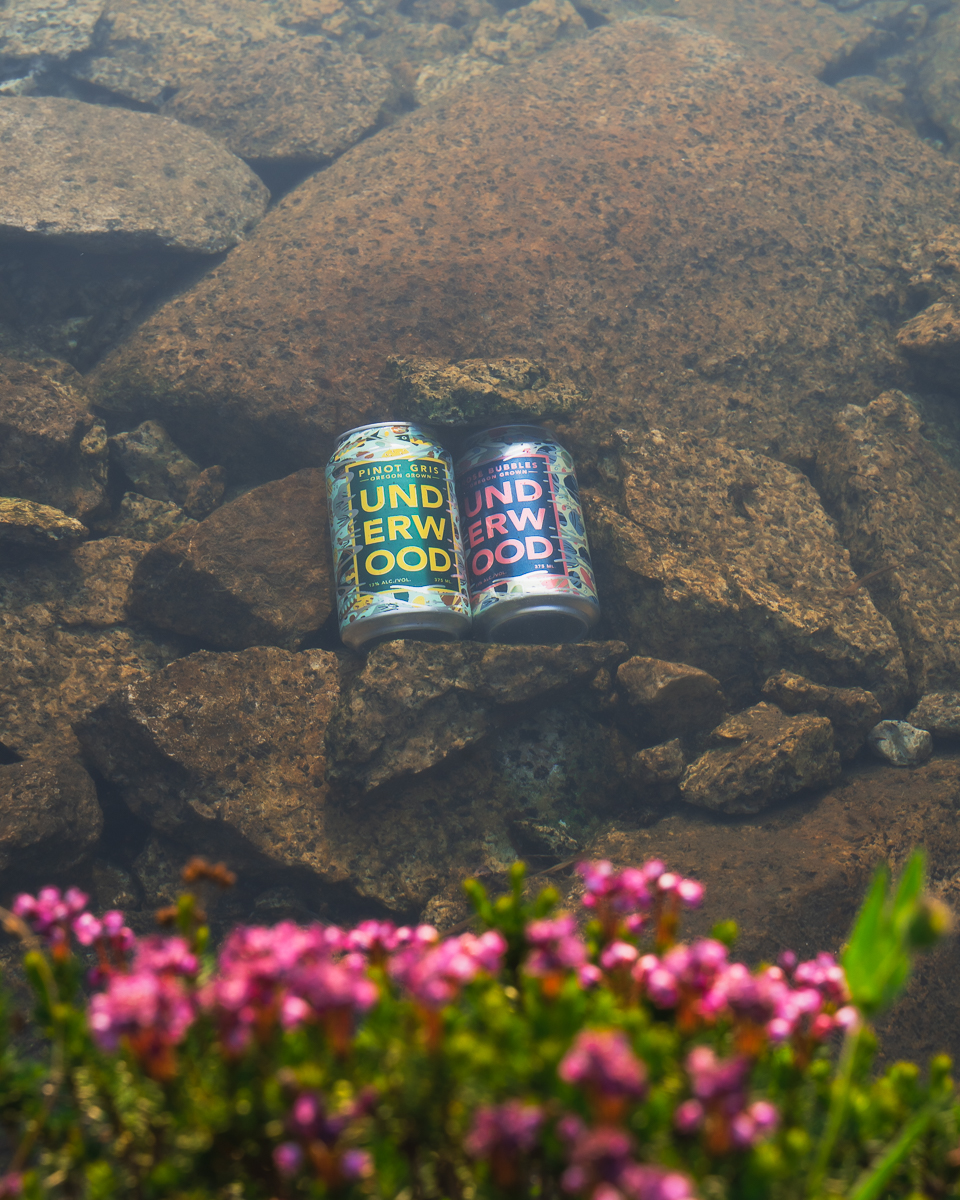
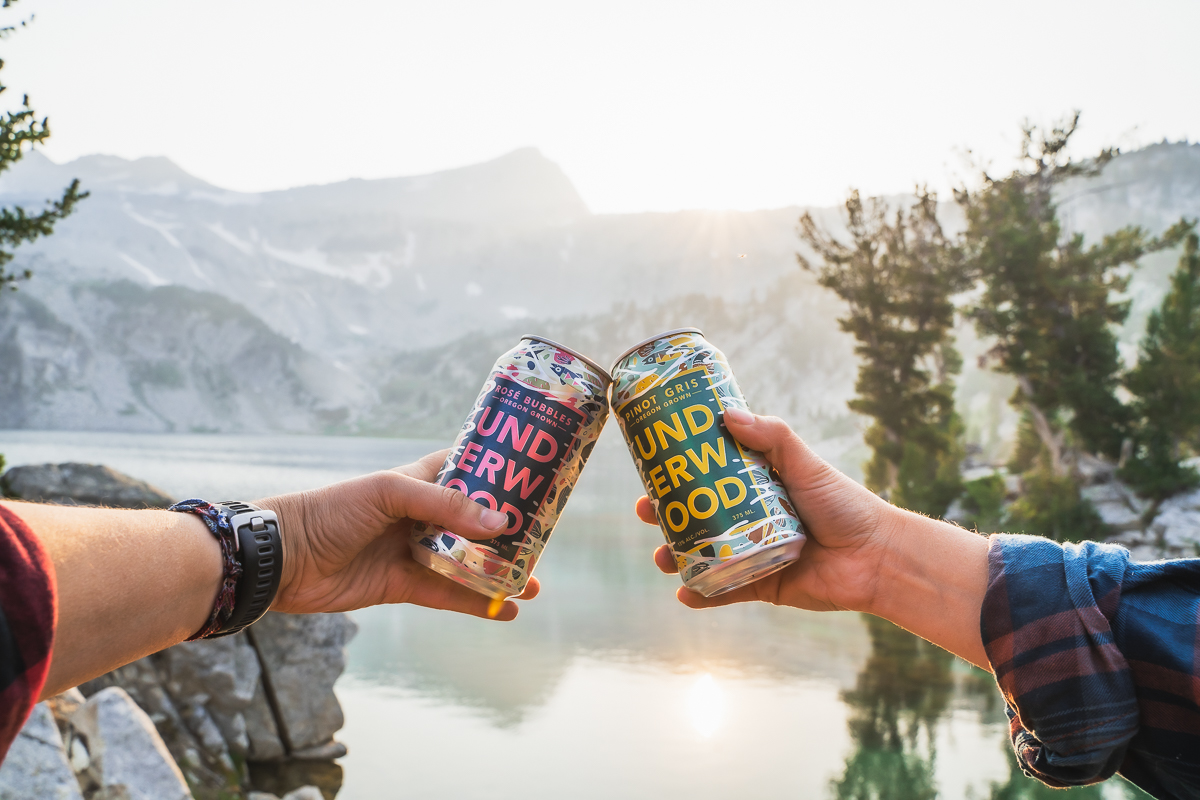
Underwood Wine:
No backpacking adventure would quite be complete without a delicious can of Underwood Wine to reward yourself with after a long day. Just chill your beverage in the nearest spring-fed river or alpine lake and wait!
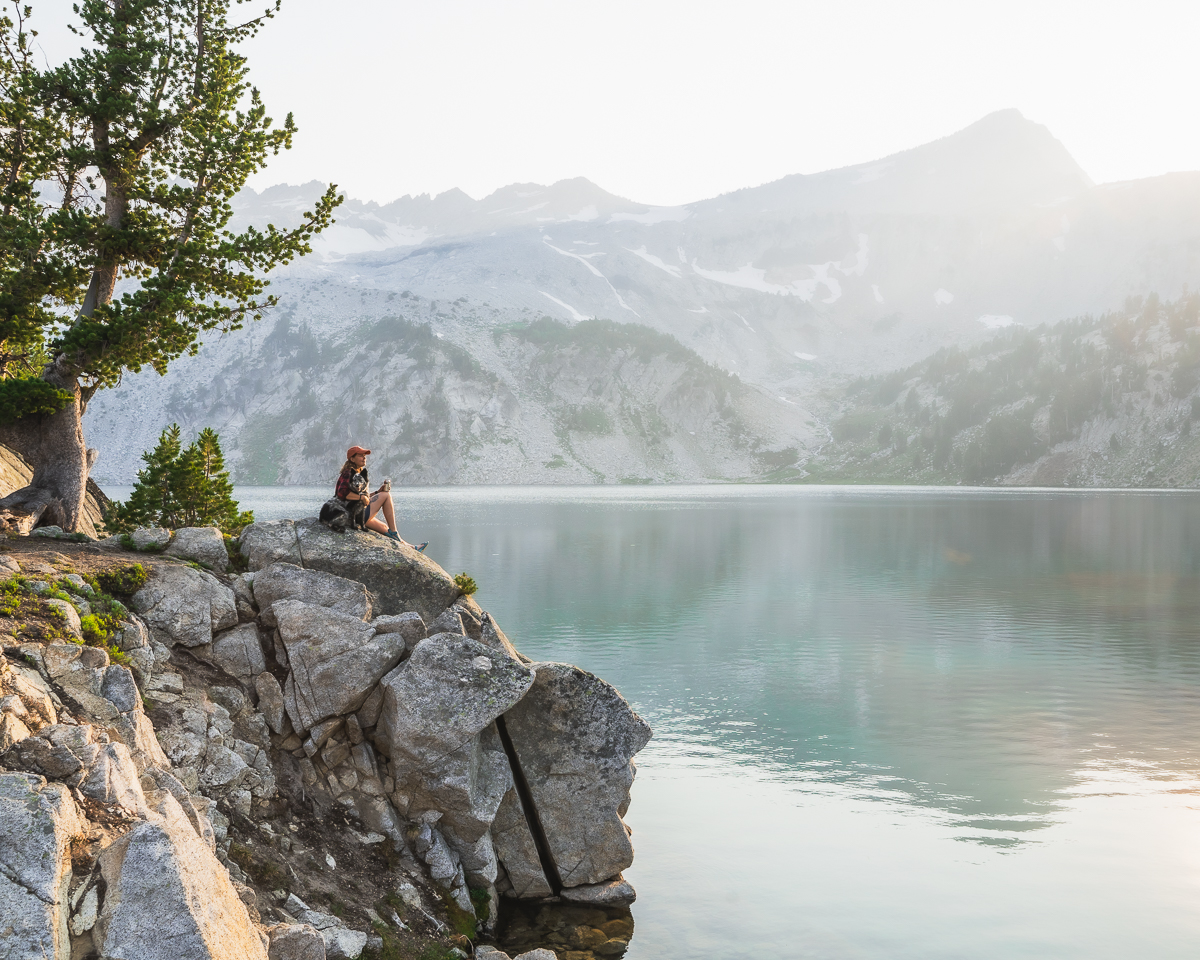
Ok, now that you’ve made it to your destination and set up camp, what do you do with the rest of the day? This is my favorite part of the trip and it’s so full of possibilities!
A few fun ways you could spend your afternoon:
• Take an exploratory side hike. Pack an extra small backpack. It can easily double as a stuff sack for clothing and will provide you with a small pack to take with you on those fun afternoon explorations. Fill it with snacks, a water bottle, your camera and you’re good to go!
• Sit and read a book or Kindle in the sun all day. This is my favorite afternoon activity. I use a Kindle because it’s so lightweight, low profile, and means you can carry multiple books!
• Tie up a hammock and nap the afternoon away while you listen to the birds chirp.
• Listen to music or podcasts downloaded on your phone. Just be sure to download everything you might want to listen to while you’re still in cell range.
• Draw or paint your surroundings! Bring a small sketchbook and a set of paints or pencils and practice your art skills in an inspiring location.
• Bring a set of cards and play games with your friends or solitaire by yourself.
• Pop open that can of Underwood, cheers your friend, and watch the sun slowly dip behind the mountains.
Leave No Trace:
Lastly, some of the most pertinent information you can familiarize yourself with is the 7 Leave No Trace Principles. Make sure to educate yourself on these practices and understand the “why” behind them. Mother Nature, local wildlife, and your fellow hikers will thank you.
You can find more in-depth information here at lnt.org.
Now get out there and enjoy!
Photography and story by Brooke Weeber