2020 has been a strange year for birthdays, weddings, and graduations. We’ve all had to adapt and get extra creative with how we celebrate. It’s been challenging just figuring out what a party can look like during a global pandemic. Can we throw one while still socially distancing? How many friends and family can safely gather?
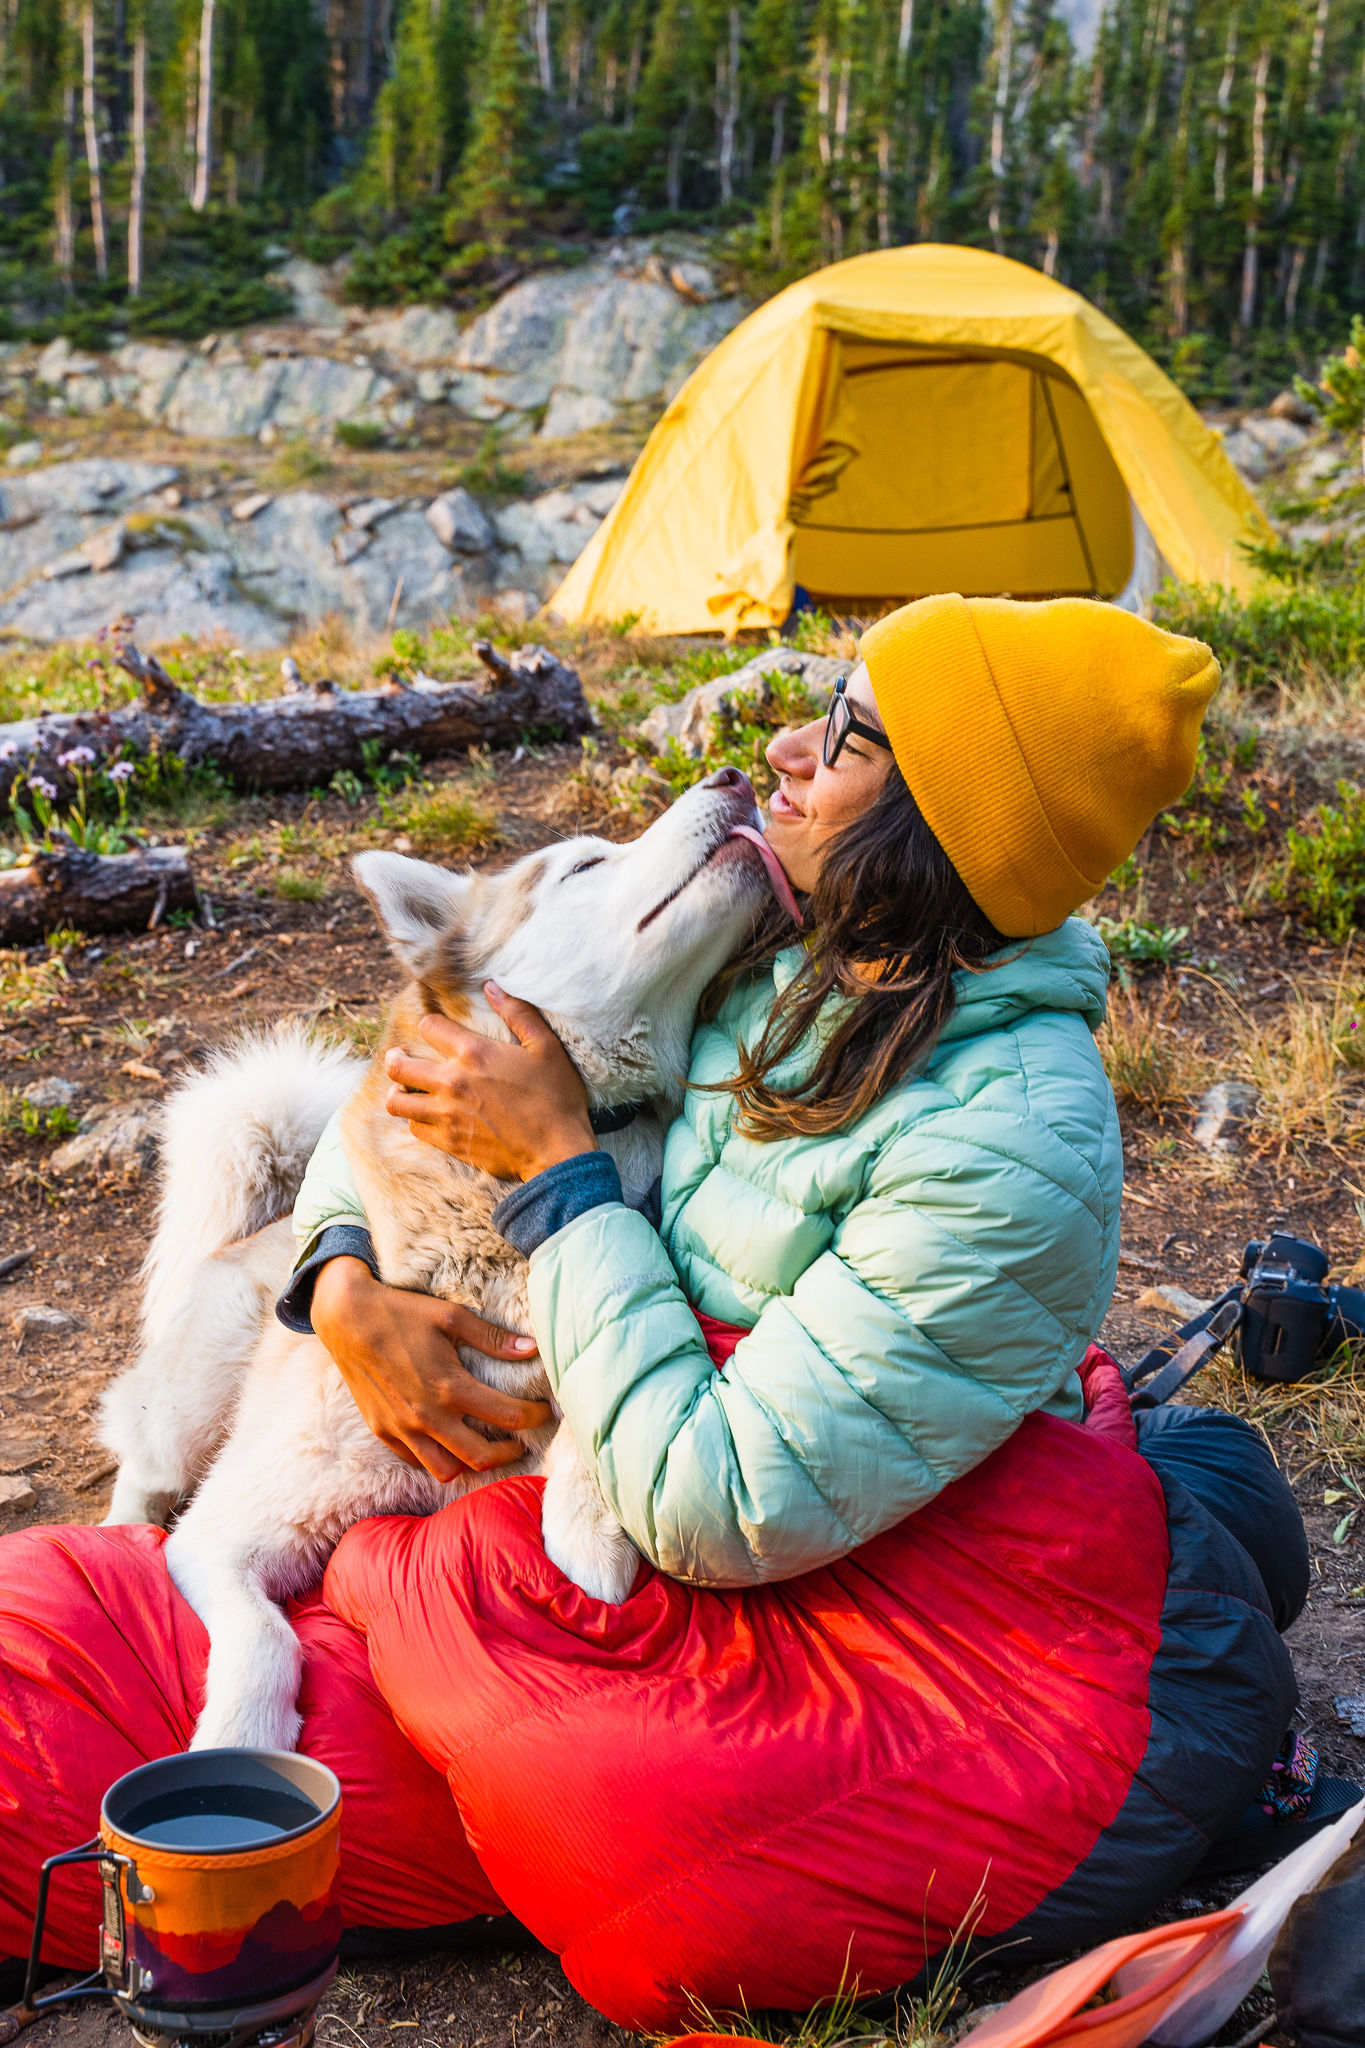
40th birthdays feel like a pretty big deal. It’s a day I’ve gently held in the back of my mind for years. My original plan to throw a big party for myself and two of my best friends (whose birthdays coincide with mine) quickly went out the door when I realized how serious and long-lasting the pandemic was going to be. So I tucked away my disappointment and decided to take off in my van and drive from Oregon to Colorado instead. There, I met up with my dear friend, Abi, who’s 29th birthday happens to fall on the day after mine.
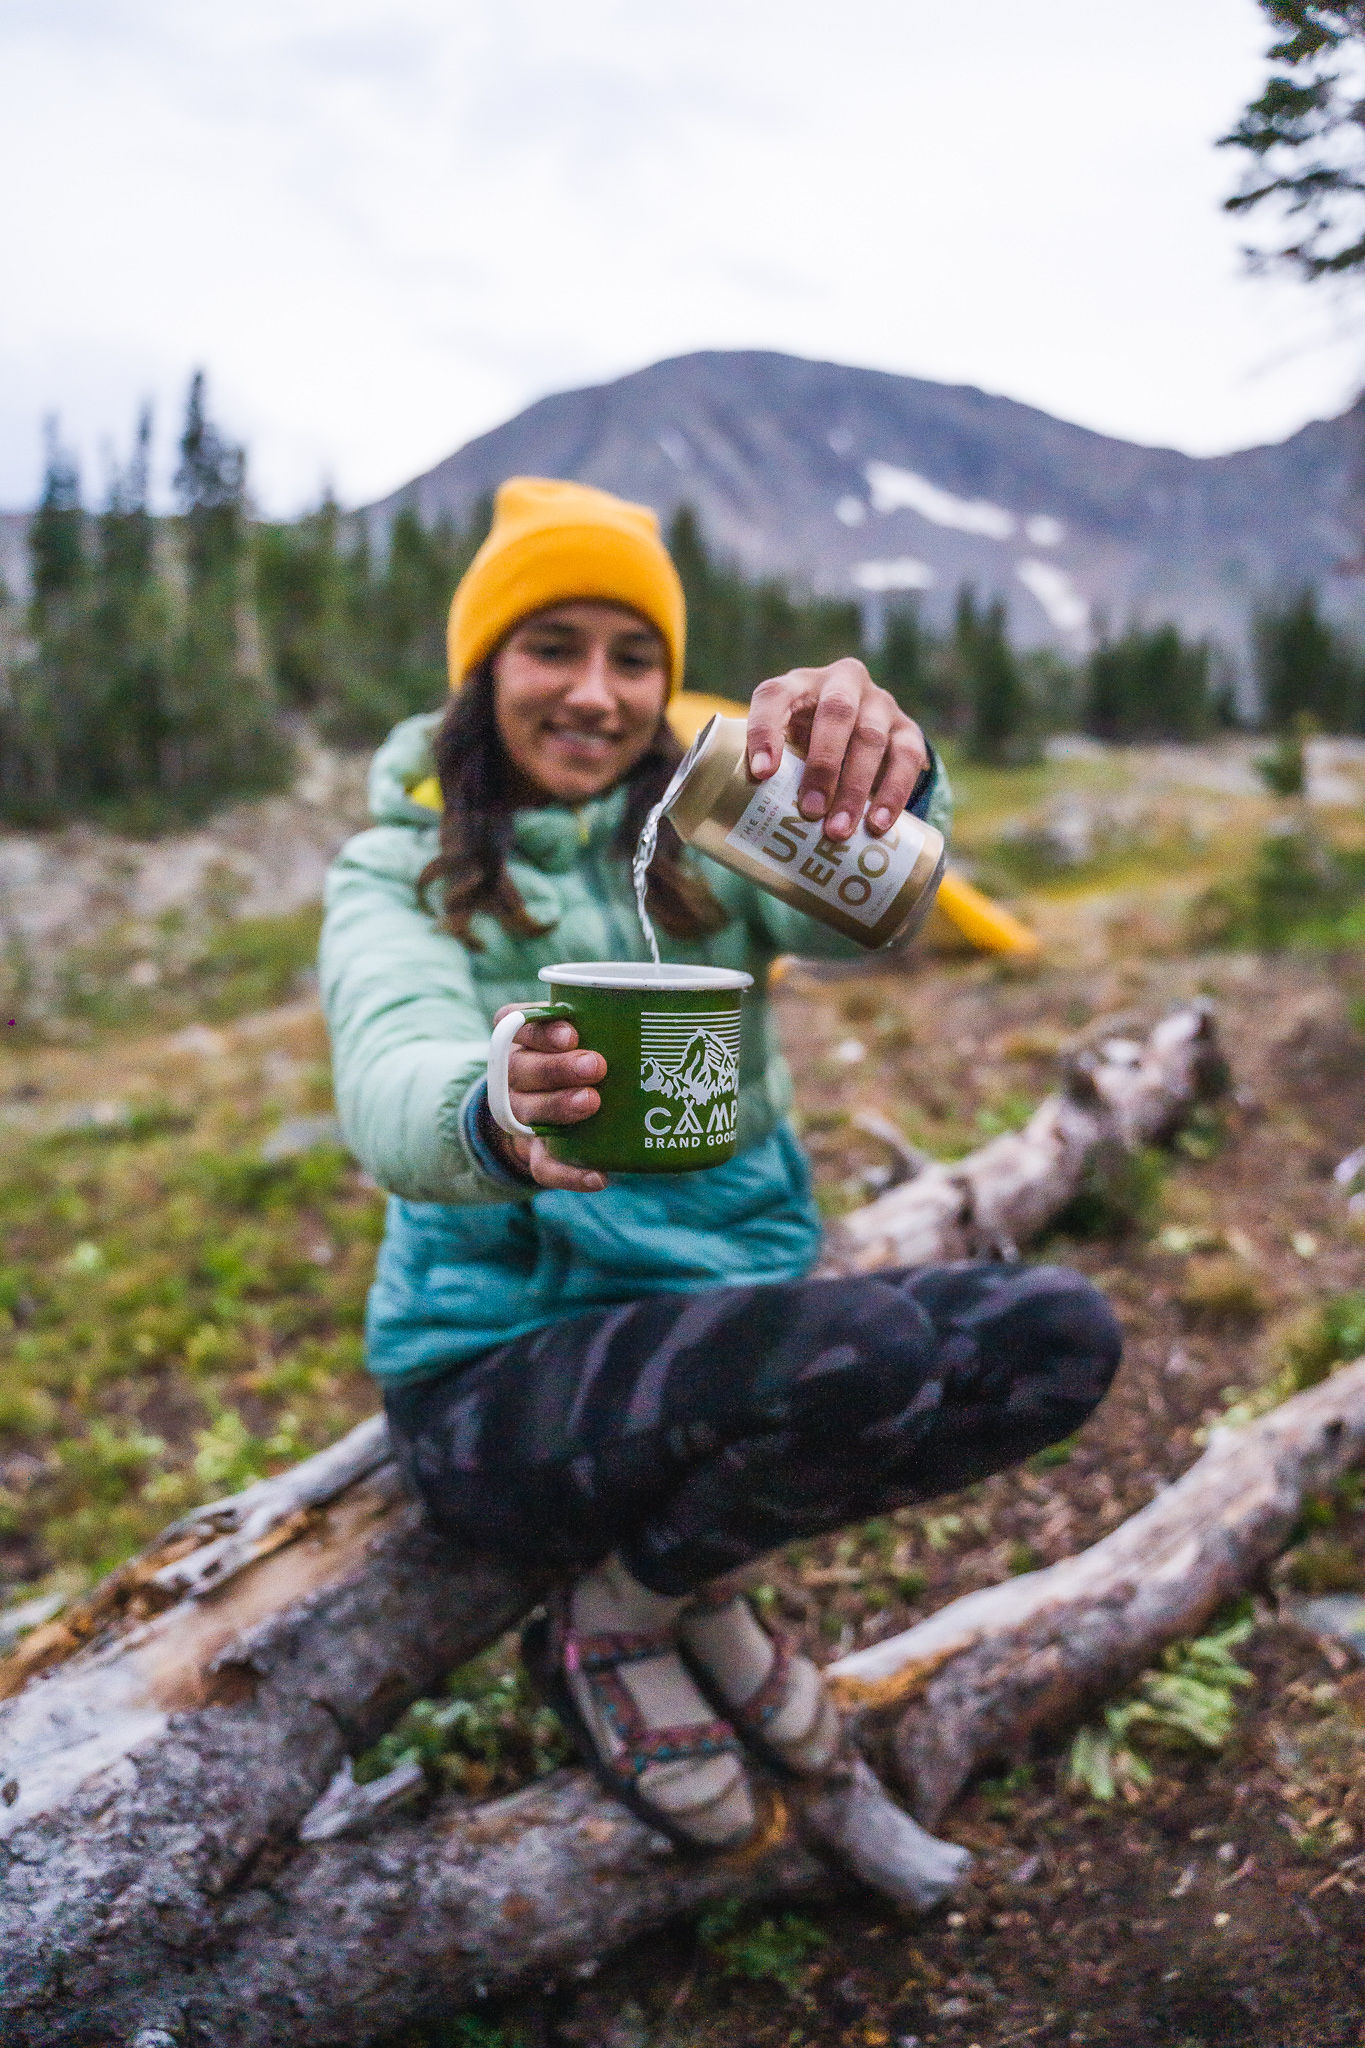
We determined that a backpacking trip into the mountains was the perfect solution to our birthday woes. Since we both love spending time outdoors, it seemed like the most fitting way to celebrate. In order to make our backcountry adventure even more special, we packed in 2 cans of Underwood Bubbles and a vegan chocolate cake. Always worth the extra weight.

Once we landed on doing the beautiful Missouri Lakes trail in the Holy Cross Wilderness, we loaded up and drove the three hours to the trailhead where we camped overnight in our vehicles.
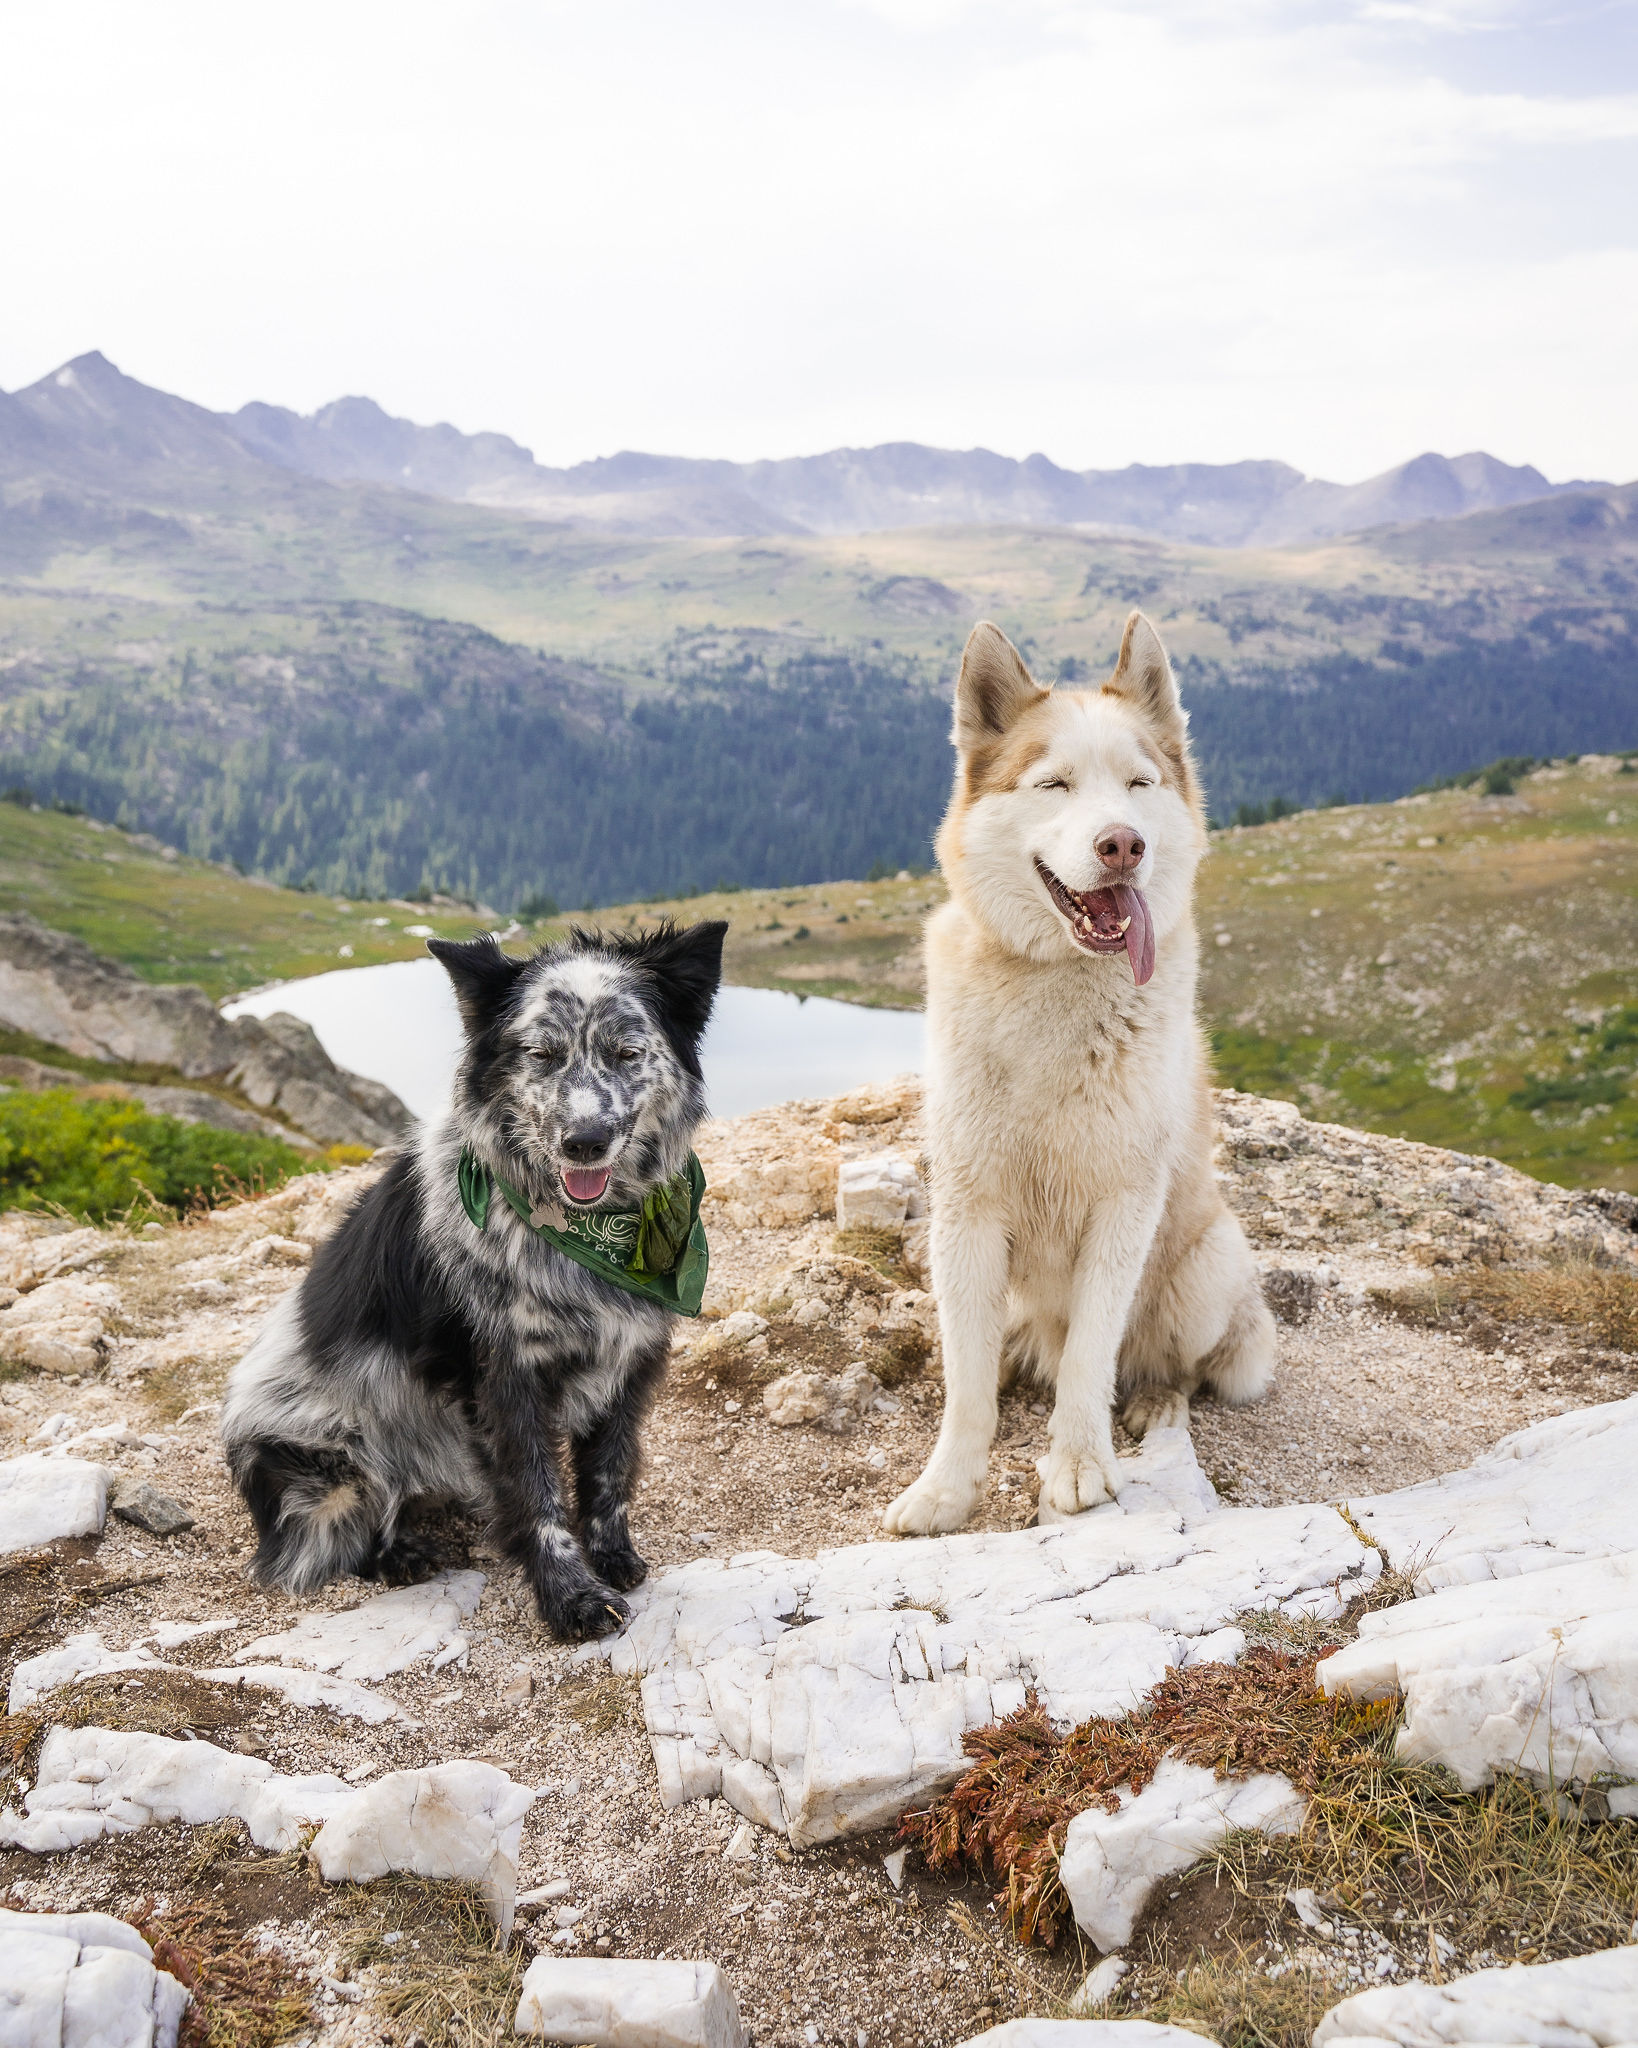
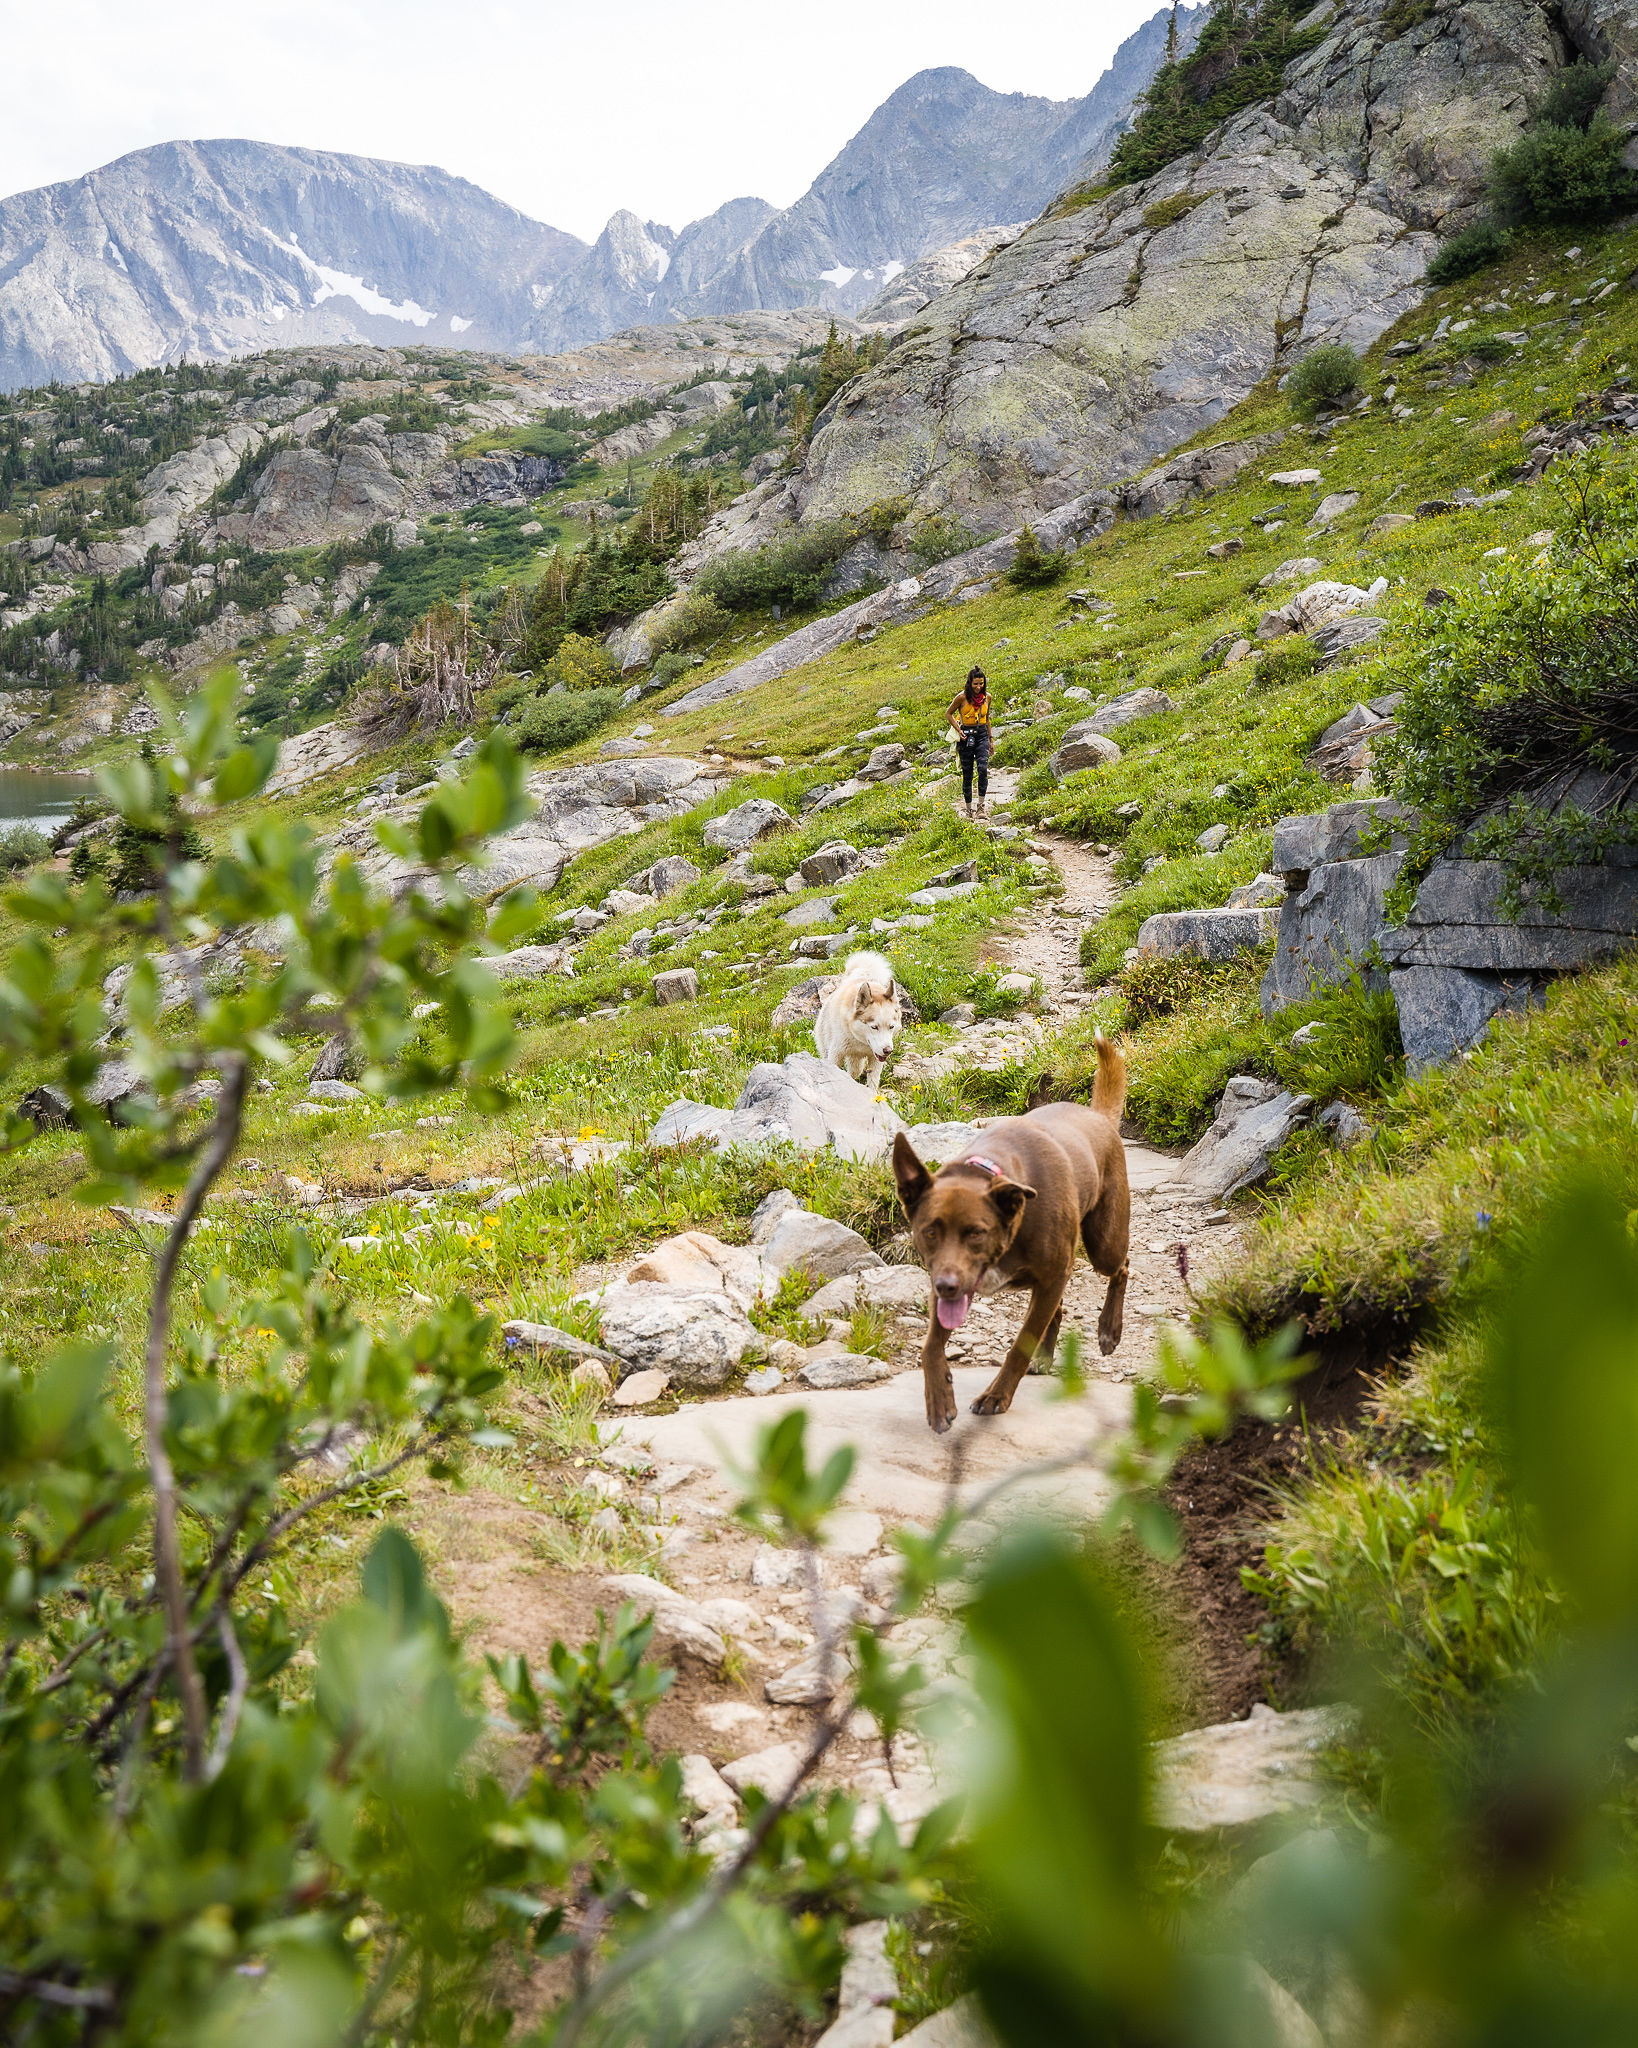
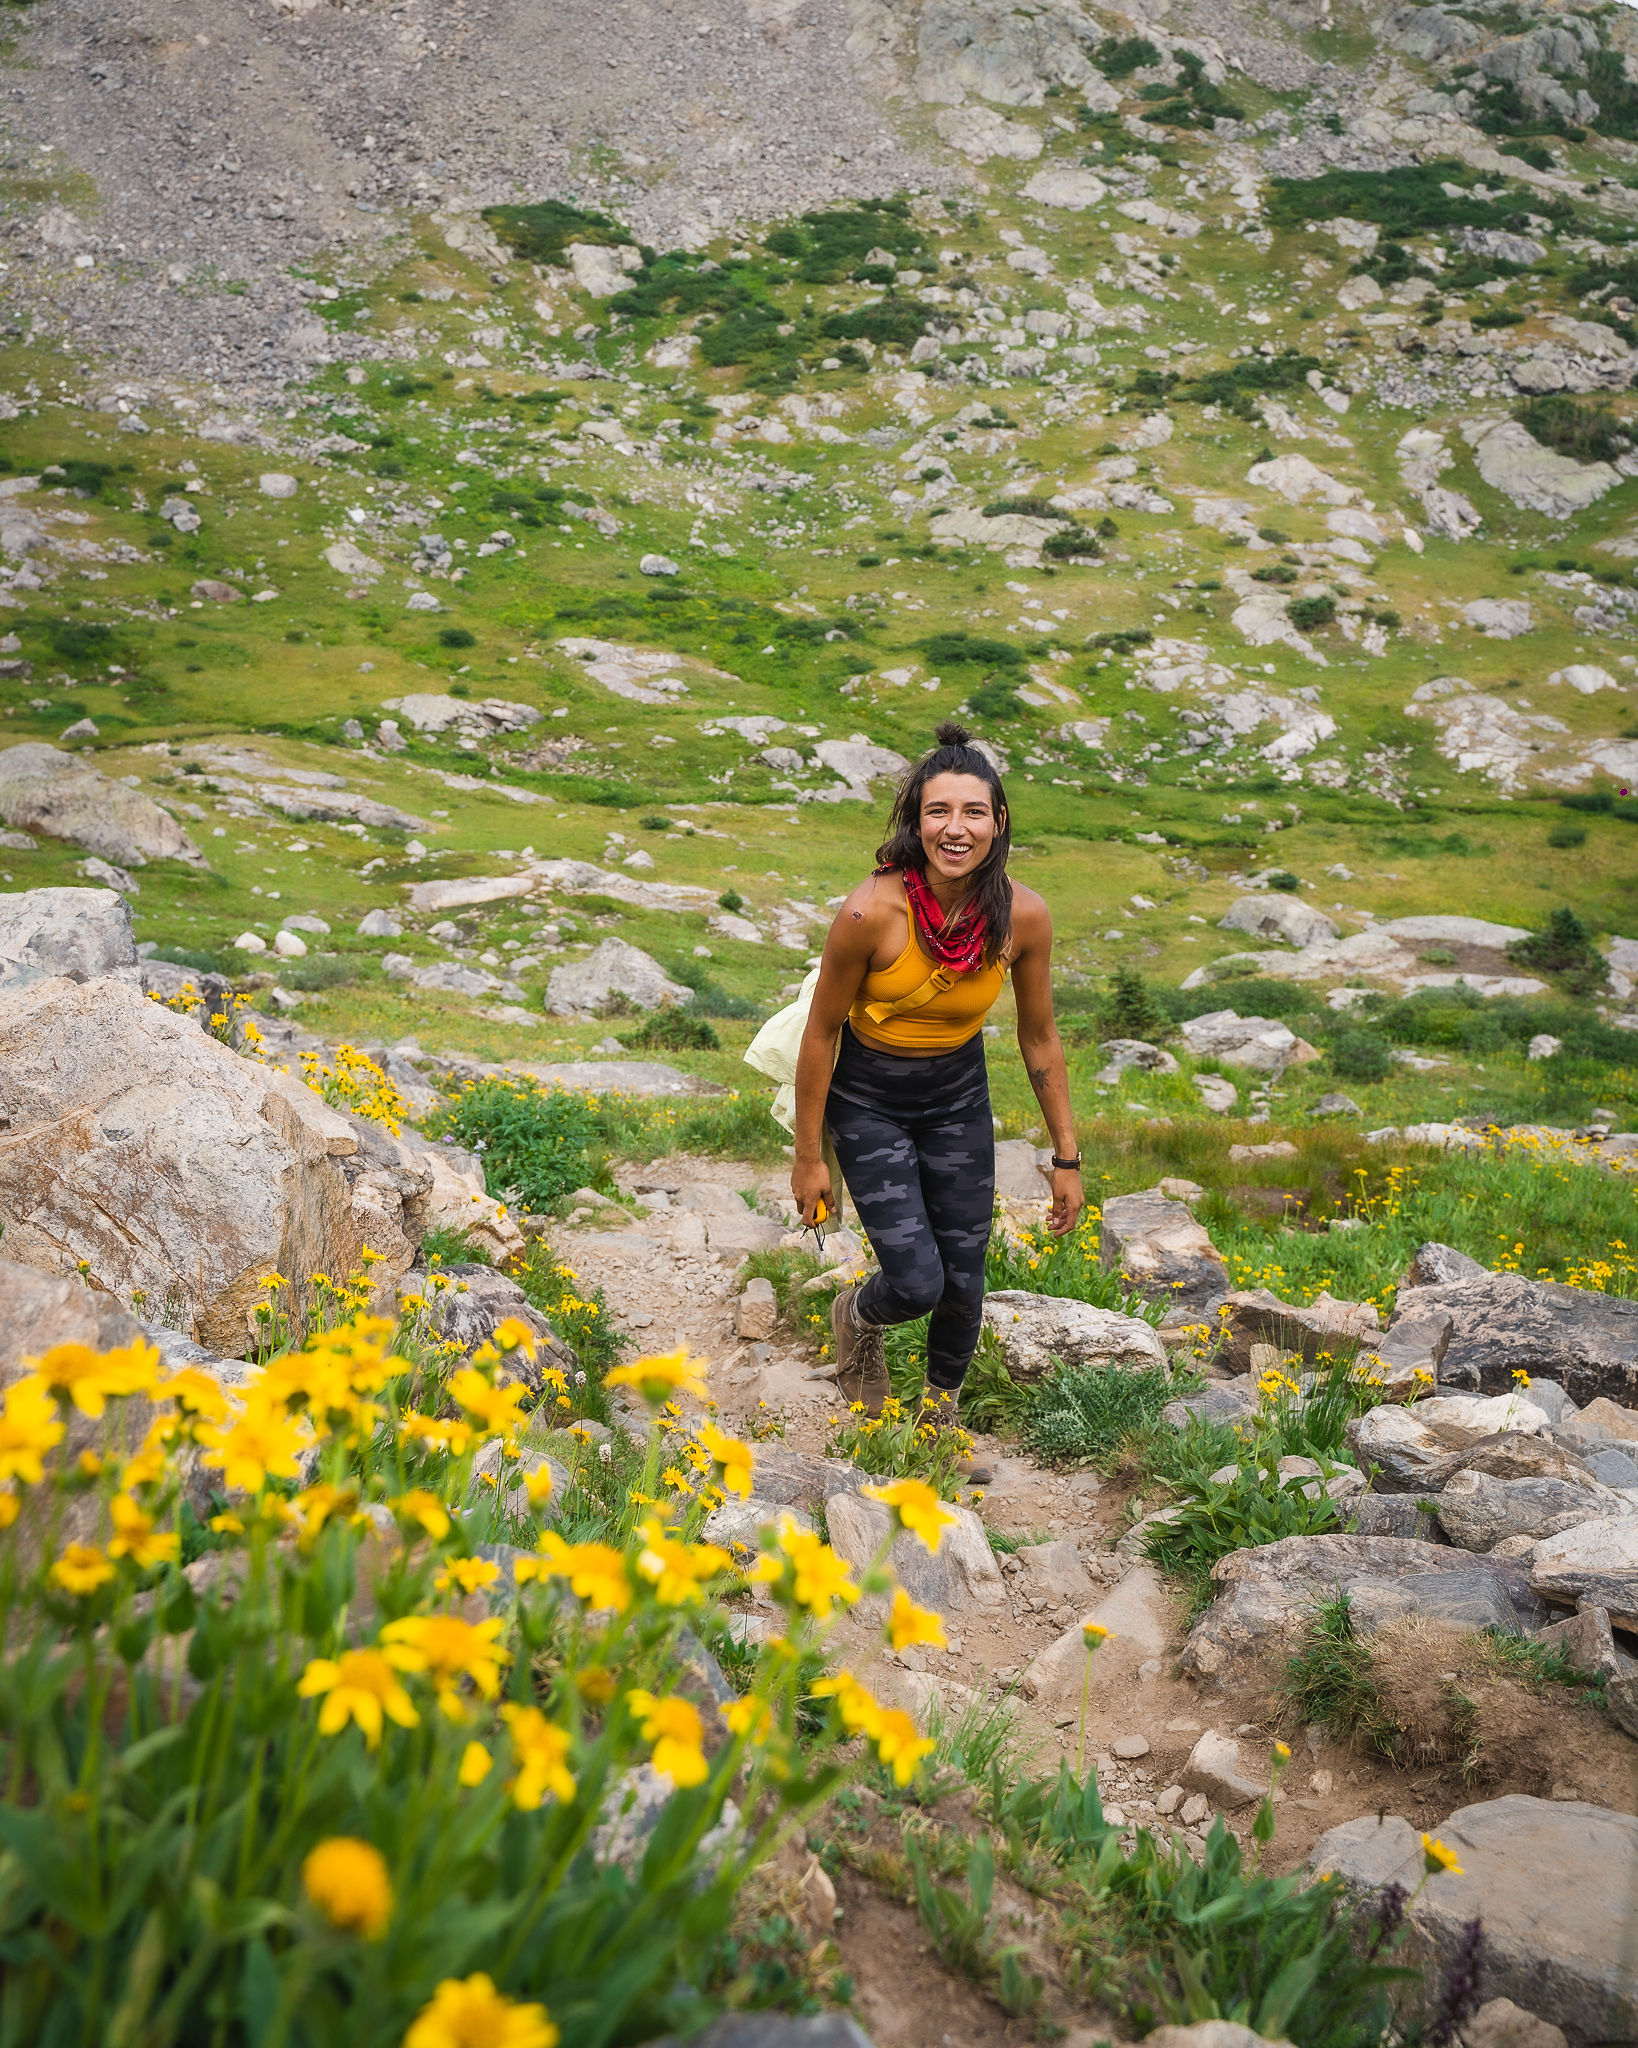
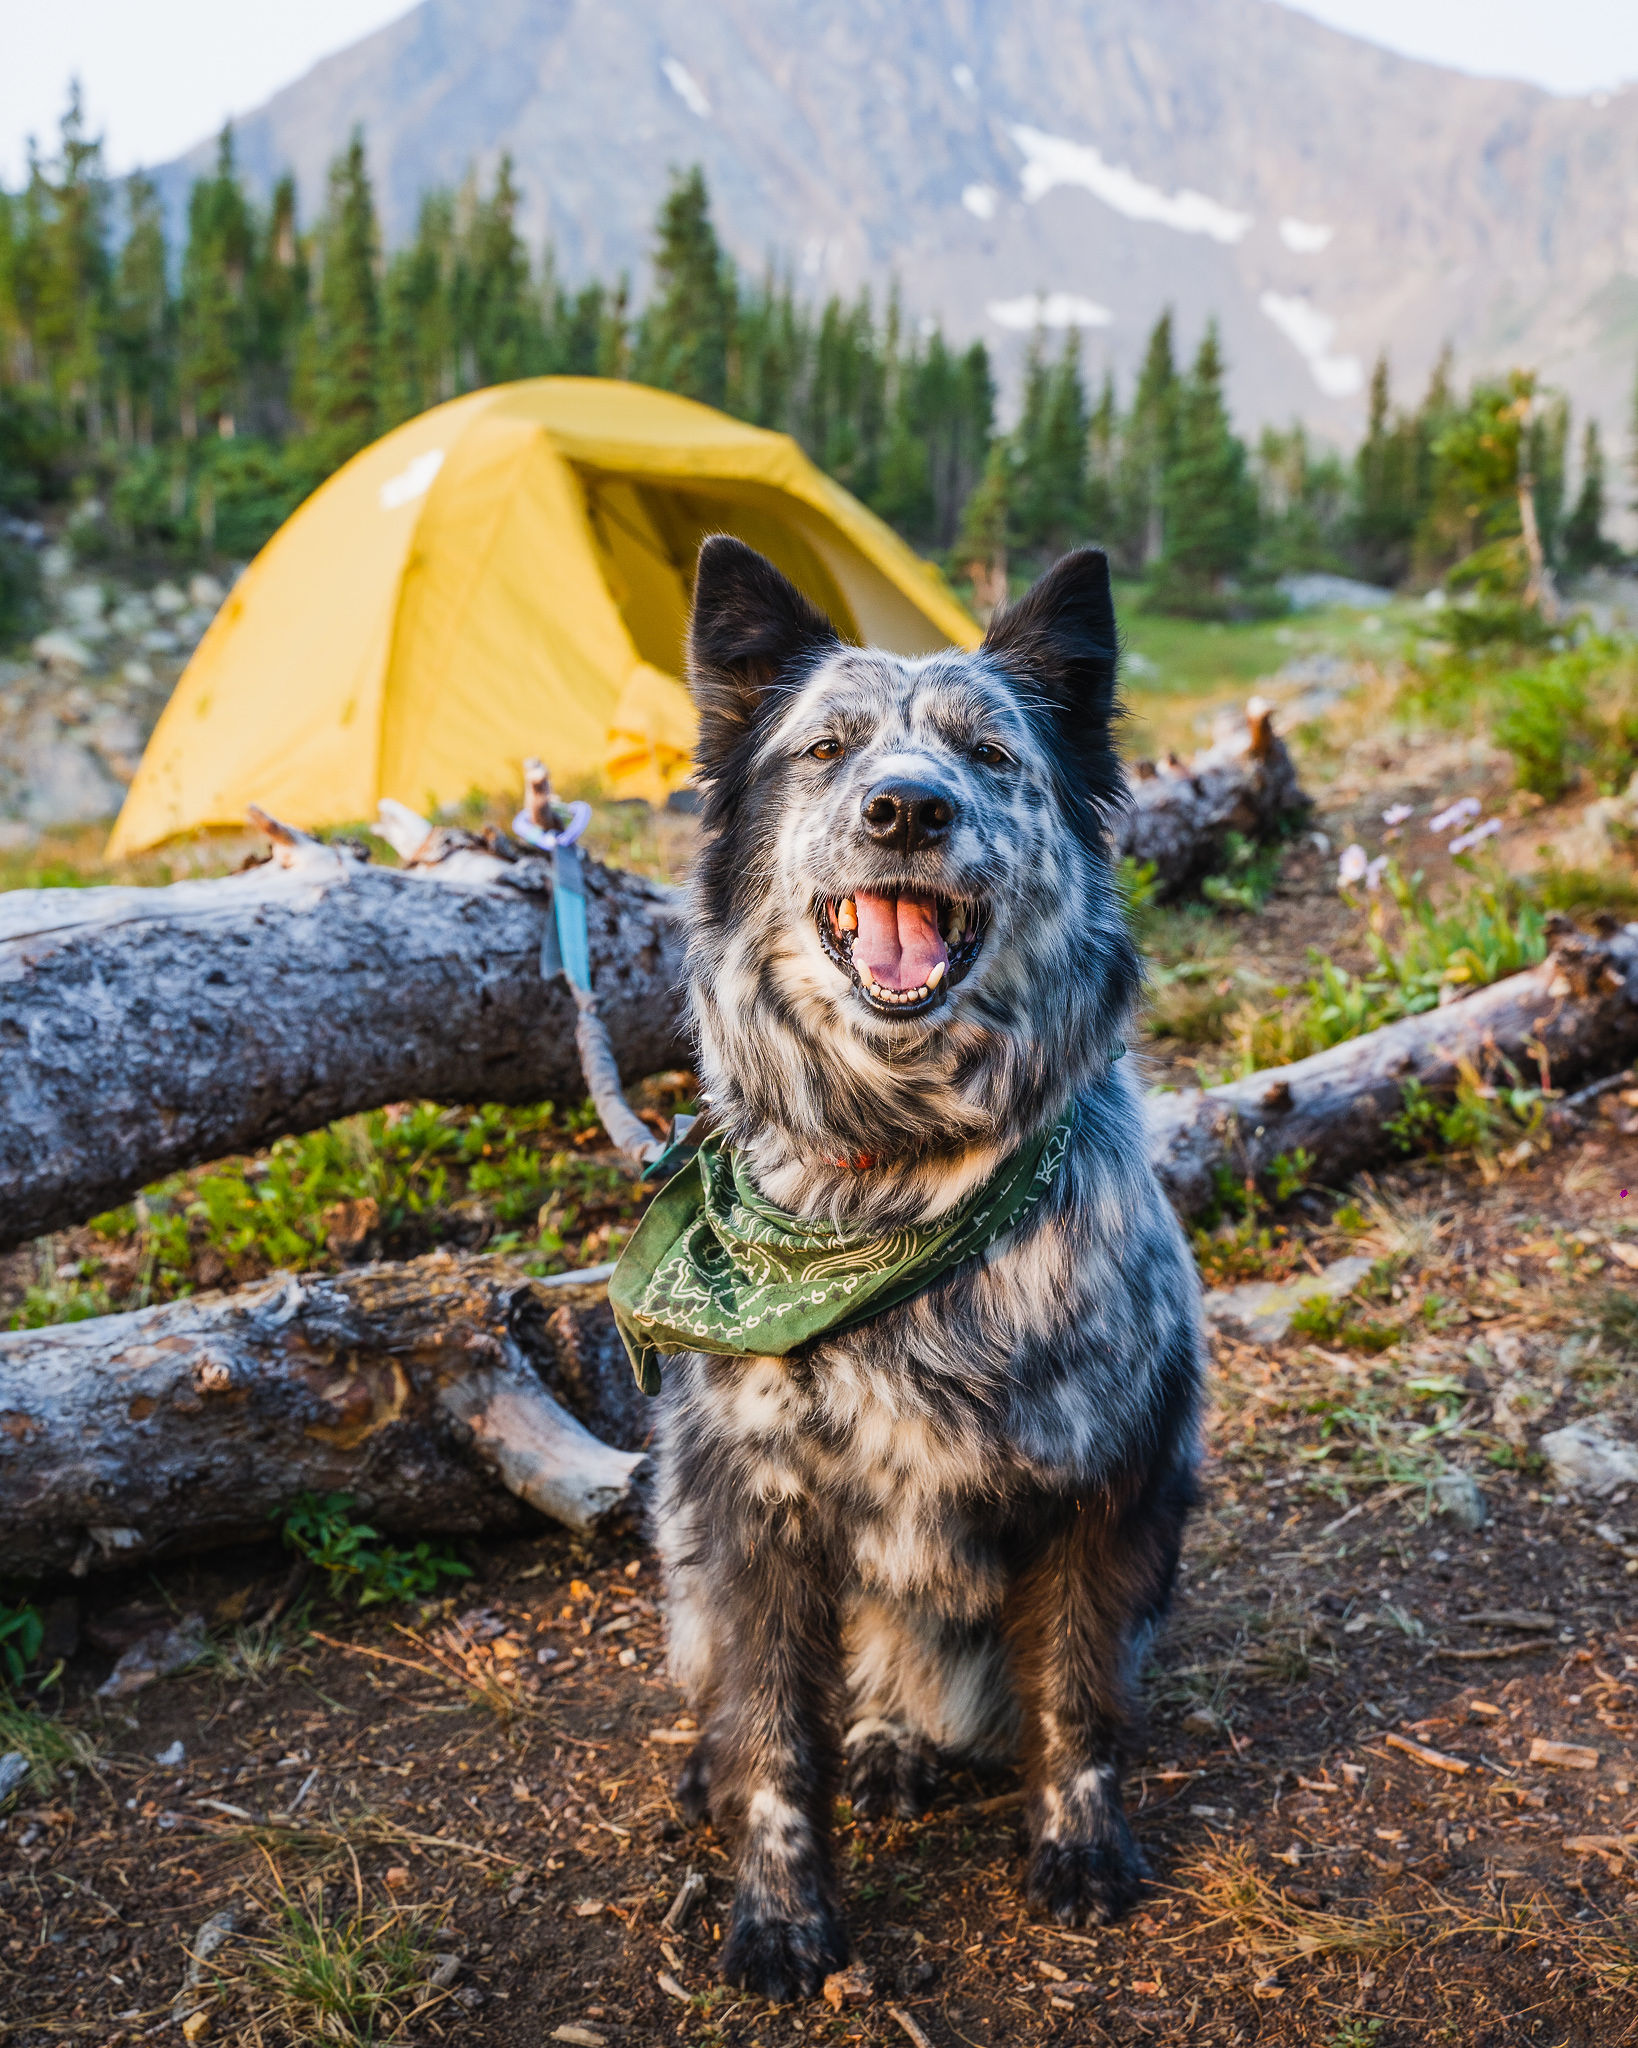
To beat the crowds, we aimed for an alpine start the next morning. Our hiking entourage consisted of me and my dog, Huxley, and Abi and her two dogs, Kodi and Kuma; each of us carrying our own fully loaded backpack into the wilderness.
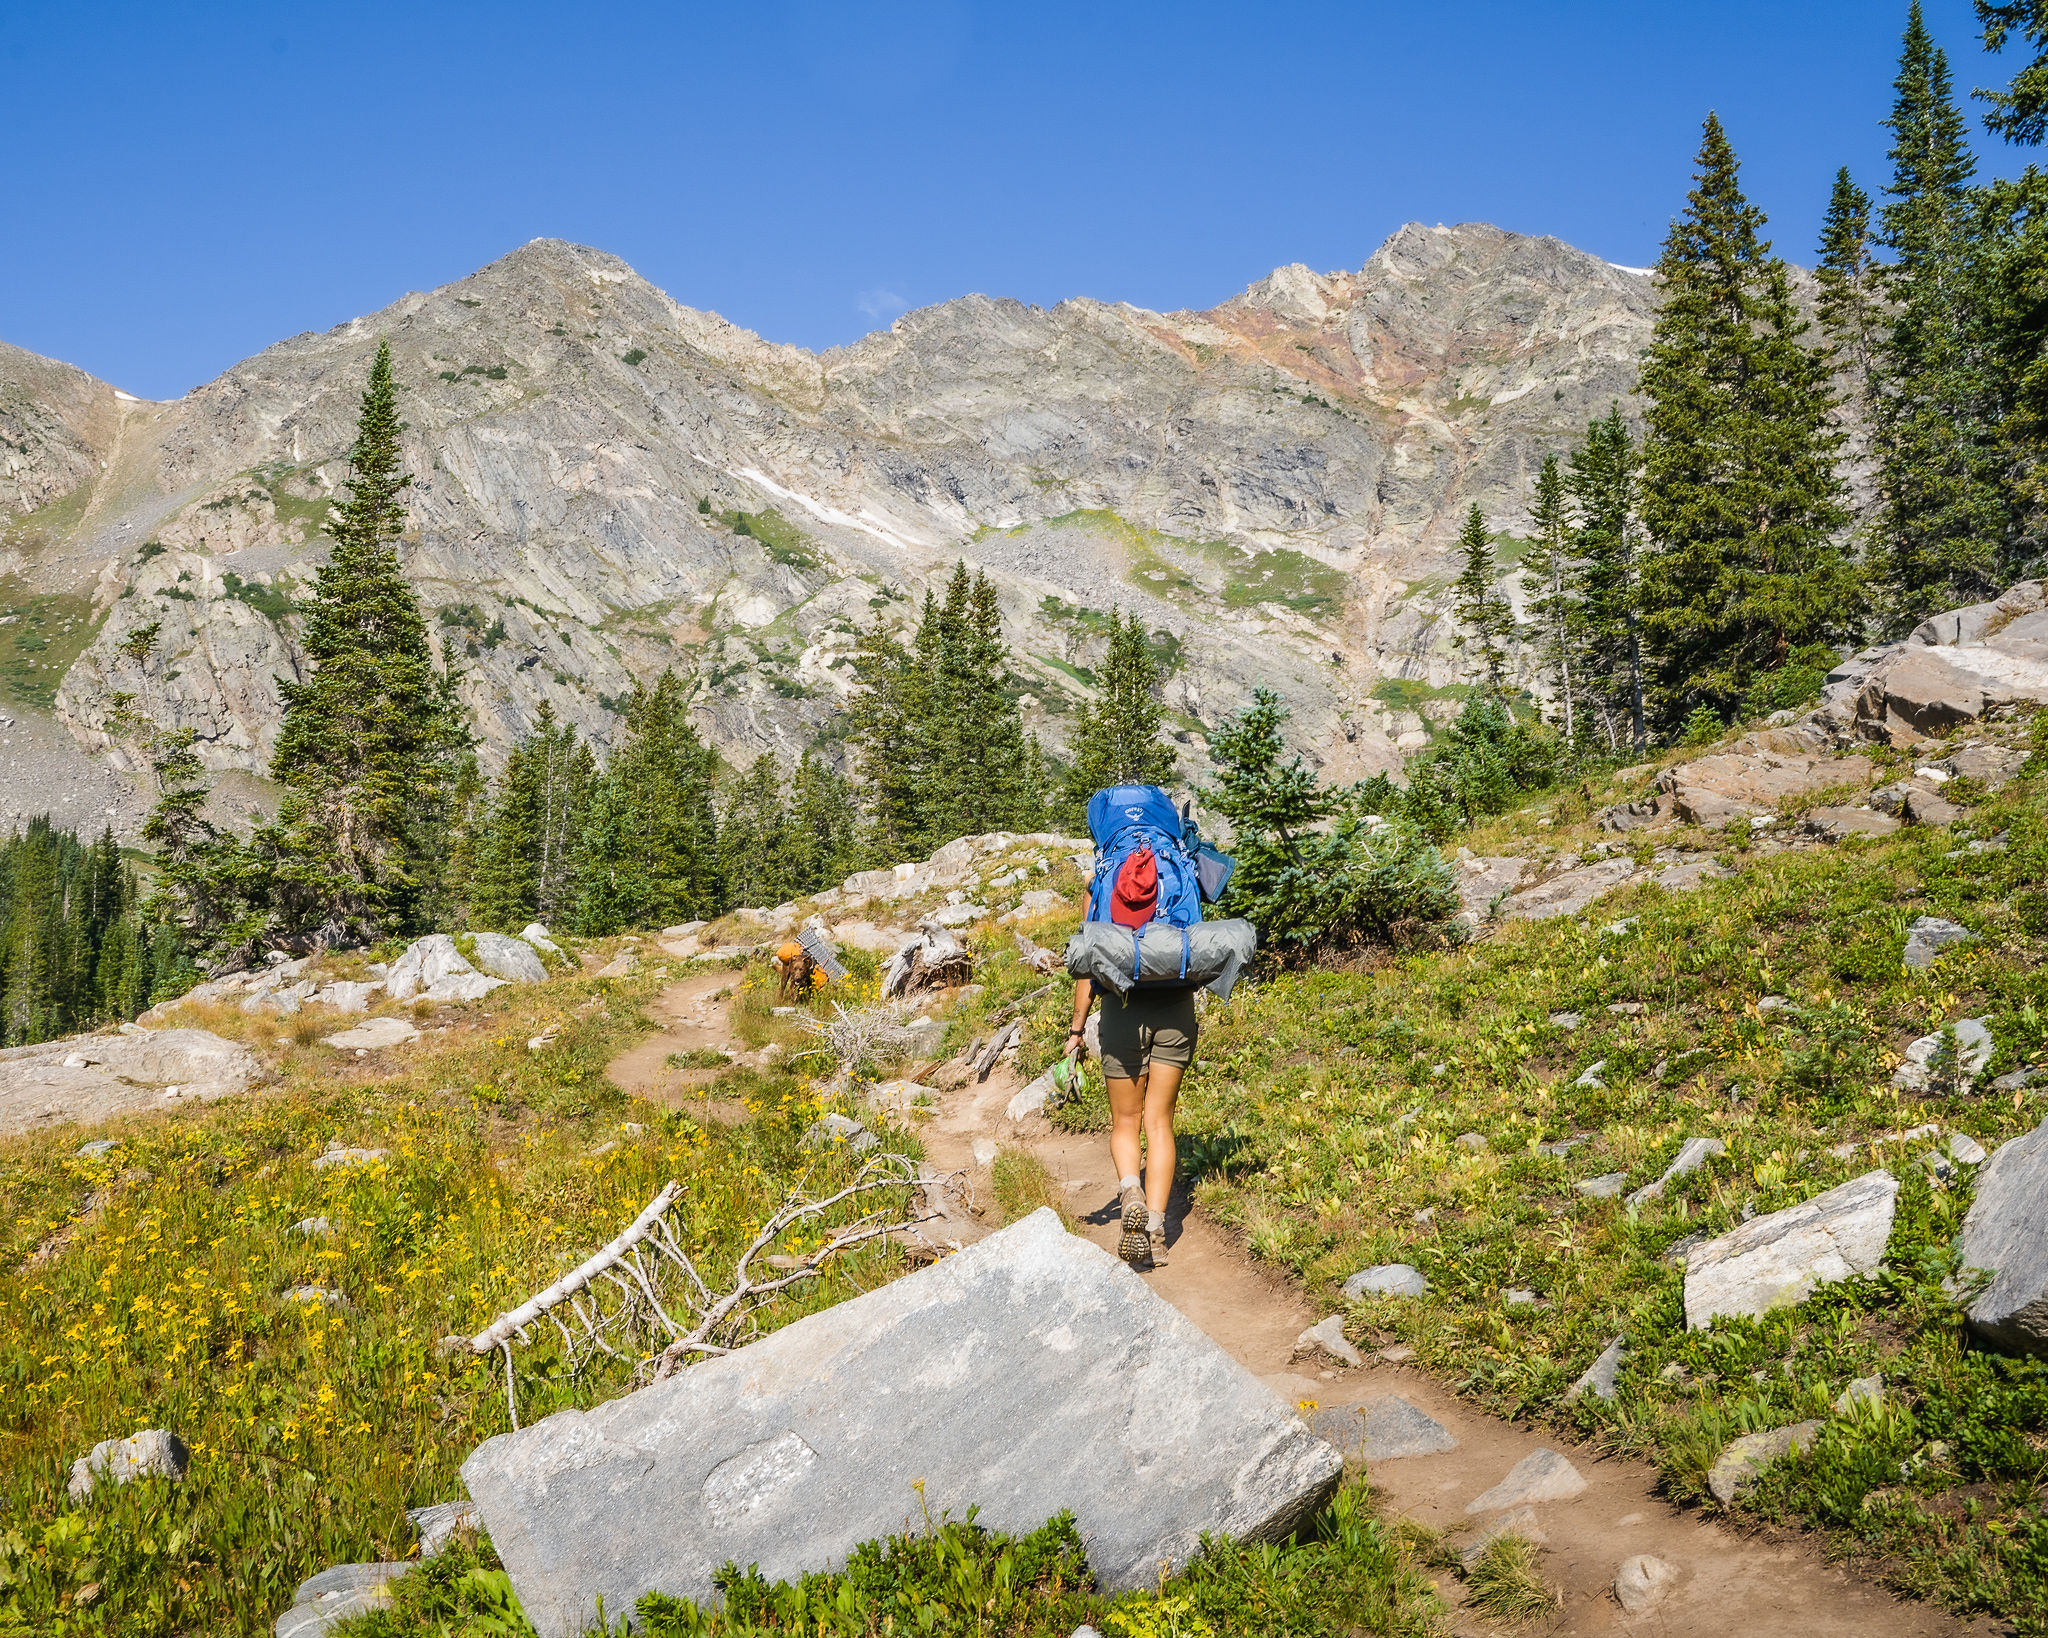
Abi and I chose a relatively easy trail for this particular overnighter because we both wanted the trip to feel fun and easy. So the 4 miles in with 1500 ft of elevation gain was mostly a breeze, and by the time we reached the lake and our destination for the night, we still had plenty of energy to explore the area.
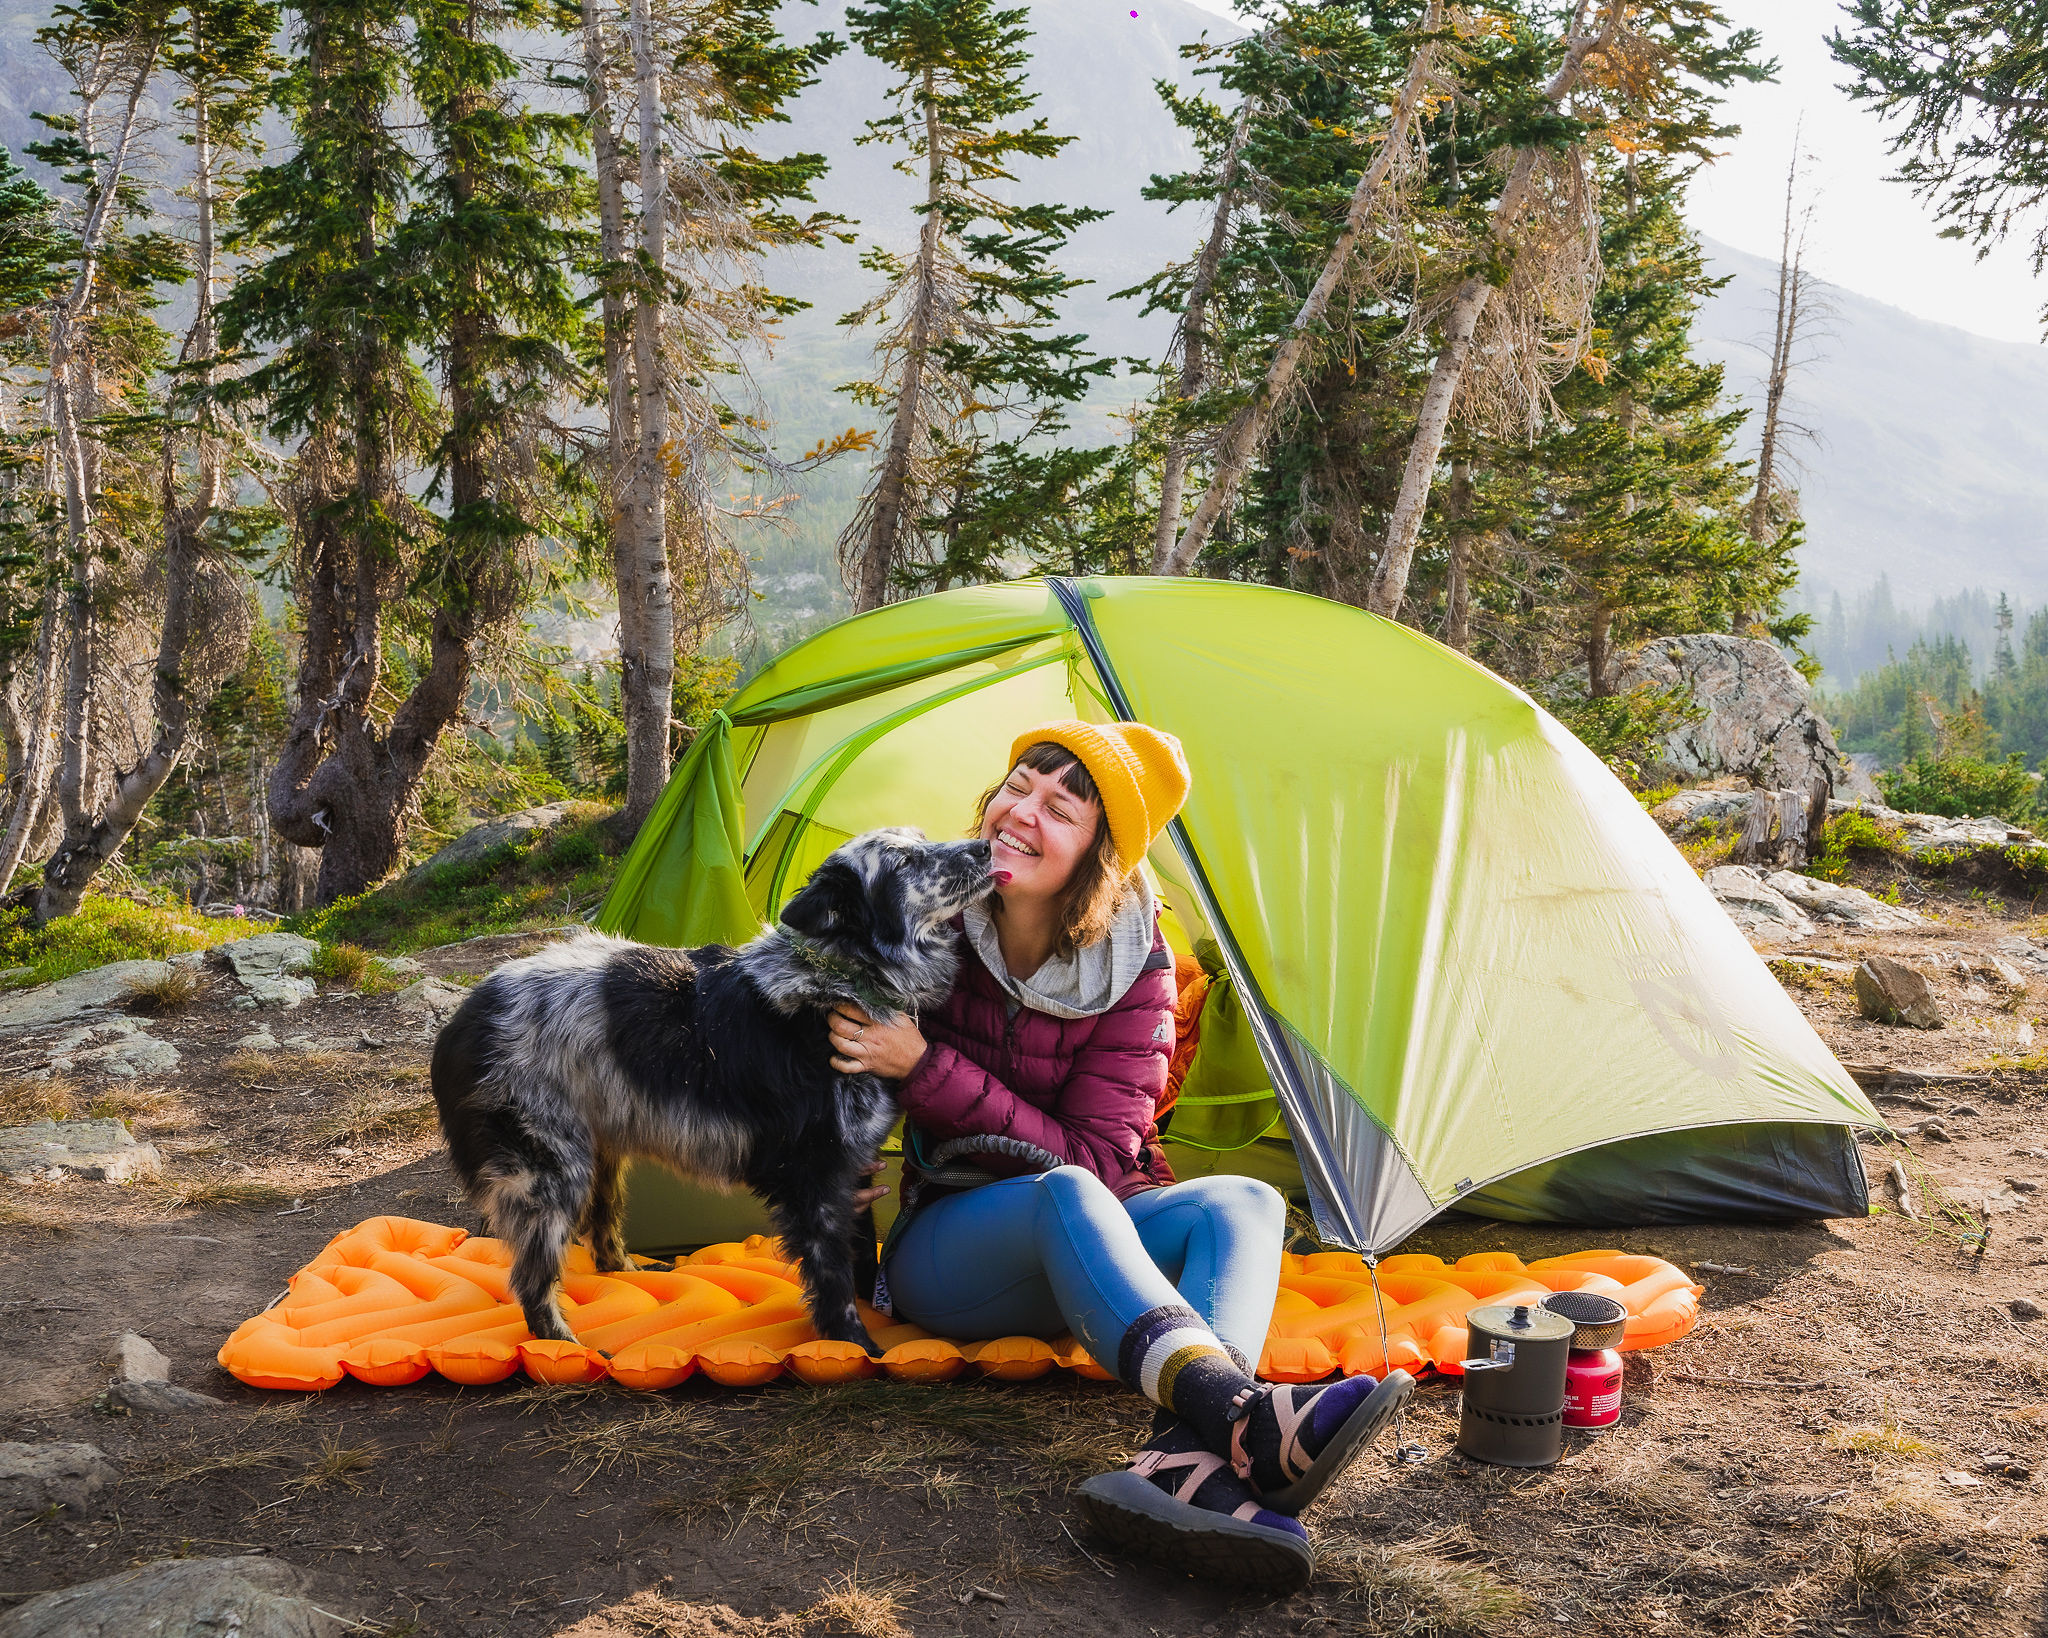
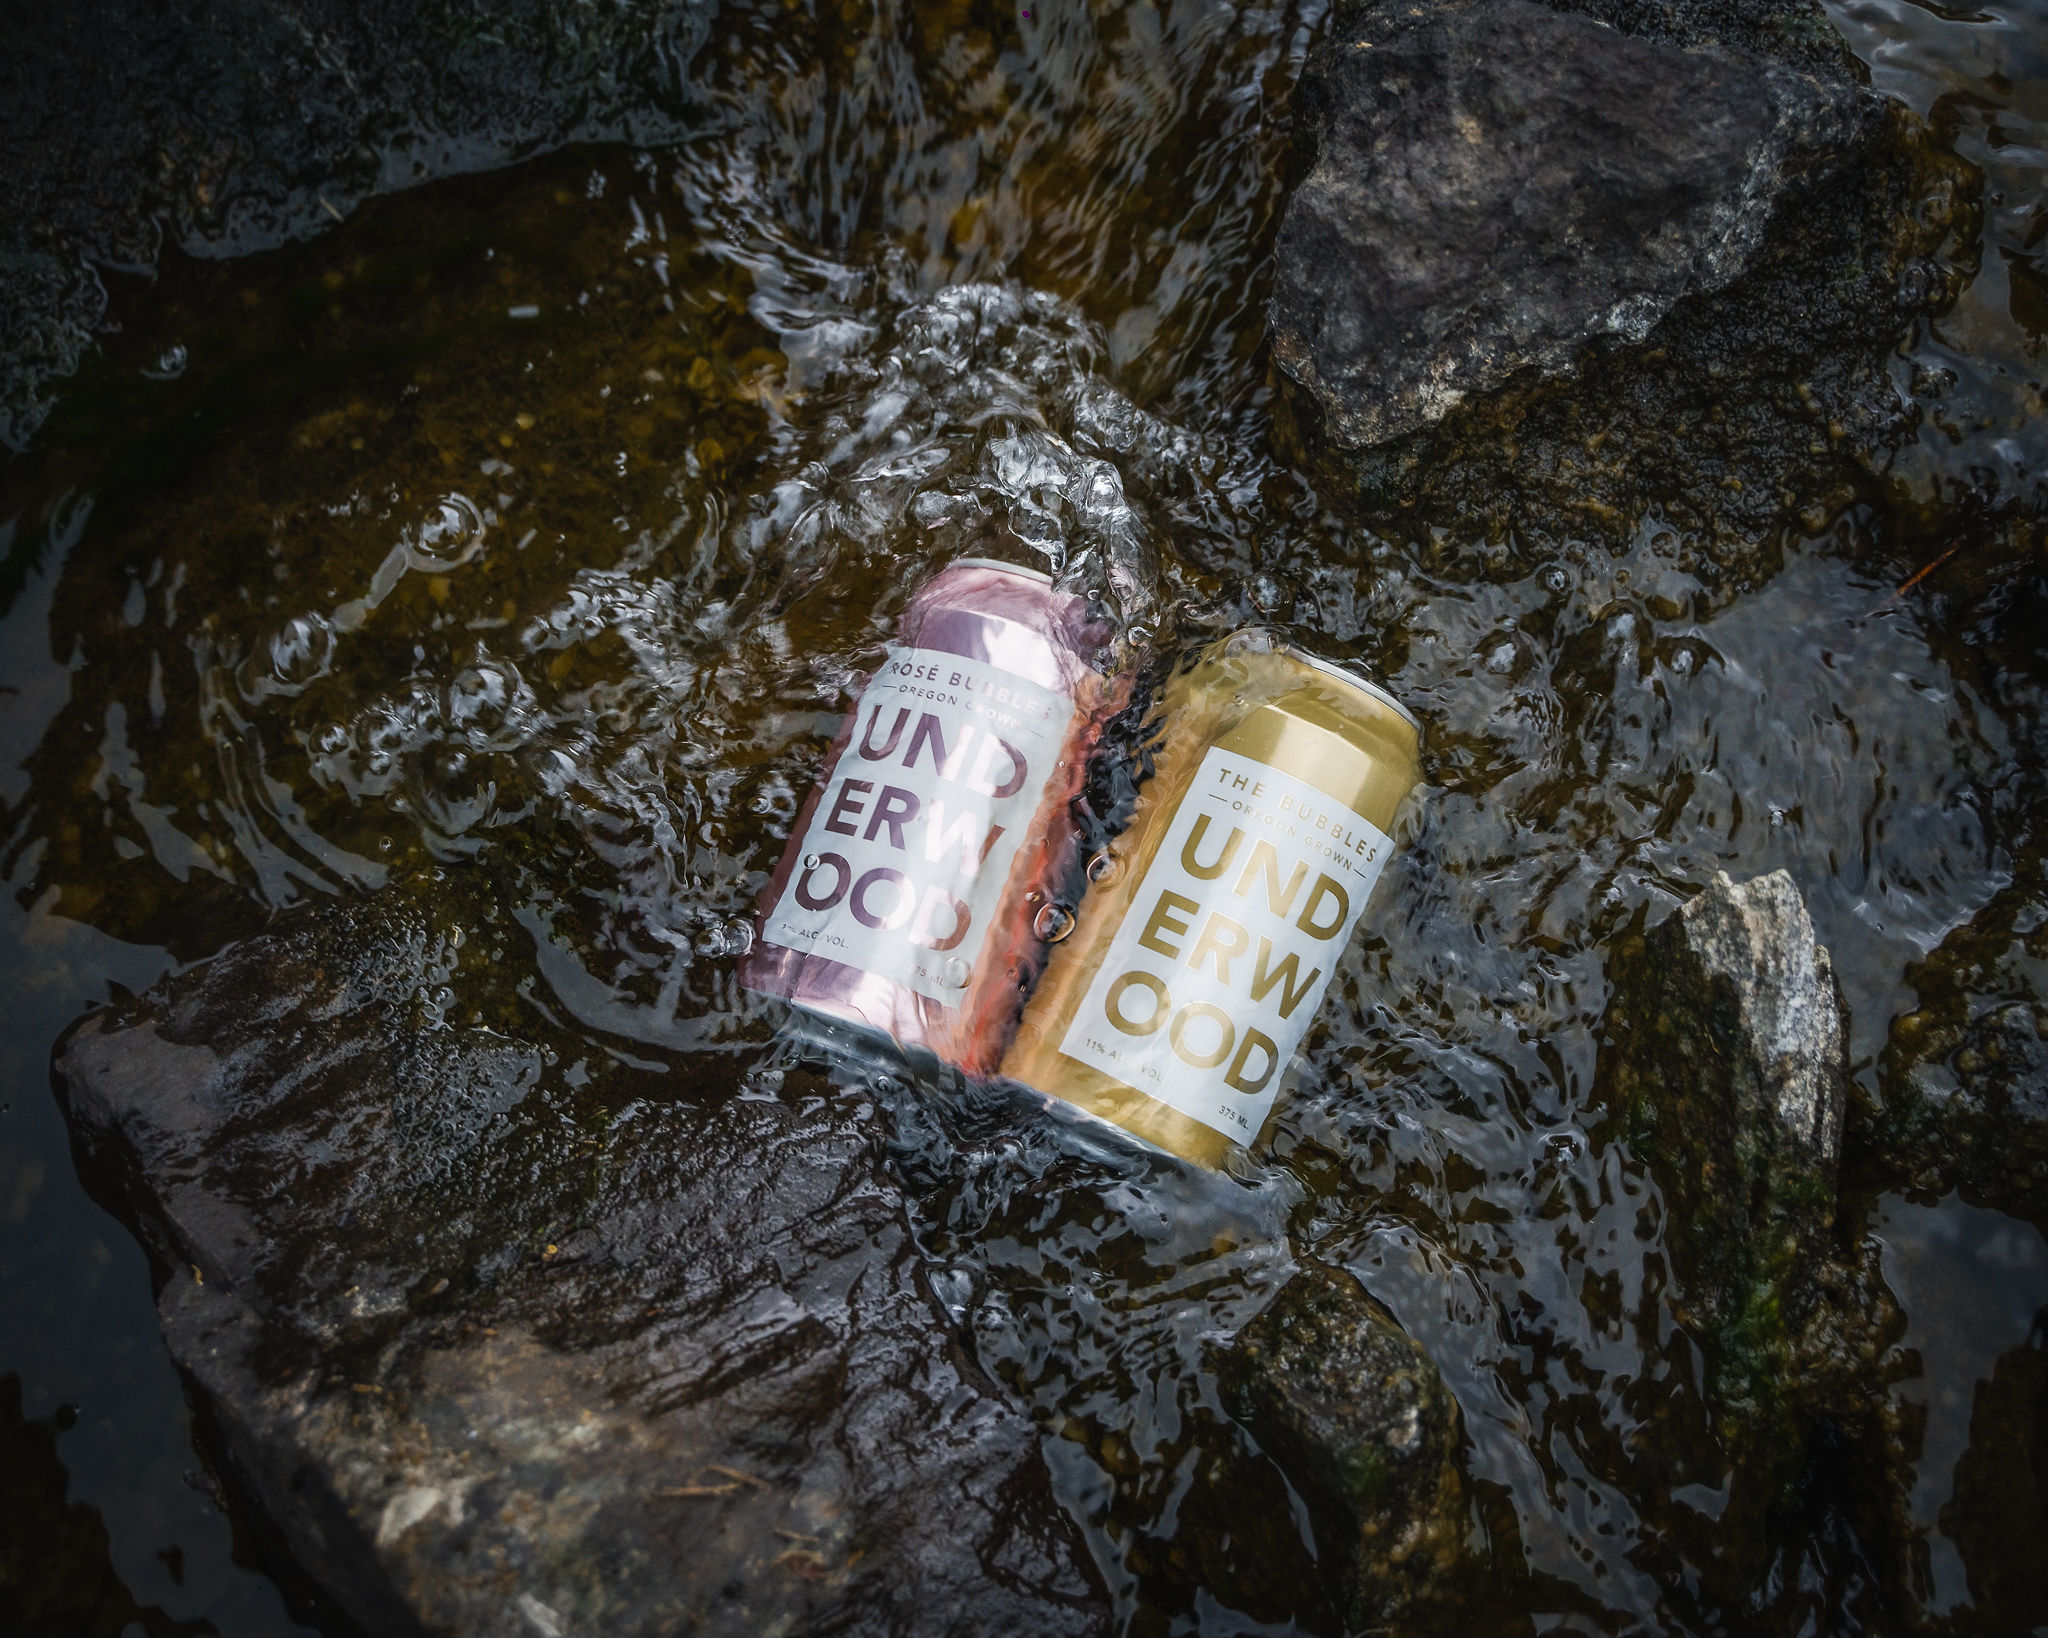
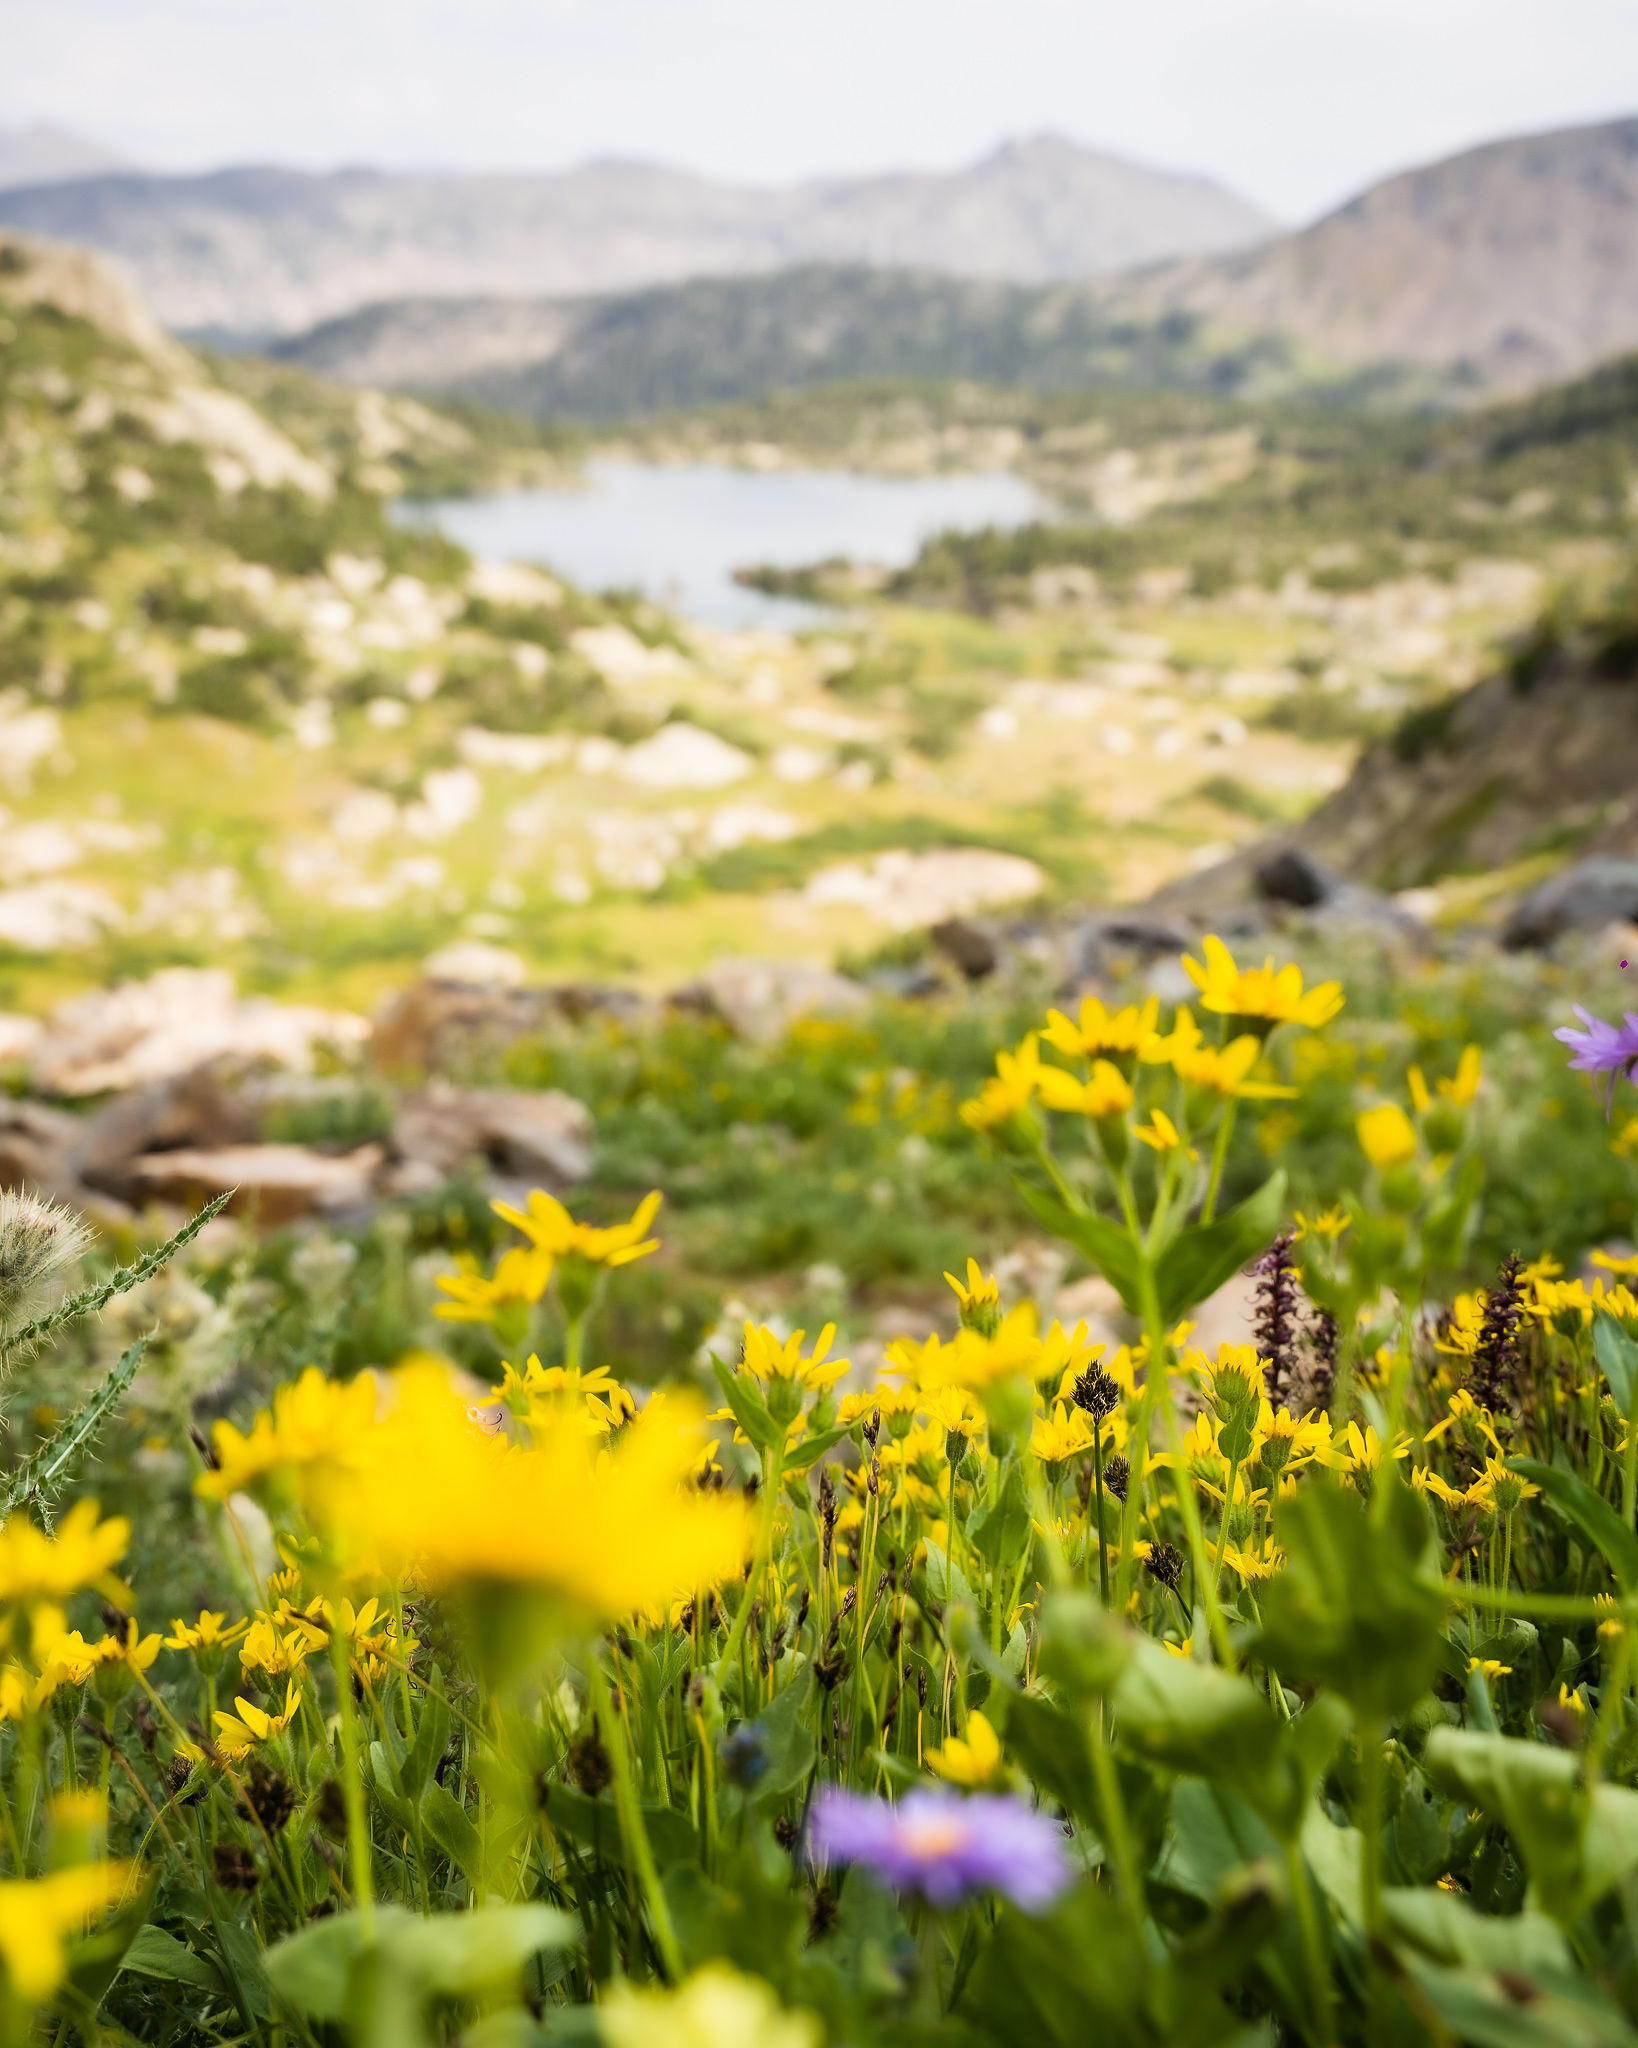
So we set up our tents and dropped our Union Wine cans in the creek to chill for later. We grabbed our cameras, quickly tied on our raincoats, and headed up the trail to explore a wildflower-covered ridgeline. There were some dark clouds preemptively accumulating in the distance, and Colorado is known for its summer afternoon thunderstorms, so we knew our time to explore was limited.
We wound our way past some smaller lakes, the shores dotted with eager fishermen. We heard the recognizable whistle of marmots and the chirps of pika echoing from the fields of talus, teasing our dog companions into a frenzy. But patches of snow covered the steep hillside, creating small playgrounds for our rambunctious dogs, where they slid and chased each other, bearing their teeth and digging them deep into the snowbank.

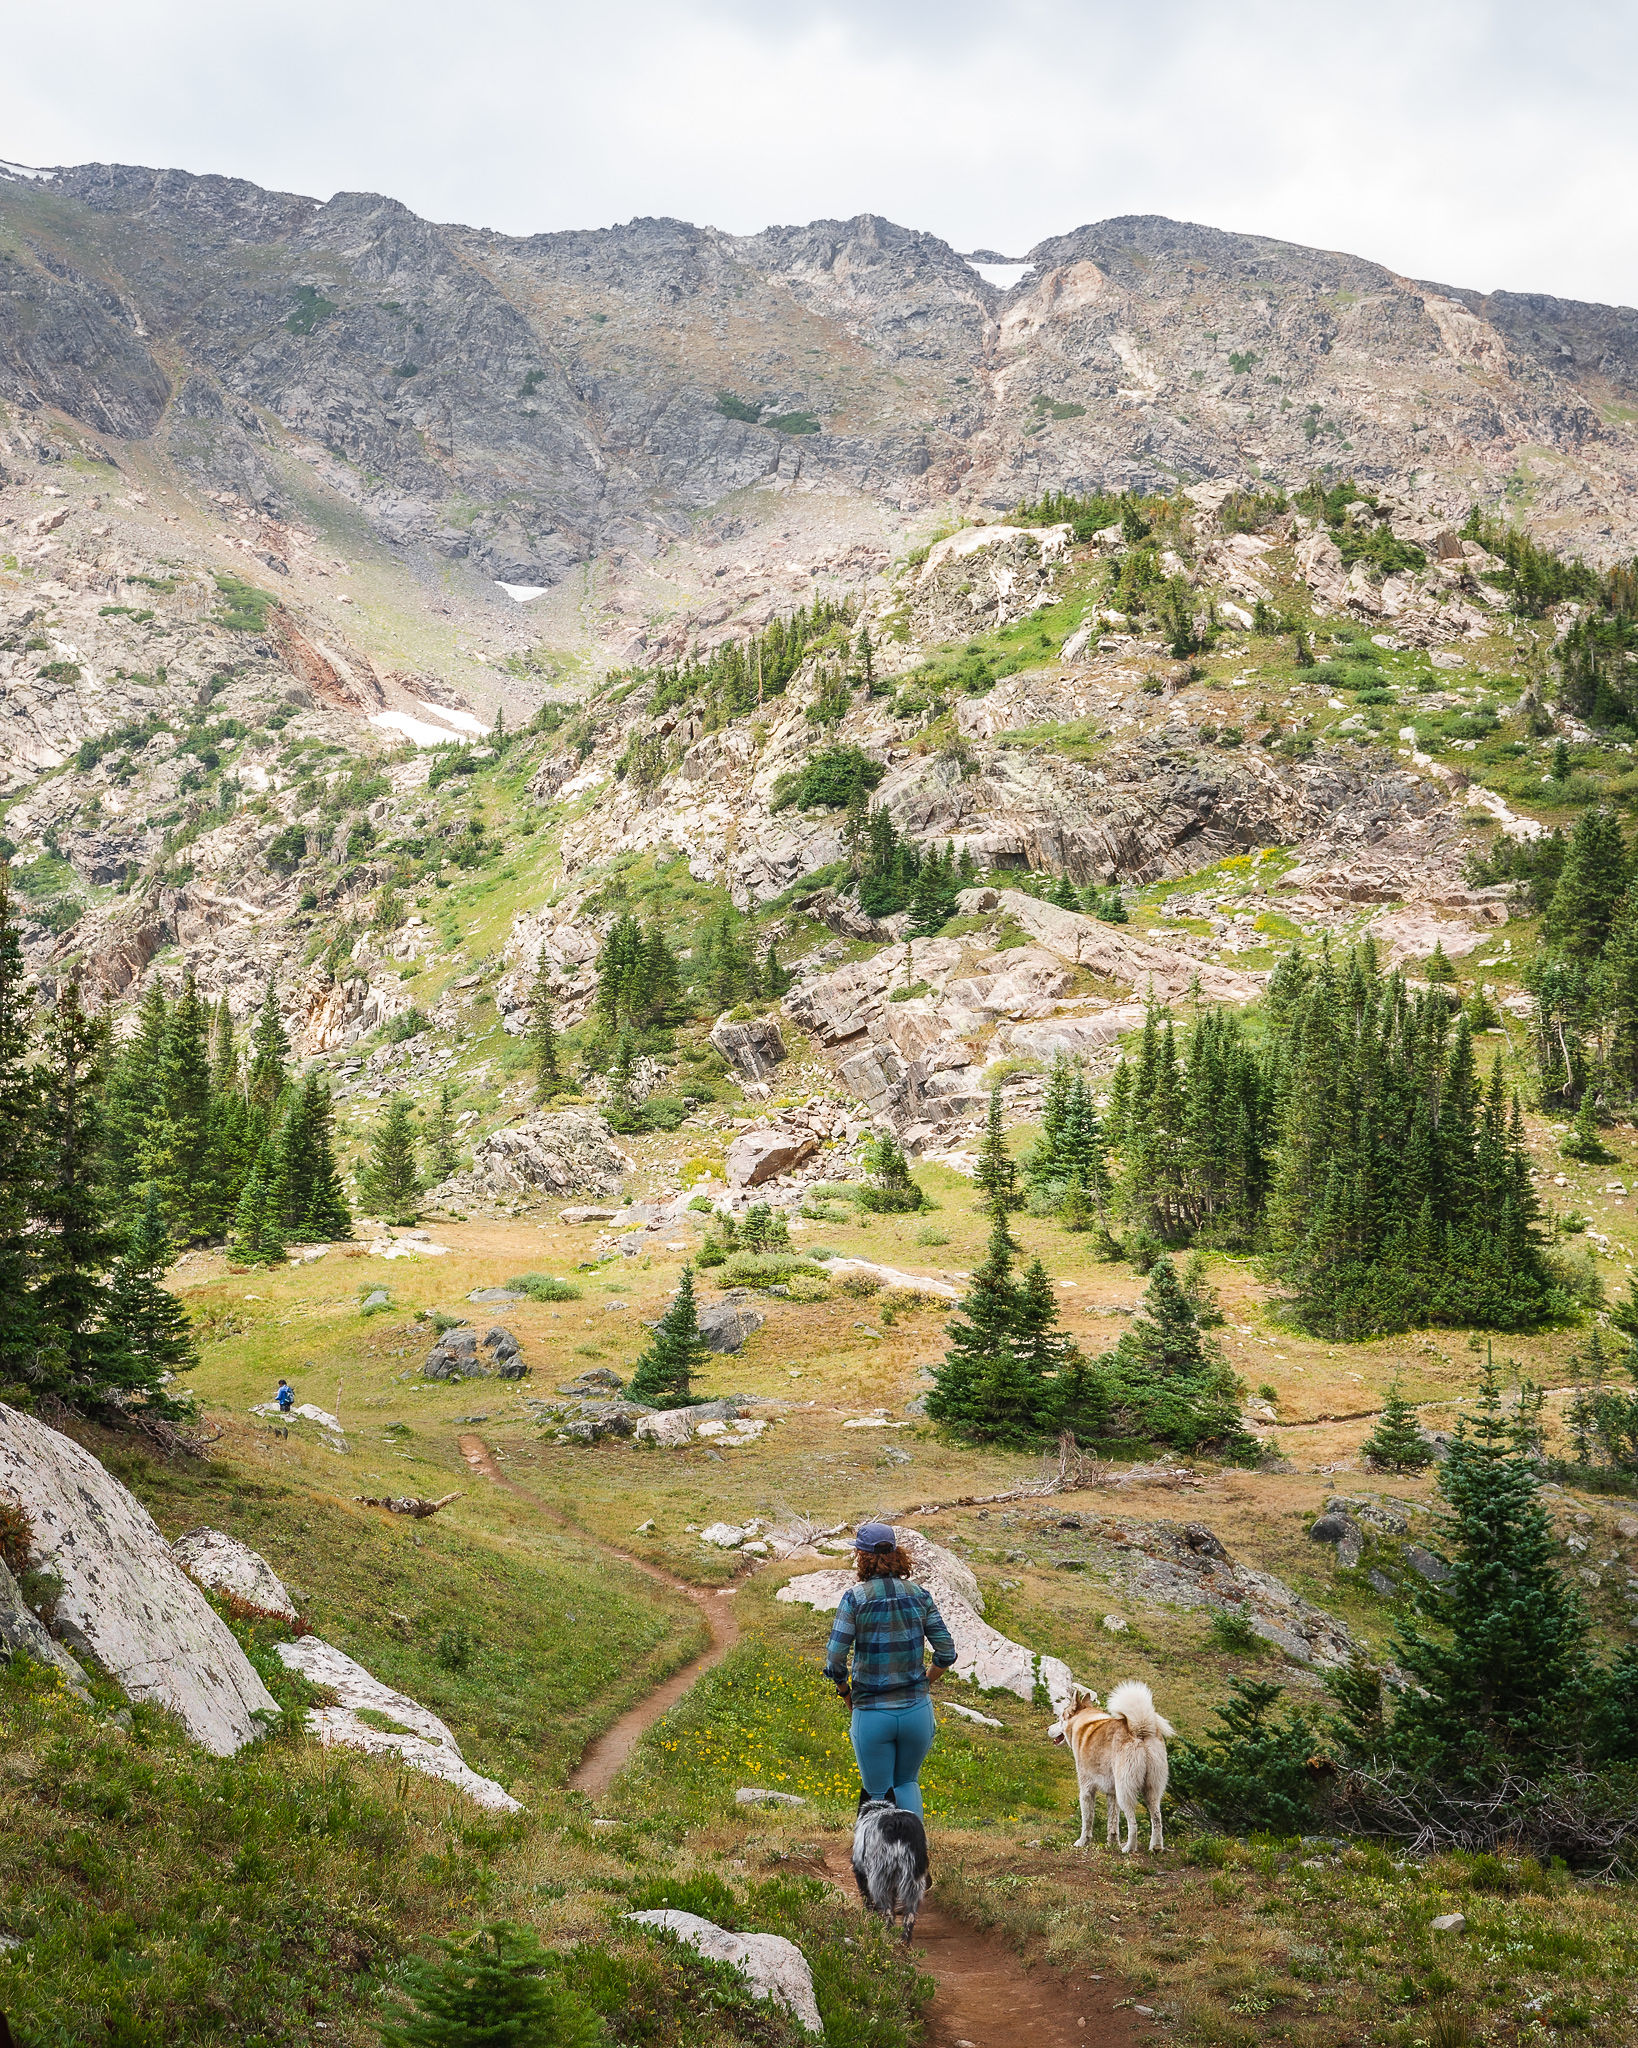
Mountain peaks popped into view as we zig-zagged our way up the trail another 1000 ft., finally topping out over the ridge. The views on the other side made the extra effort well worth it and we paused to snack and take it all in. However, it wasn’t long before we heard thunderclap and immediately started the trek back down to camp, quickening our steps as we walked. Back lakeside, Abi and I eagerly pulled our wine out of the creek just as heavy drops started to fall, each of us retreating to our respective tents to hide away from the thunderstorm.

The hours passed inside our tents, dogs snuggling up close, trembling lightly from the sounds of the storm. We each made dinner while cheers-ing one other from afar. It wasn’t exactly the “party atmosphere” I had hoped it would be, but we made the absolute most of the moment, knowing it would pass.
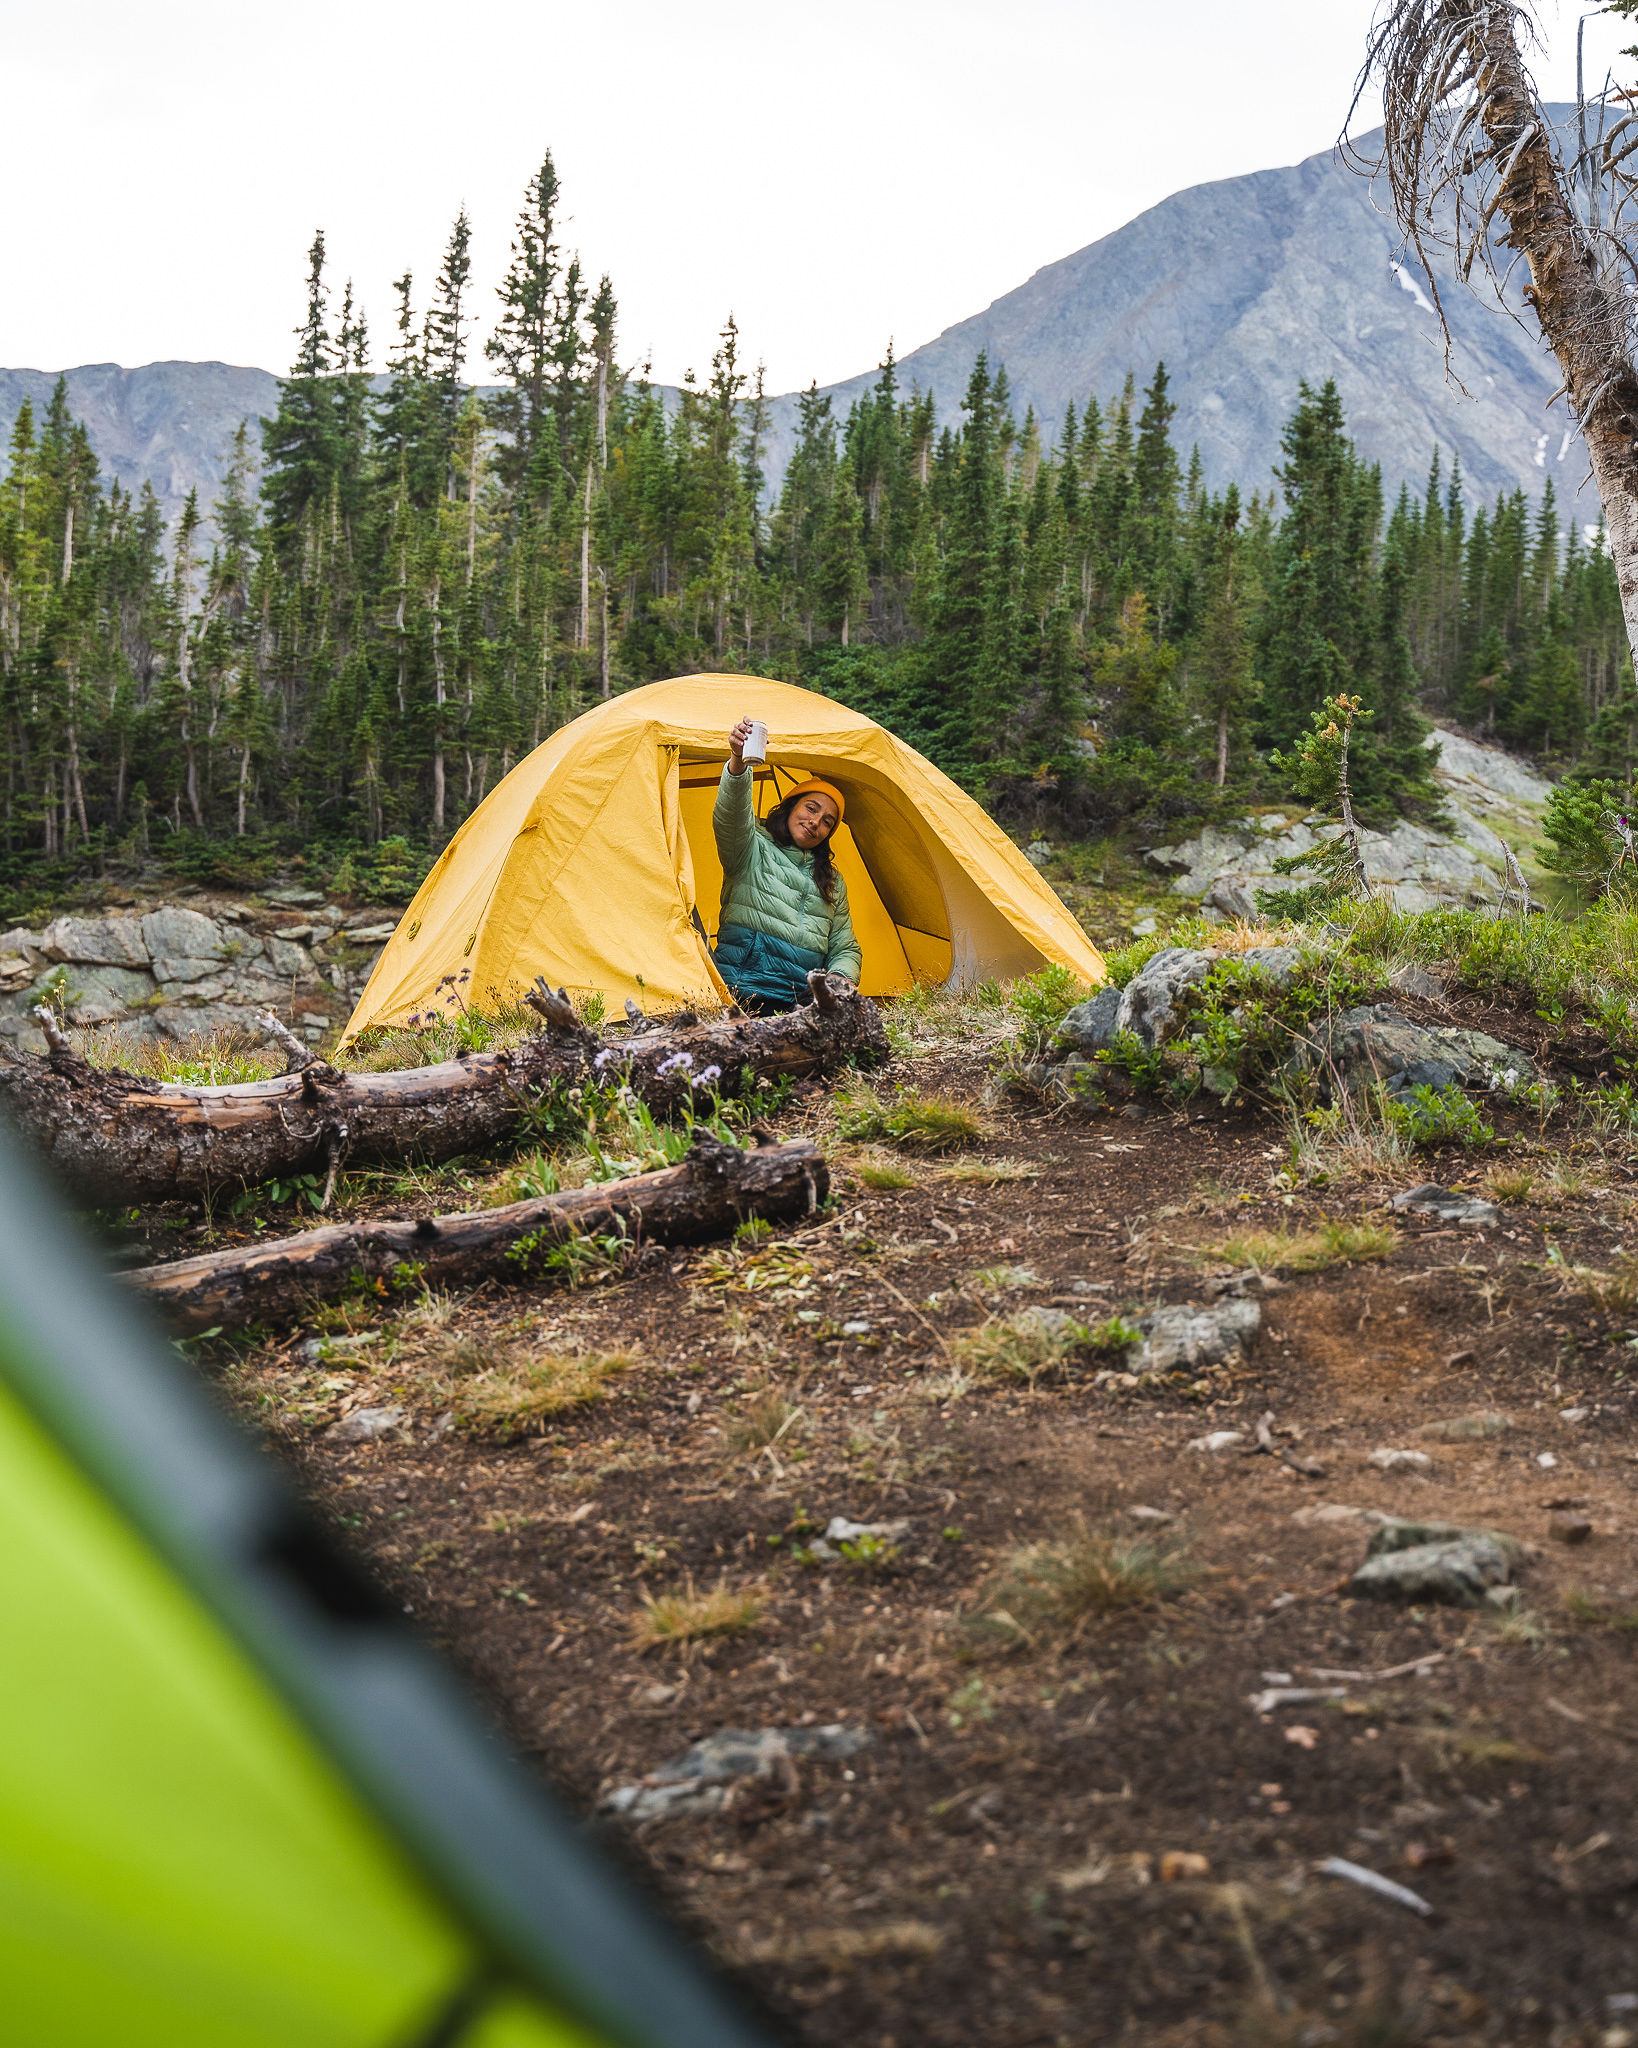
When the rain finally subsided, night was already beginning to fall. As darkness descended upon us, we excitedly emerged from our tents ready to make up for lost time. I cracked open the bubbles and sliced deeply into the chocolate cake. We cheerfully sang the “happy birthday song” to each other, guzzled our crisp and refreshing beverages, indulged in giant bites of chewy cake, and danced and talked until we could no longer see one another through the black. Finally giving in, we tucked ourselves in for the night, tired and satisfied.
The next morning as the sun lit up the peaks, we brewed ourselves some coffee and finished off the rest of the chocolate cake, a perfect breakfast to fuel the hike out. We hung around just long enough to enjoy the morning views and soak in the mountain air before slowly packing up and retreating back to civilization.

Some of the best lessons I’ve learned from this wild and unpredictable year include the ability to embrace flexibility and a willingness to adjust. Even though I had to seriously alter my birthday expectations (along with so much more) many times over, it still magically came together. And guess what? It ended up being one of my most memorable birthdays ever. Remember to always strive for adaptability, because sometimes plan B, C or even D might be better than plan A could have ever been.
Words and Photography by Brooke Weeber.