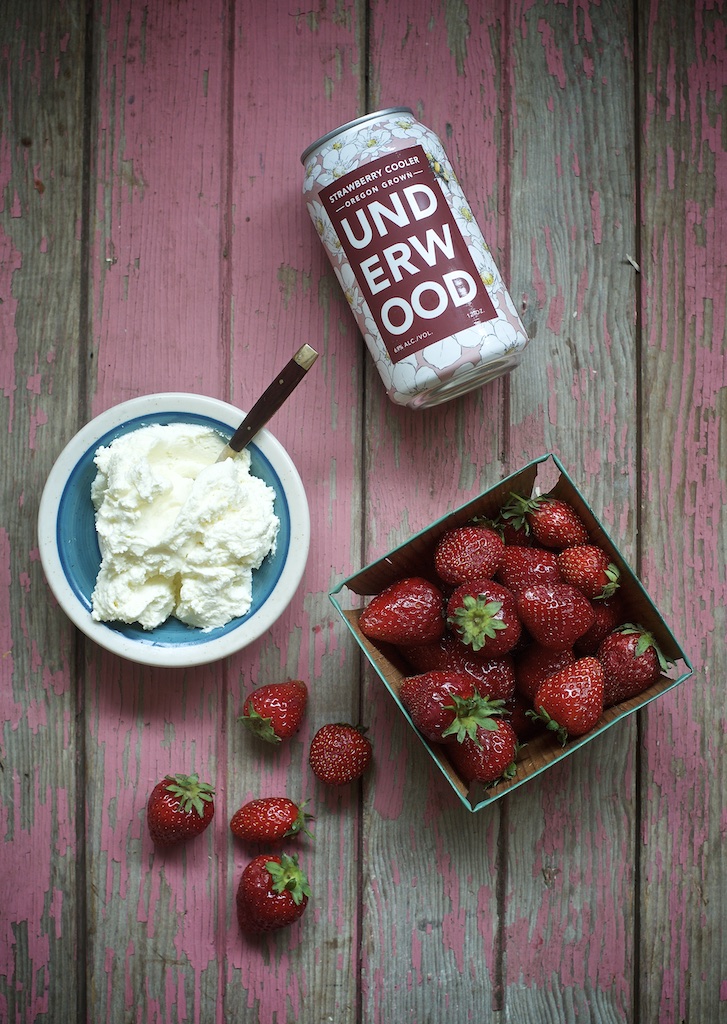
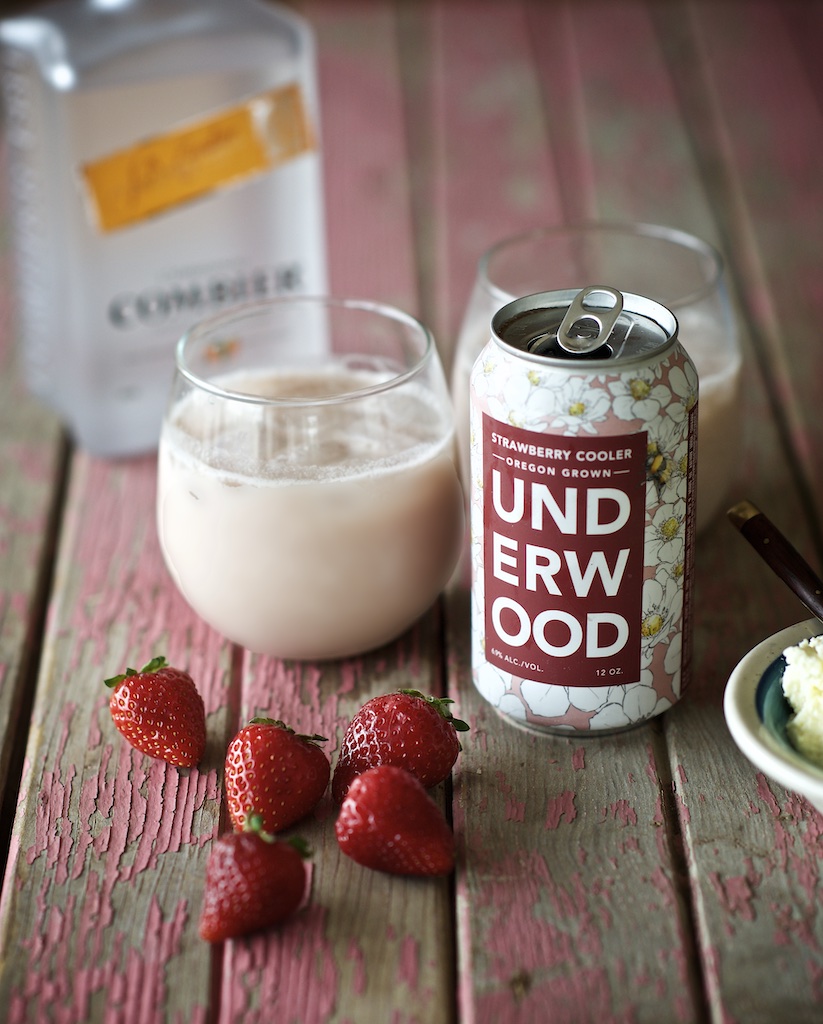
In honor of strawberry season, we decided to make a simple but delicious cocktail using our Underwood Strawberry Cooler. We got to thinking, what goes better with fresh strawberries than some freshly whipped cream? (Just ask anyone who’s had the pleasure of going to Wimbledon where strawberries and cream is the official snack.)
So, we used this flavor combination as inspiration for the cocktail. We present:

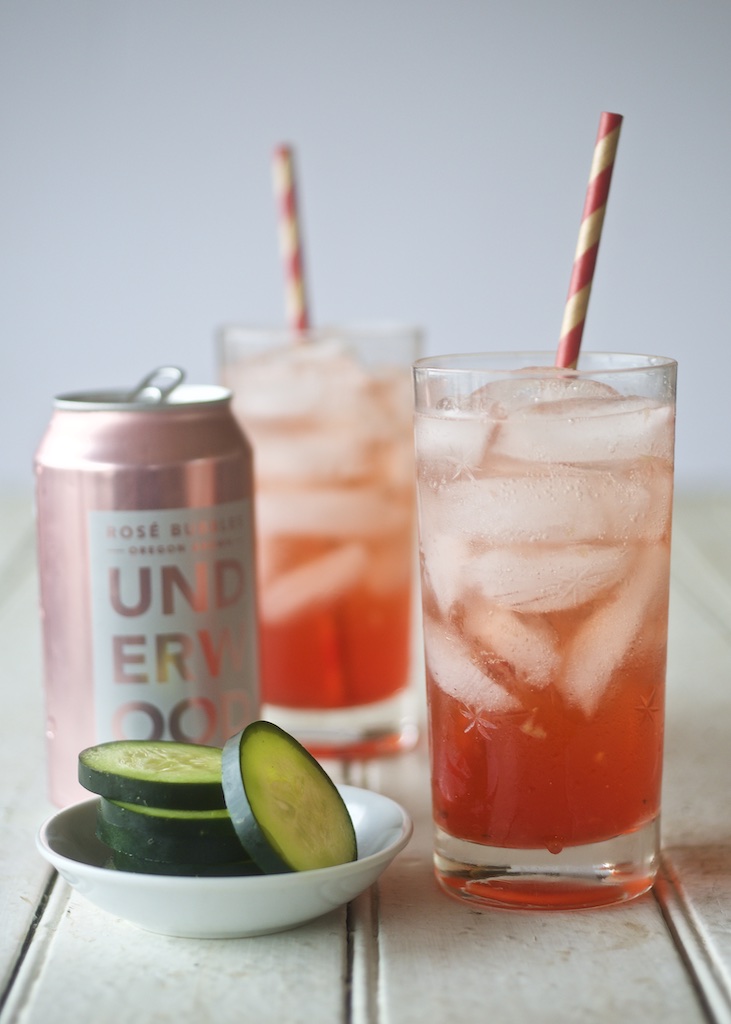
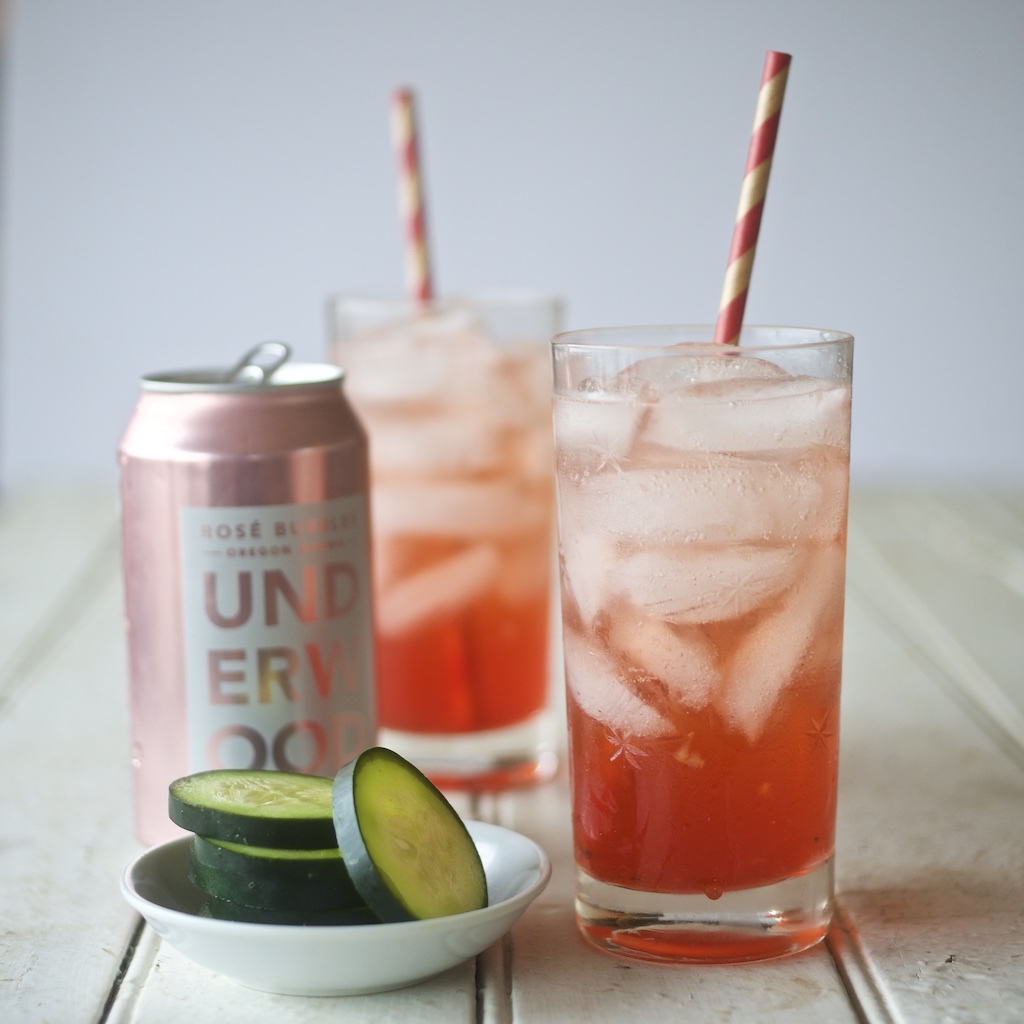
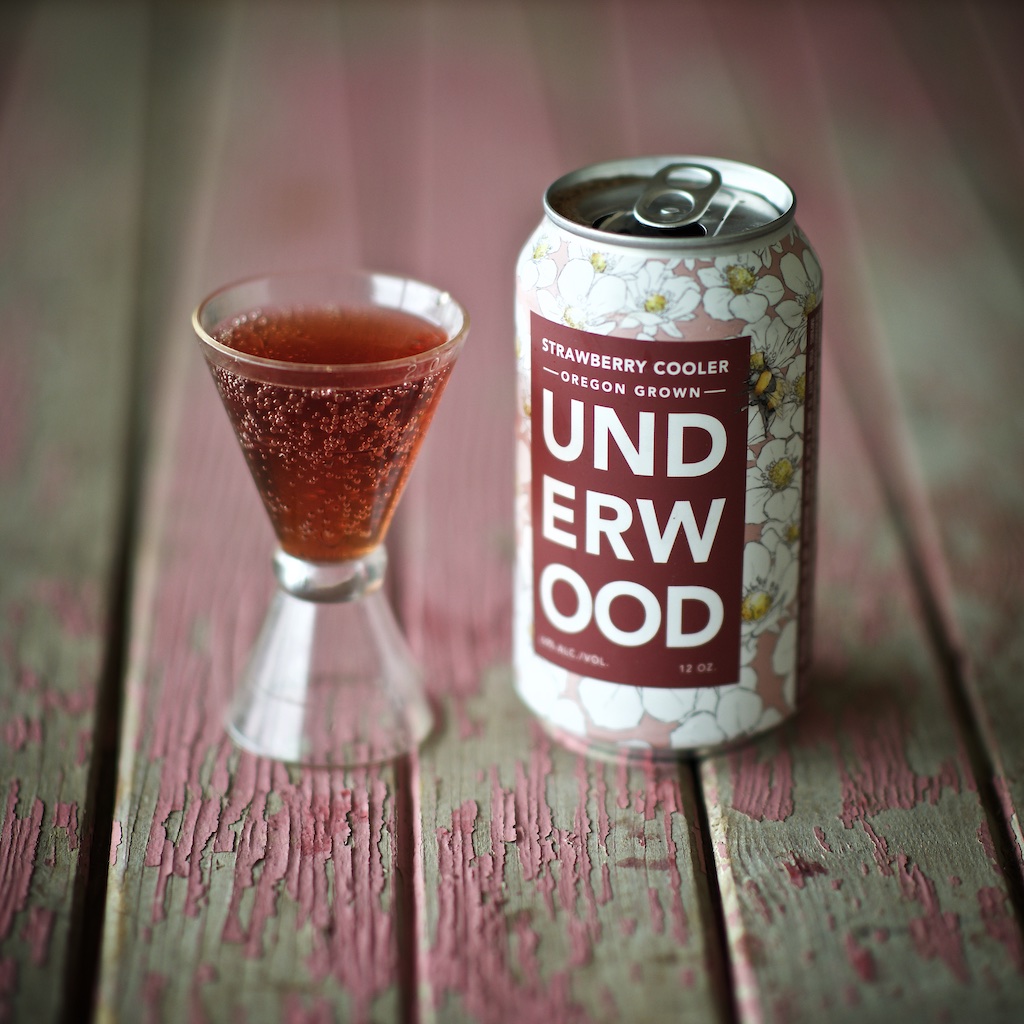
Strawberries & Cream
(This will make 2 cocktails)
6 oz Underwood Strawberry Cooler
2 oz heavy cream
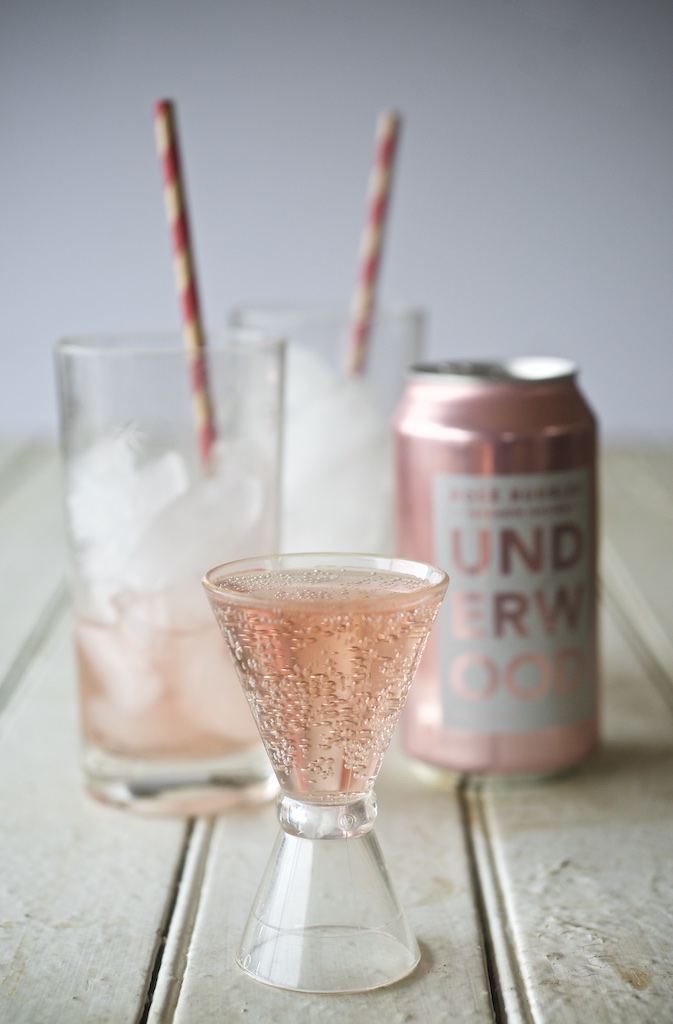
3 oz Orange Liquor (we used Combier for this one)
2-3 shakes Orange Bitters
4 C ice
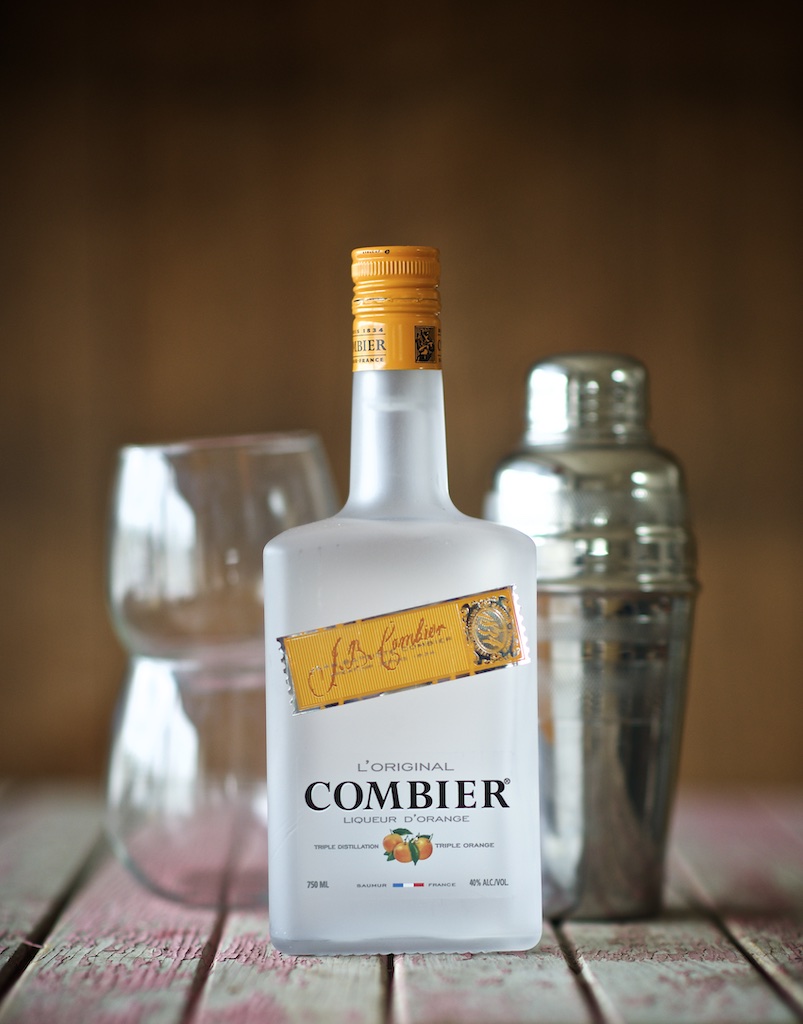
First a note on Combier.
There are many orange liquors on the market to choose from. Often times we will use Cointreau or even Grand Marnier. But for this one, we wanted to introduce those unfamiliar with the French liqueur Combier.
We like Combier for several reasons. First of all, they are employee-owned, which is super cool and worth supporting. Also, Combier actually removes the pith from the orange peels so in the process you get less viscosity and a higher concentration of orange oil. (Just a little random fact for your next cocktail party.)
But let’s not forget the star of the show.
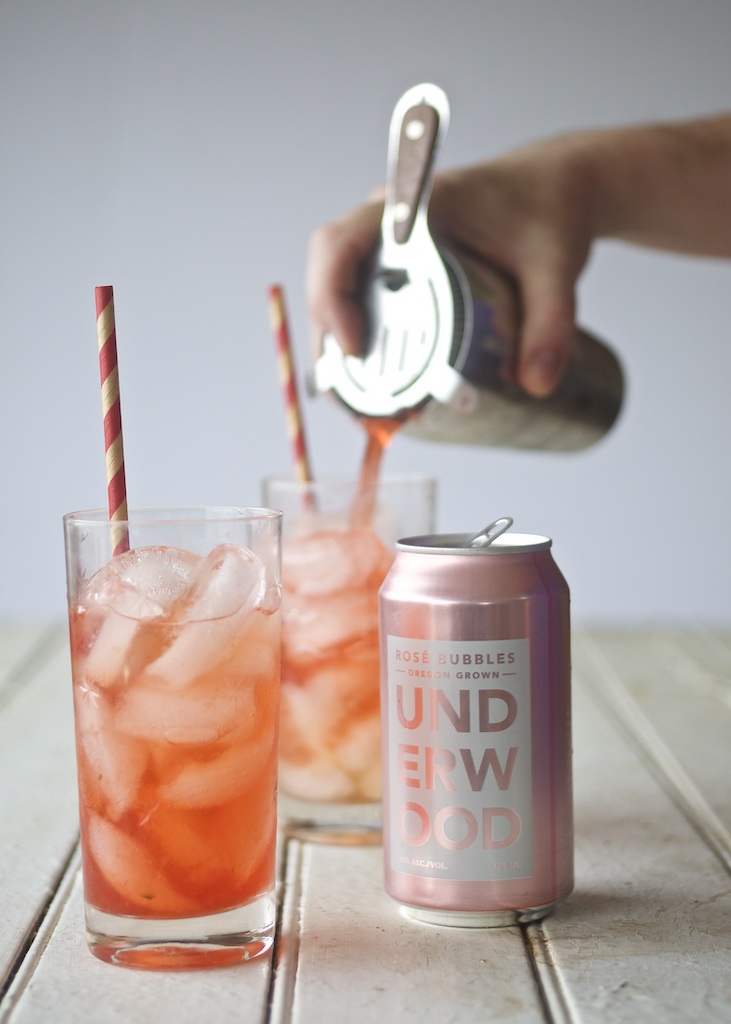
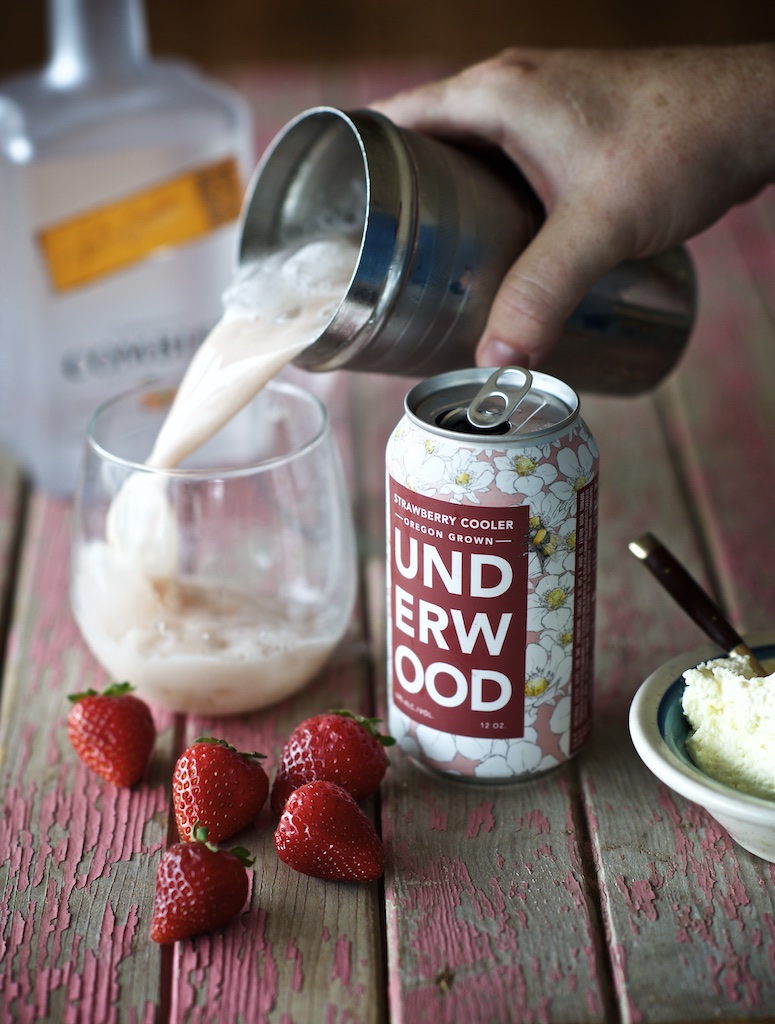
To make the cocktail, just put all ingredients into a large shaker, shake vigorously, and then divide between two glasses.
Hopefully, you will have the opportunity to share this with loved ones, or, now that the weather has turned, in a small outdoor get-together, keeping appropriate social distances of course.
Once again, from the whole Union Family, stay safe out there, keep washing those hands and CHEERS!
(And always keep those #pinkies down!)
Photography, Recipe & Text by David L. Reamer. (@dlreamer)