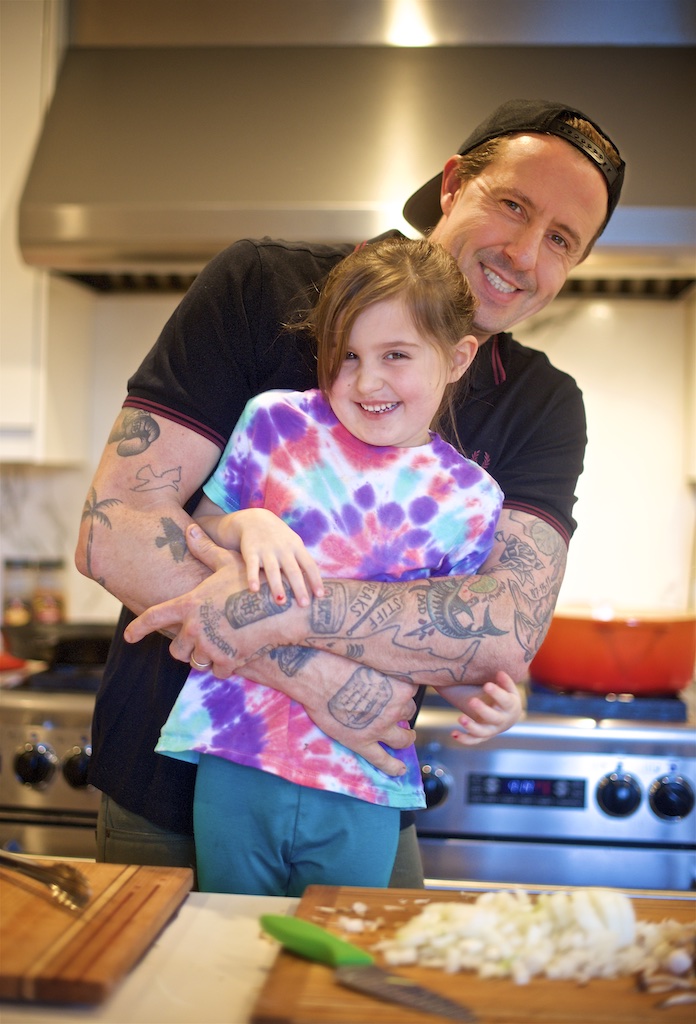
It’s safe to say that Gabriel Rucker is one busy guy. With 2 restaurants, 3 children, a creatively explosive wife with the drive of the Energizer Bunny, and a weekly run club, there isn’t a whole lot of time in the day to relax. Throw in travel events and cooking demonstrations and life gets even more hectic. Anyone who knows Gabriel, or has eaten at his restaurants, knows that he is a tremendously talented chef who puts his whole soul into every dish. But Gabriel is also a consummate family man and in between all the craziness that fills his days, he always makes sure there is quality time for his family. I’ve personally been watching him do it for 10 years and it’s quite an impressive balancing act.
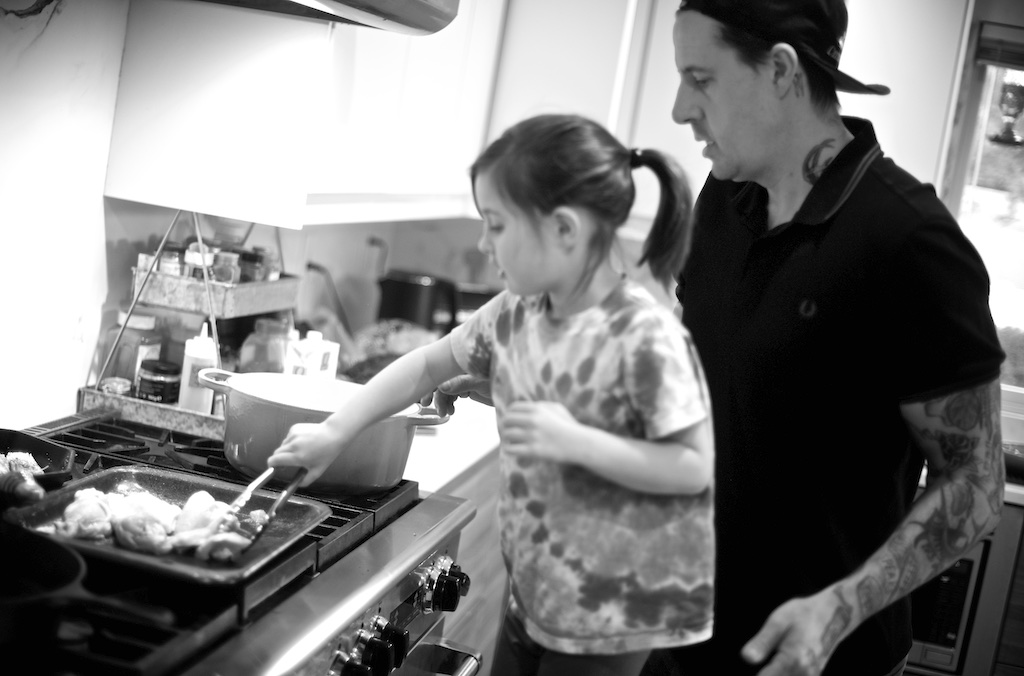
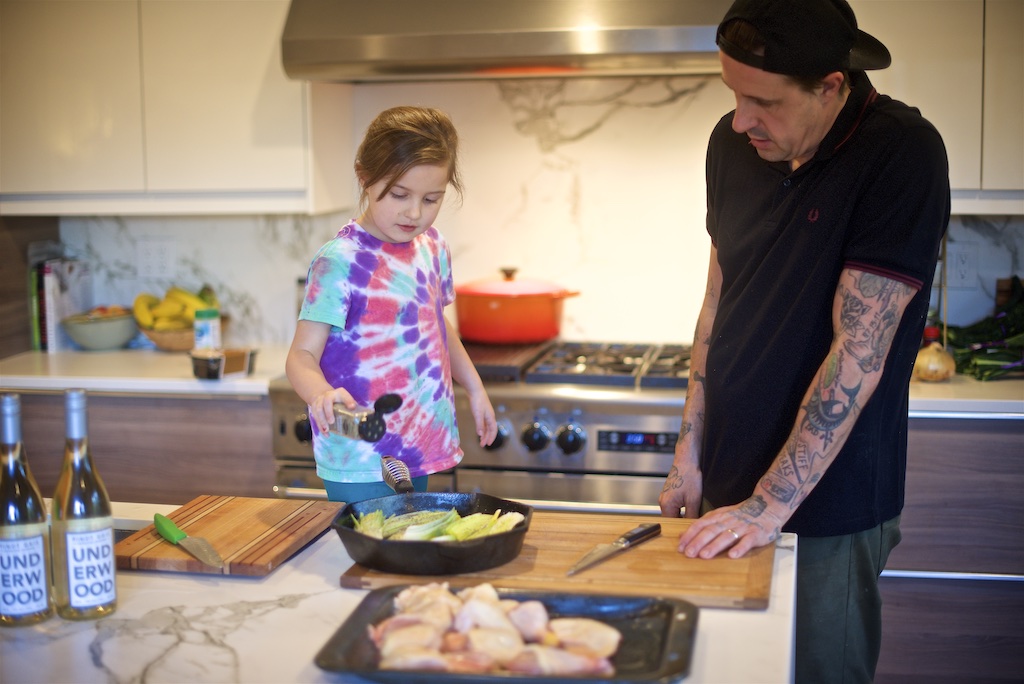
So, I considered myself and my wife very lucky to be able to spend a Sunday evening with him and his family as he created a delicious home-cooked Sunday evening meal. Of Gabriel’s 3 children, the middle one (and only daughter) Babette, age 6, is the one who will most likely be following in her fathers’ culinary footsteps. At age 3 or 4 she was already shadowing her Dad in the kitchen, helping wherever she could. Now that her knife skills have improved, she is even allowed to cut and chop, which I must say she does with more acumen than a few OCI grads I know. In organizing this project with Gabriel, he decided on three dishes that he often makes for his family on the weekend that make a well rounded, delicious and healthy meal that can all be done in just over an hour. Of course, when you have a pro like Babette as your live-in Sous Chef, everything runs that much smoother.
On the menu for the evening was:
Braised Chicken with Mushrooms, Onions and ‘Dad Rice’
Cast Iron Roasted Leeks with Garlic
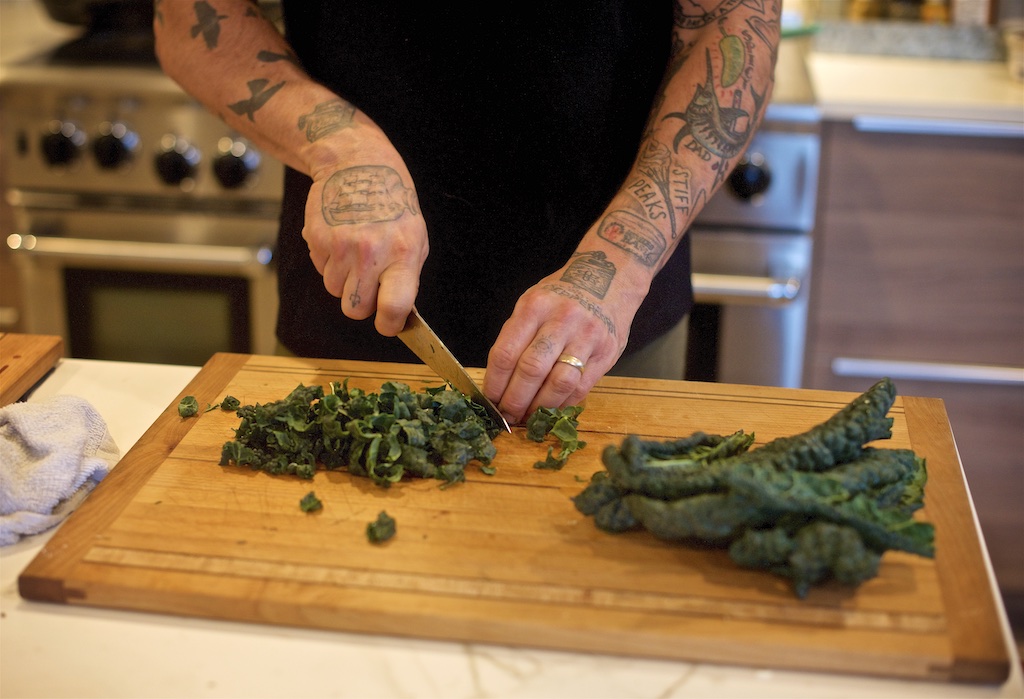
Dinosaur Kale Salad with Apples and Warm Kumquat Vinaigrette
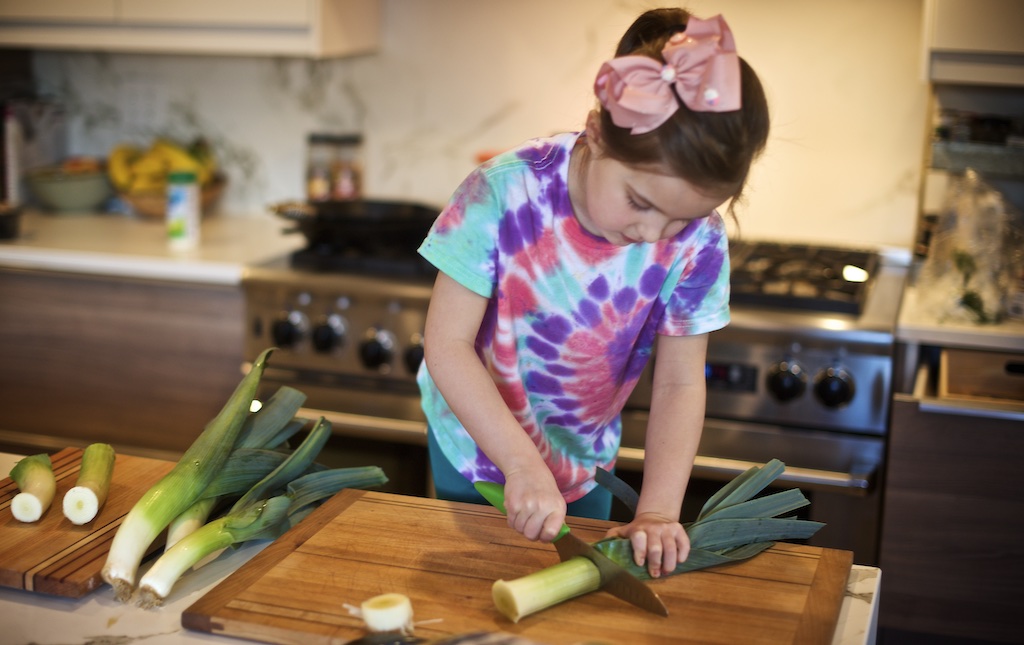
Some kitchen tasks Babs can do on her own, others require a little extra supervision…
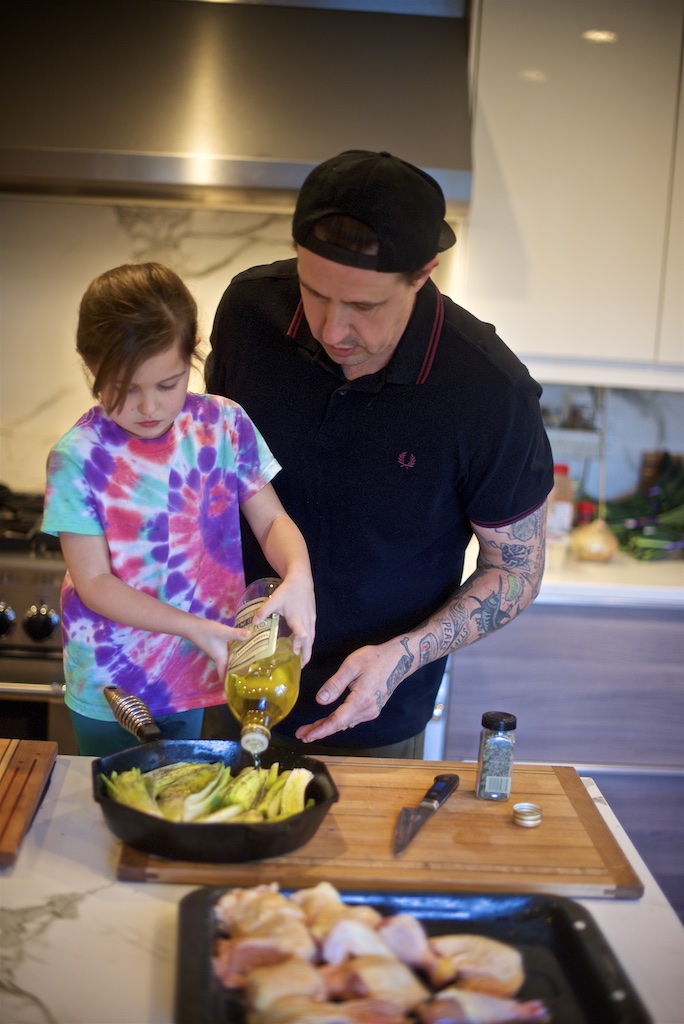
There were a lot of moving parts all going at the same time while dinner was being prepped so I will do my best to keep everything well organized throughout the post. Also, Gabriel approaches all of his kitchen projects with a confident but laidback vibe which I will do my best to replicate here. There is little to no pomp and circumstance when Gabriel is in the kitchen, and no ingredient is off-limits as you will soon see.
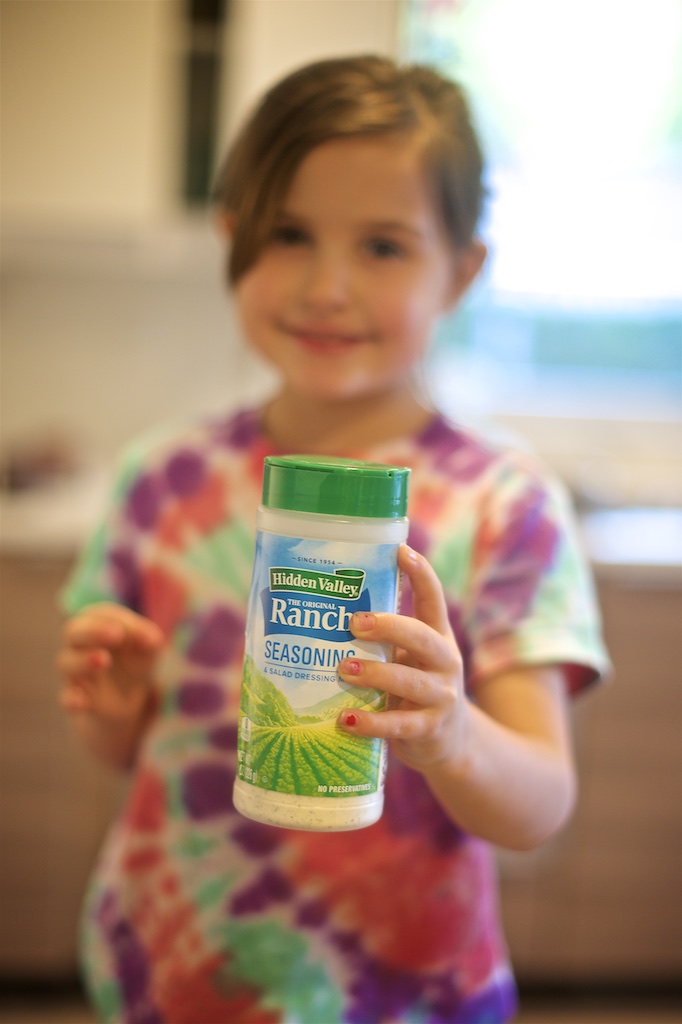
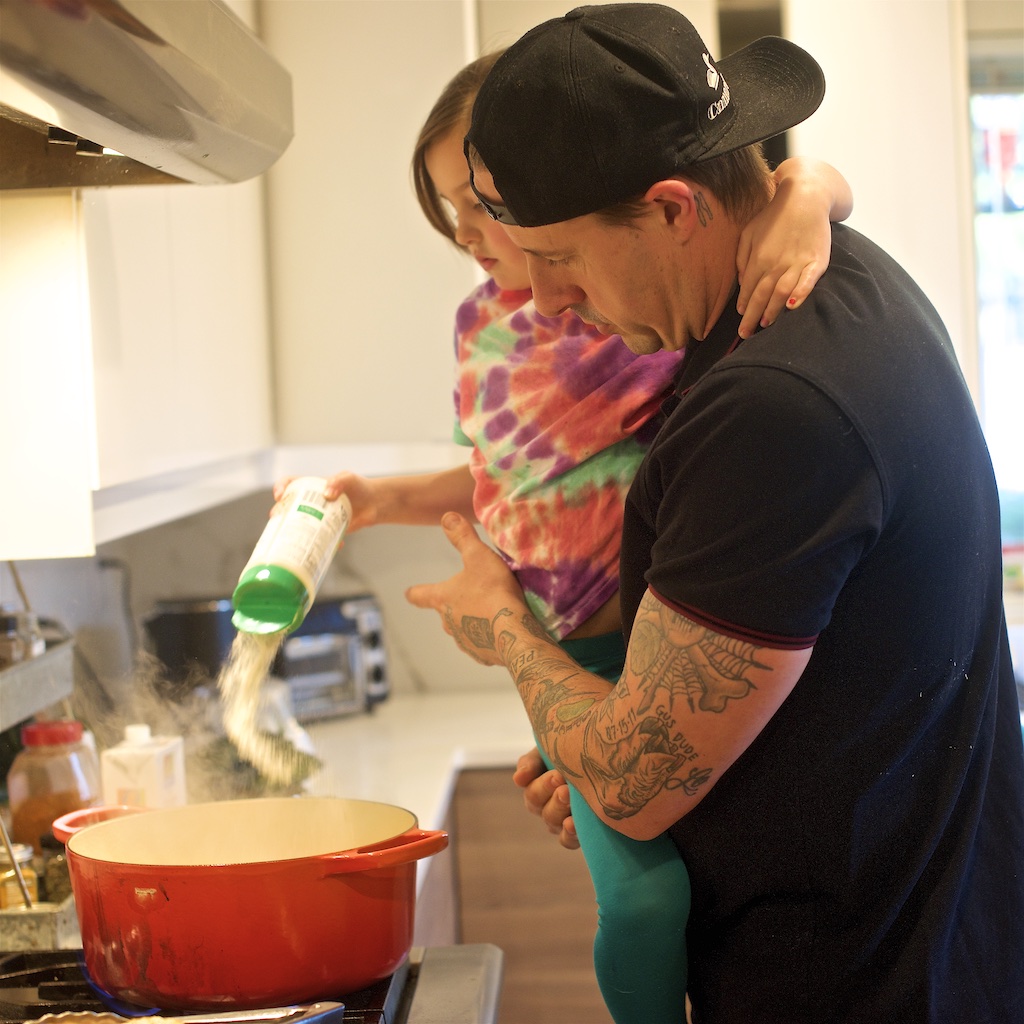
The first thing you want to do is get the chicken and rice going because that will take about 45 minutes in the oven. Gabriel cooks the rice, mushrooms, onions, and chicken all together in a large ceramic dutch oven. Here, the ‘Dad Rice’ refers literally to the addition of a powdered Ranch Dressing seasoning that Gabriel adds because his kids love it (and it’s pretty freakin’ delicious!)
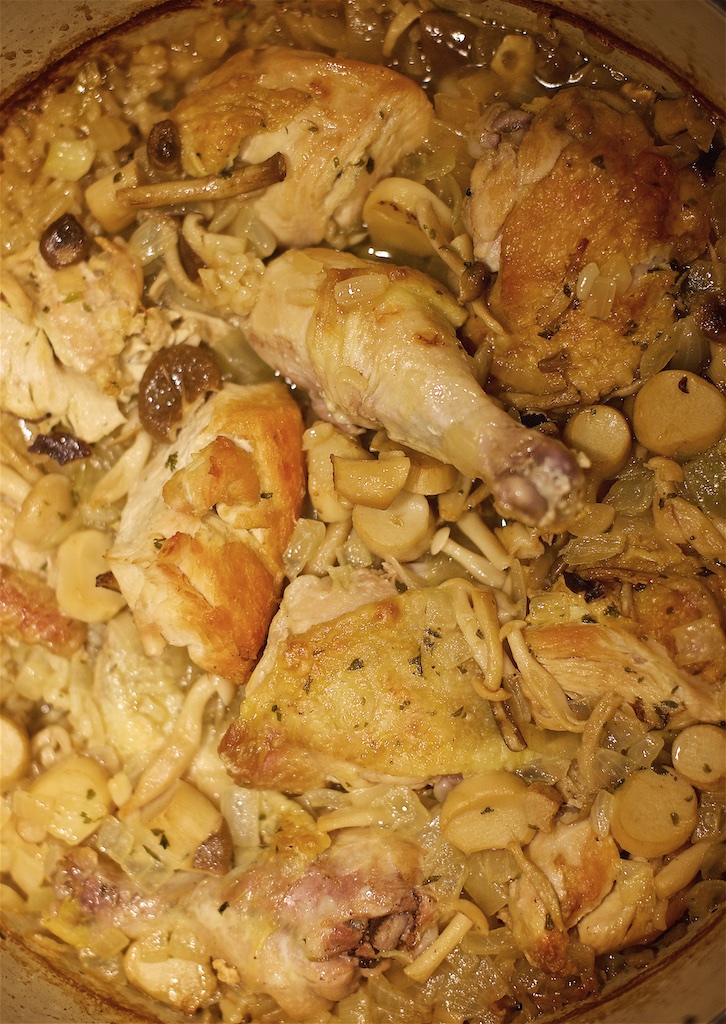
Braised Chicken with Mushrooms, Onions and ‘Dad Rice’
1 whole chicken, separated into 1/2 breasts, thighs and legs
2 1/2 C rice (Gabriel uses sushi rice but feel free to substitute brown or white)
1 small yellow onion, diced
1 large package of mixed mushrooms (about 1/2 lb)
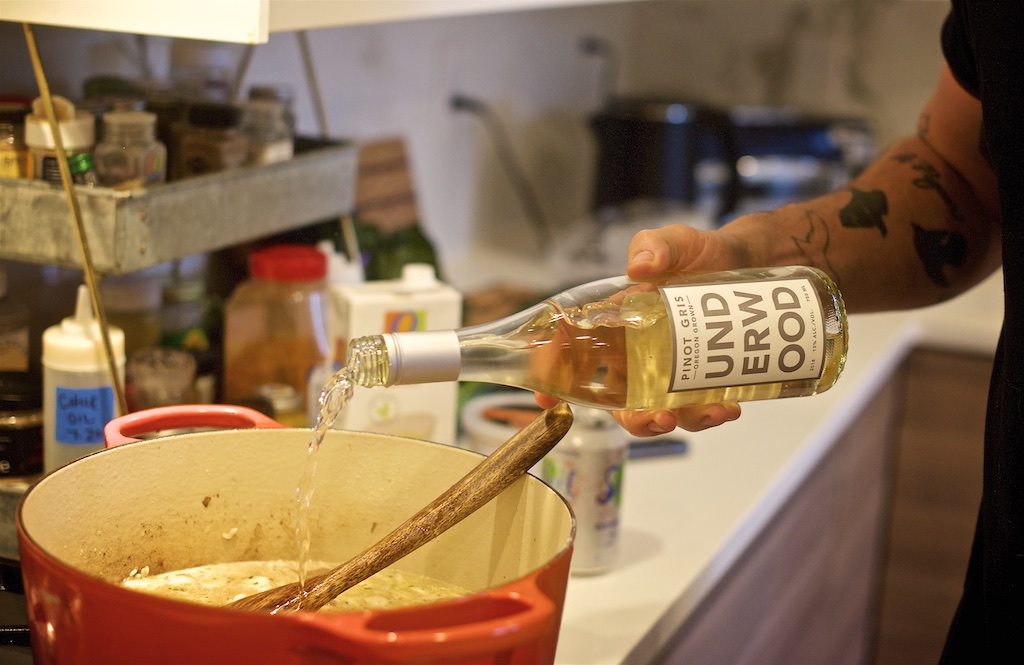
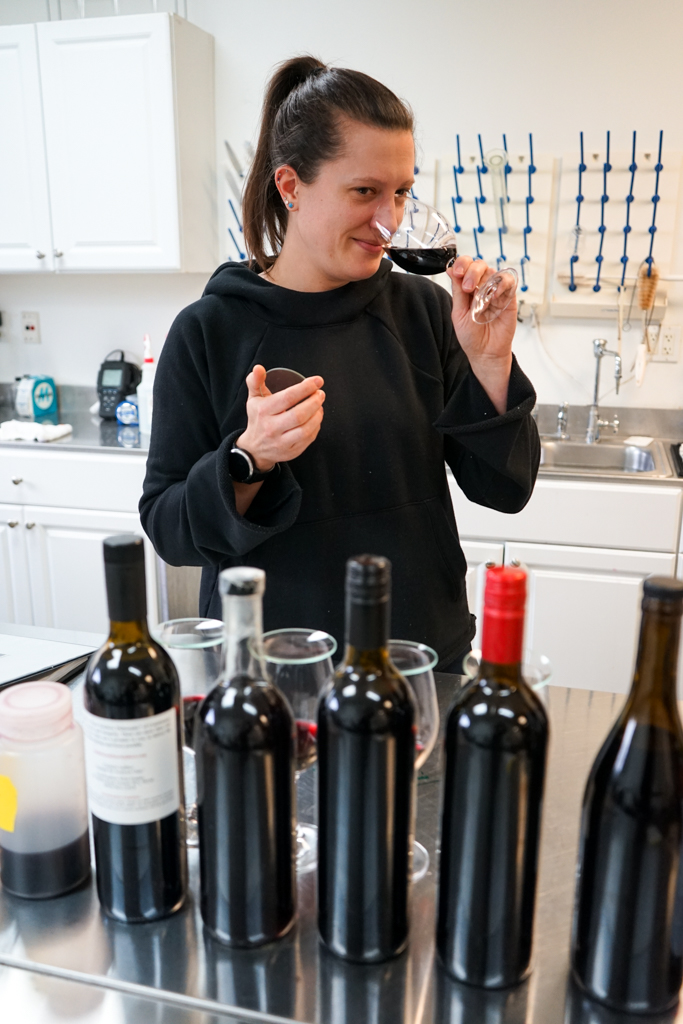
1 C Underwood Pinot Gris
4 C chicken stock or broth
olive oil
salt and pepper
1/2 C Hidden Valley Ranch Seasoning
Heat oil in a deep dutch oven and carefully sear off all pieces of chicken. Remove chicken from the pan, add the onion, mushrooms, and rice. Sauté for 5 minutes, add the Ranch Seasoning and salt and pepper to taste, then deglaze with the Pinot Gris. Reduce slightly, add the chicken stock and all the chicken pieces, nestling the chicken pieces partway down into the rice and vegetables. Cover and put in the oven for 45 minutes or until rice is tender and chicken is fully cooked.
This is what the finished product will look like:
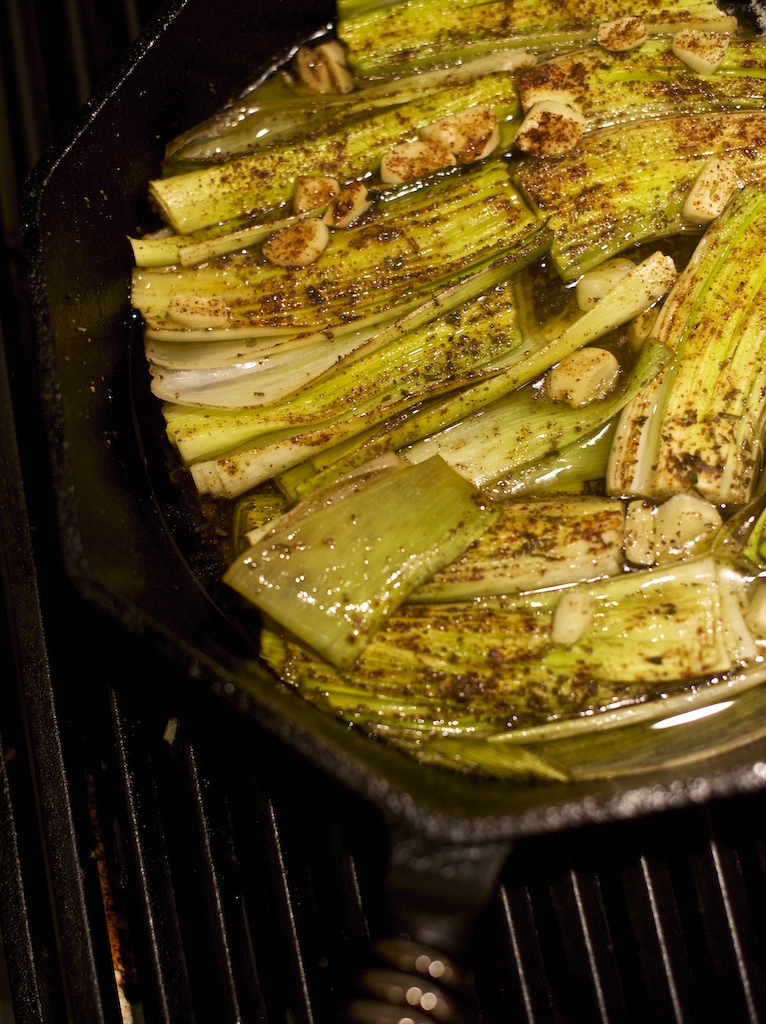
Once the chicken is in the oven, it’s time to deal with the leeks. Gabriel prefers to use his locally made Finex Cast Iron Pan, but any thick bottomed pan will do the trick.
Cast Iron Roasted Leeks with Garlic
salt and pepper
Cut the dark green tops off of the leeks and remove the butt ends. Cut each leek longways down the center, trying to keep them together. Rinse gently under cool water to remove any dirt and gently dry. Chop your garlic cloves in half. Place the leek halves and garlic in the cast iron pan, sprinkle liberally with remaining ingredients, cover with tin foil and place in the oven for about 30 minutes or until leeks are tender. *You do not have to heat the pan or do any searing ahead of time for this one.
Once the leeks are tender, remove from heat and keep covered until ready to serve.
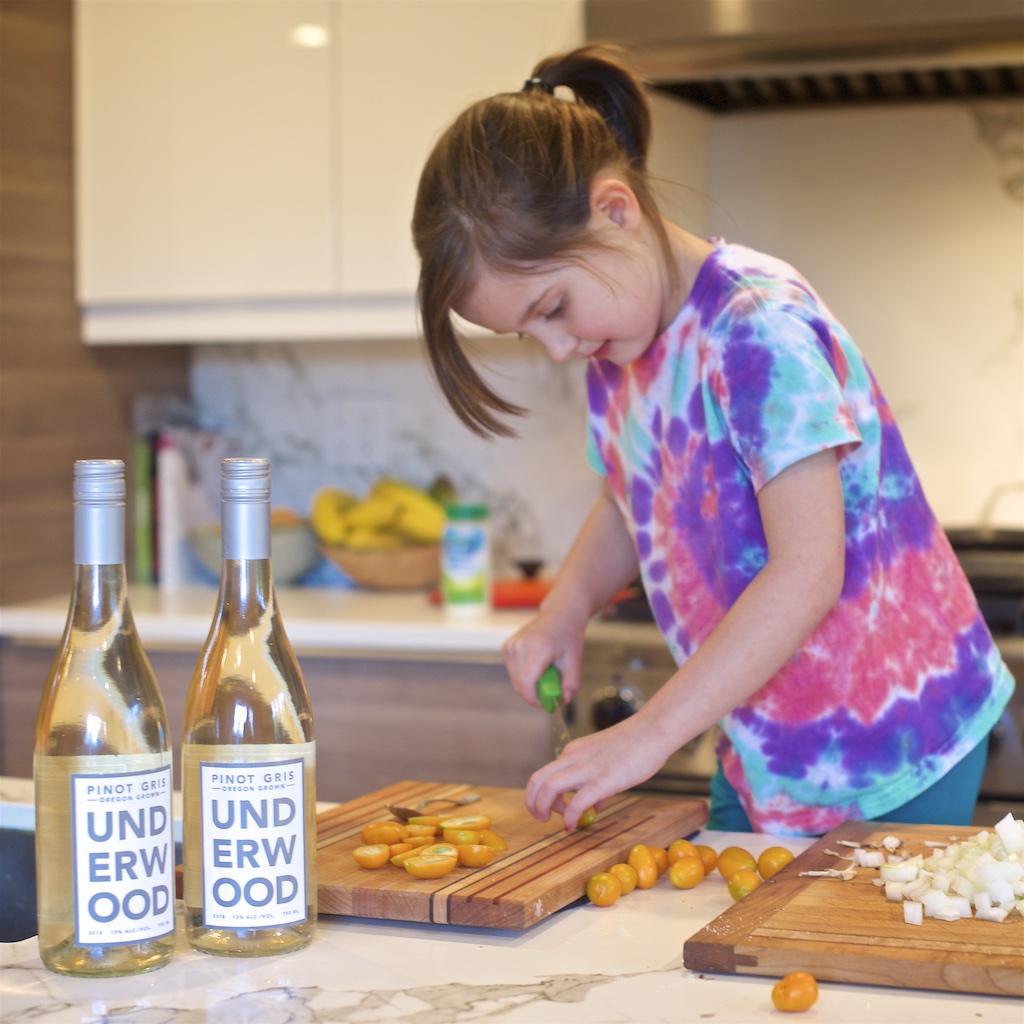
While everything is cooking, its time to prep your salad and make the vinaigrette. Dad demonstrates the proper Kumquat prepping technique and then feels comfortable leaving Babette to her own devices.
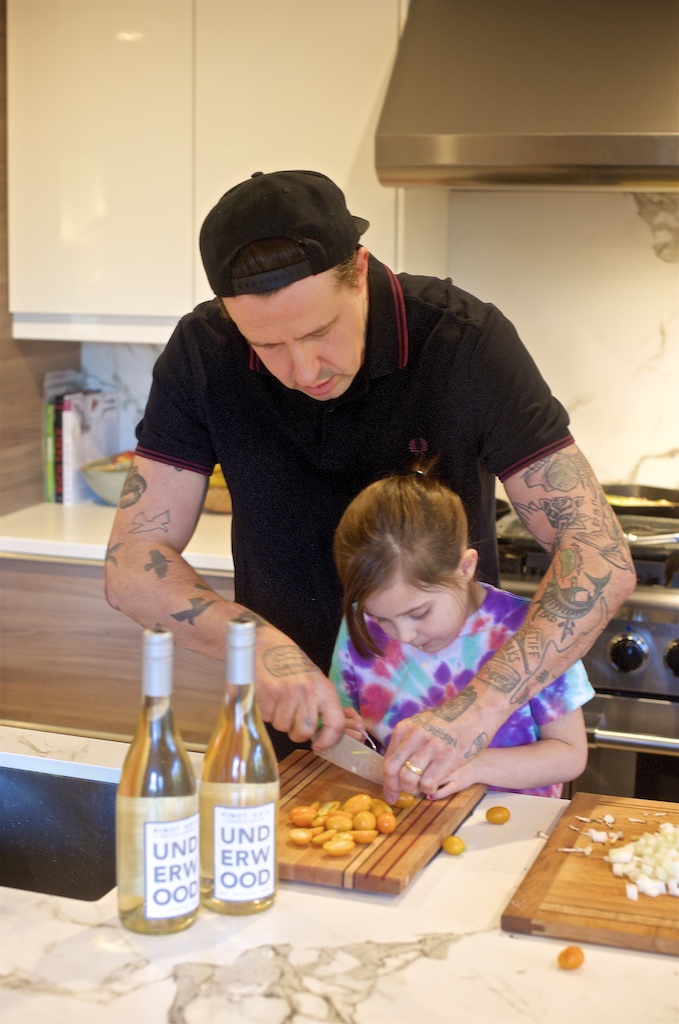
Dinosaur Kale Salad with Apples and Warm Kumquat Vinaigrette
Halve the kumquats longways, remove the seeds and pith and slice thinly. Put all ingredients into a small sauté pan, bring to a boil and then immediately shut off the heat. Keep warm until ready to use.
1/3 C grated parmesan cheese
Slice kale and apples. Put in a large bowl. Just before you are ready to serve, dress with the warm vinaigrette, olive oil, balsamic vinegar, and parmesan cheese. By keeping the vinaigrette warm, it will soften the kale without wilting it too much.
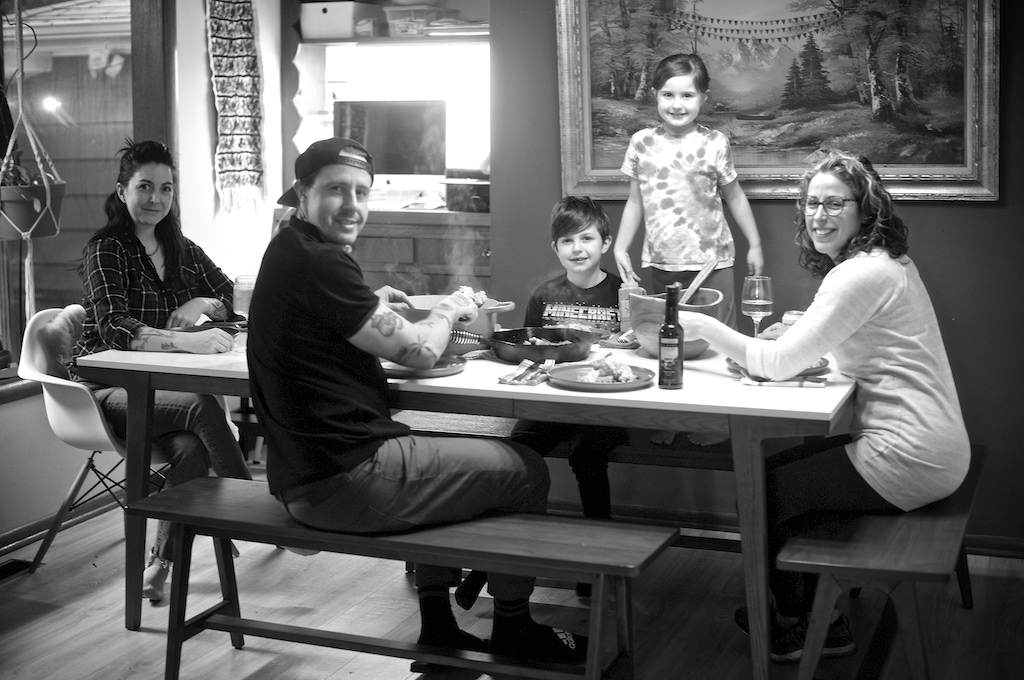
And just like that… dinner is served! Bon Appétit.
Gabriel asked that we give a special shout out to his newest endeavor, the Bird Dog Run Club. Completely free and open to all, the club meets every Thursday at 930 AM in front of Canard.


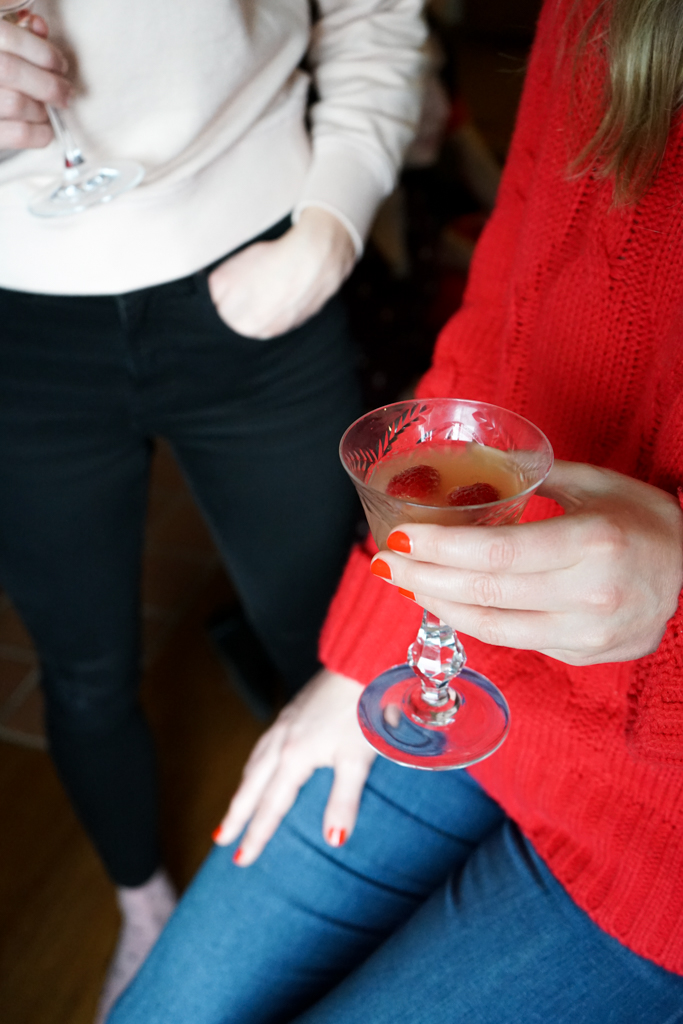
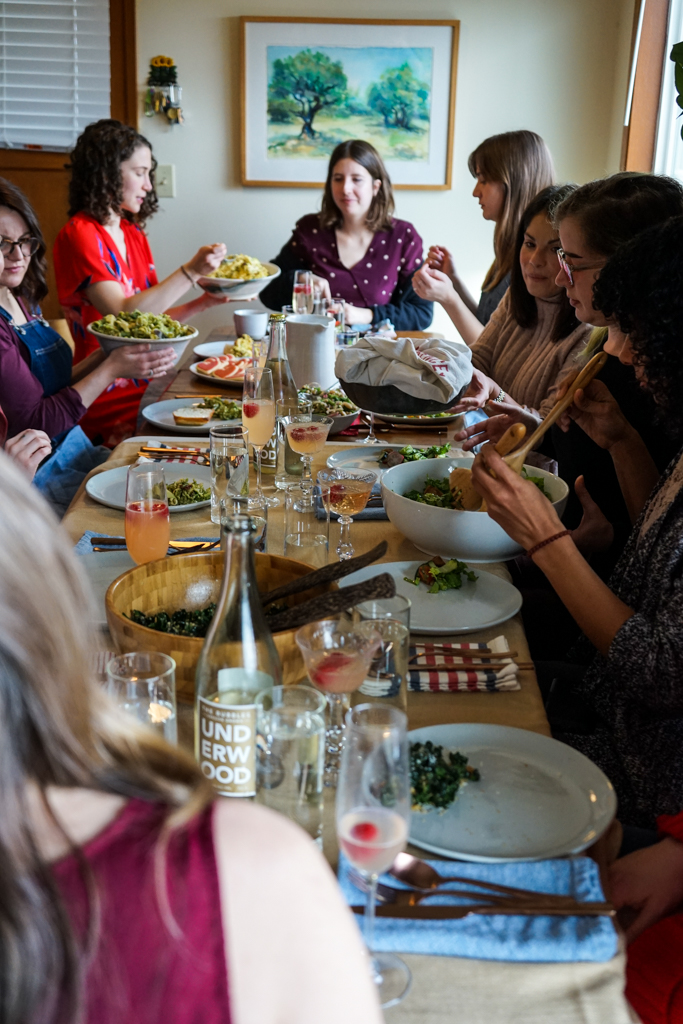
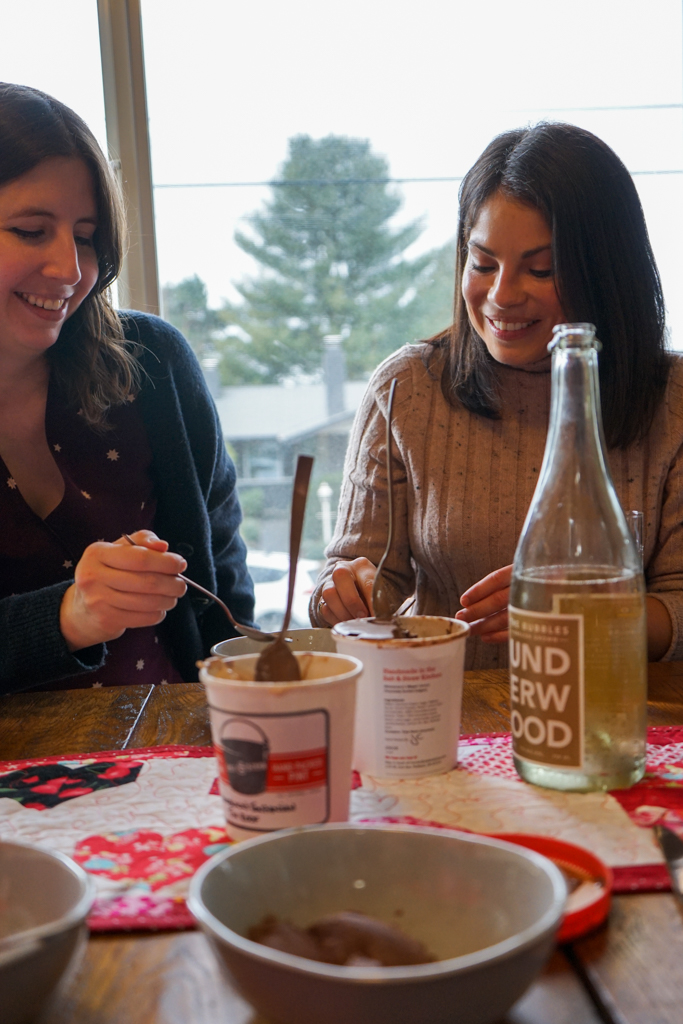
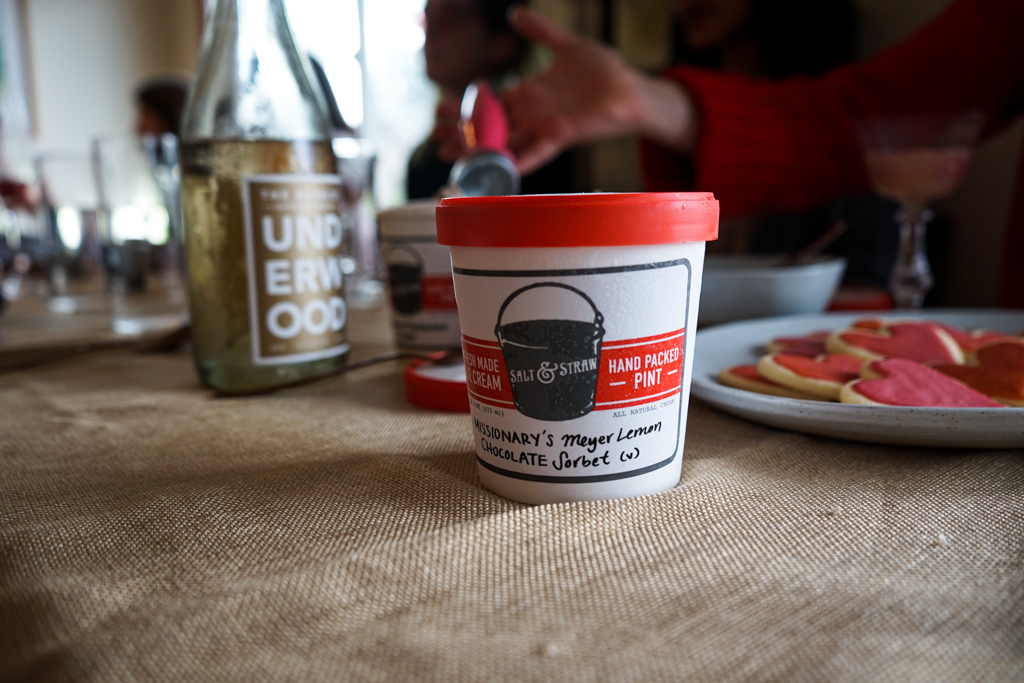
 When it comes to Valentine’s Day, we could probably argue that most men don’t even think about the holiday until the month of February hits, and for a lot of men, not until the week of Feb. 14th! But, for some reason, in our society, it is an important holiday to a lot of us women. We don’t necessarily know why, but we know we don’t want it to slip by without something special happening to or for us. It could be because we have someone special in our lives and we want to celebrate that, or, it could just be that we see pink and red hearts everywhere this month and we just don’t want to miss out!